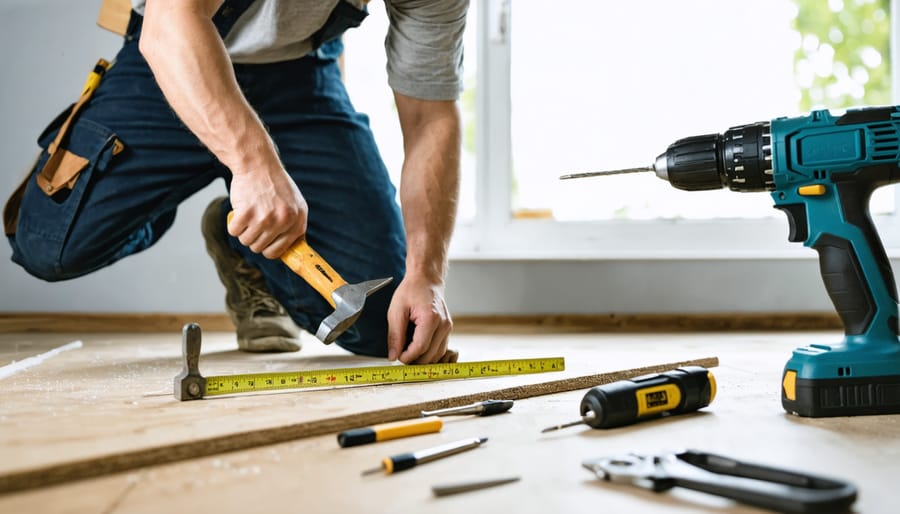
Transform your living space into a personalized masterpiece by mastering essential home repair skills through systematic learning. Start with basic hand tools—hammer, screwdrivers, and measuring tape—practicing proper handling and safety techniques before advancing to power tools. Build confidence through small, achievable projects like installing shelves or repairing drywall, gradually working up to more complex renovations.
Create a structured learning path by mastering one skill category at a time: basic repairs, wall treatments, woodworking, and plumbing fundamentals. Document each project with before-and-after photos, maintaining a digital journal of lessons learned and techniques mastered. Join local DIY workshops, connect with experienced home improvers through community forums, and utilize free online resources from reputable home improvement retailers.
Remember that every professional started as a beginner—focus on developing proper technique rather than rushing through projects. Invest in quality tools gradually, adding to your collection as specific projects require them. Each completed task builds your expertise and saves thousands in contractor fees while creating a deeper connection with your home through hands-on improvements.
Safety remains paramount: research proper protective equipment, understand your skill limitations, and know when to call professionals for complex electrical or structural work. Start your DIY journey today with clear goals, proper preparation, and the confidence to transform your living space one project at a time.
Essential Tools Every DIY Homeowner Needs
Must-Have Basic Tools
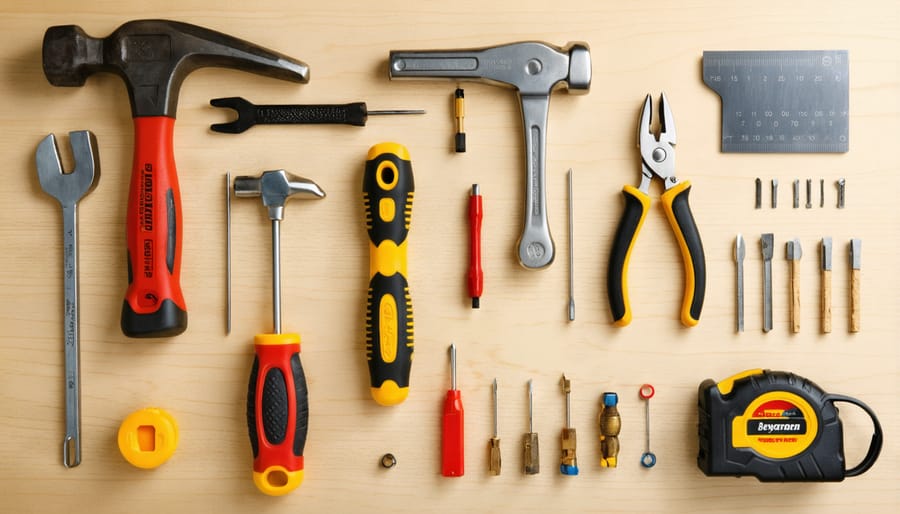
Every DIY enthusiast needs a well-stocked toolbox to tackle home improvement projects successfully. Here’s your essential starter kit that won’t break the bank but will prepare you for most basic repairs and improvements.
First on your list should be a quality hammer (16-ounce claw hammer is ideal for most tasks) and a multi-bit screwdriver set. These two tools alone will handle about 50% of your basic home repair needs. Add a pair of adjustable pliers and a reliable tape measure, and you’re already equipped for many common projects.
A utility knife with replacement blades is invaluable for everything from opening packages to cutting drywall. Include a level (24-inch is versatile) to ensure your shelves and pictures hang straight. Don’t forget safety gear: protective goggles, work gloves, and a dust mask are absolute must-haves.
For power tools, start with a cordless drill/driver – it’s the workhorse of DIY projects. Look for an 18V or 20V model with variable speeds. A basic set of drill bits and screwdriver bits will expand your capabilities significantly.
Finally, add a few smaller but essential items: a stud finder, a selection of nails and screws, and a bucket or tool bag to keep everything organized. Remember, it’s better to invest in quality tools that will last rather than replacing cheap ones frequently.
Safety Equipment Worth Investing In
When it comes to DIY home improvement, your safety should always be the top priority. Let’s explore the essential safety equipment that every DIY enthusiast should have in their arsenal.
First and foremost, invest in a quality pair of safety glasses with side shields. Your eyes are irreplaceable, and protection from flying debris is crucial during cutting, drilling, or sanding tasks. Keep multiple pairs handy for when friends help out.
A proper respirator mask is essential, especially when dealing with dust, paint fumes, or chemical substances. Look for N95-rated masks for general use and upgrade to specific filters for tasks involving harsh chemicals or lead paint removal.
Don’t overlook hand protection! Invest in multiple pairs of work gloves: leather gloves for heavy-duty work, cut-resistant gloves for sharp materials, and chemical-resistant gloves for working with solvents or cleaning agents.
Ear protection is crucial when using power tools. Choose between earmuffs or earplugs based on your comfort, but make sure they’re rated for construction noise levels.
A sturdy pair of steel-toed boots will protect your feet from falling objects and provide excellent grip on various surfaces. For tasks involving electricity, ensure you have insulated tools and rubber-soled shoes.
Finally, keep a well-stocked first aid kit in your work area, and familiarize yourself with its contents before starting any project. Remember, proper safety equipment isn’t an expense – it’s an investment in your well-being.
Start With These Simple Projects
Quick Fixes for Squeaky Floors
Those mysterious floor squeaks can drive anyone crazy, but don’t worry – we’ve got some simple solutions that won’t break the bank or require professional help. Let’s tackle those noisy floors together!
For carpeted floors, locate the squeak by walking around and marking the spot with painter’s tape. Gently drive a nail through the carpet into the floorboard below, aiming for the floor joist. Don’t worry – the carpet fibers will hide the nail head when you’re done.
If you have access to the floor from below (like through a basement or crawl space), have someone walk on the squeaky spot while you watch the subfloor from underneath. When you spot the movement, insert wooden shims between the joist and subfloor. Apply wood glue first for a permanent fix.
For hardwood floors, try sprinkling talcum powder or powdered graphite between the floorboards where they squeak. Work it into the gaps with a soft brush. This simple trick often provides enough lubrication to stop the noise.
For a more permanent solution on hardwood floors, use counter-snap screws specifically designed for squeaky floors. Pre-drill holes to prevent splitting, then drive the screws through the boards into the joists below. The screw head will snap off below the surface, leaving a barely noticeable repair.
Remember to always locate floor joists before driving any nails or screws to ensure the best results. These fixes should have you walking squeak-free in no time!
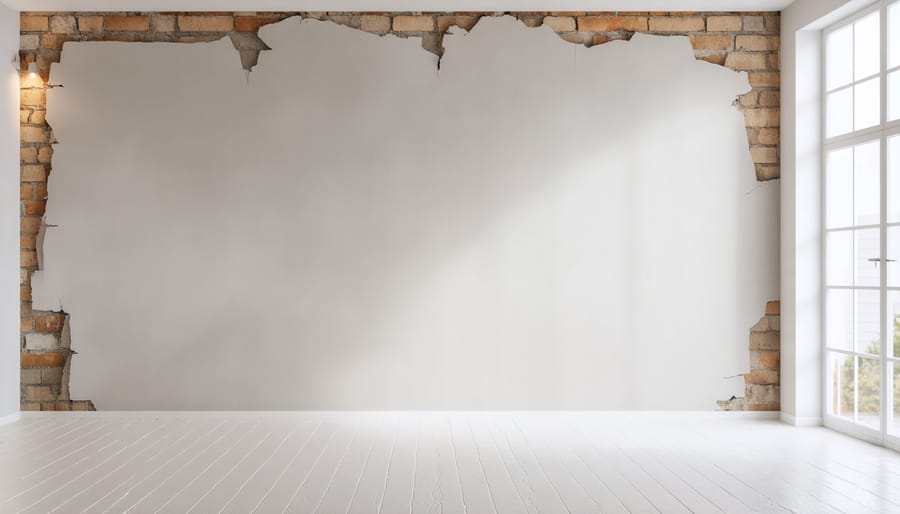
Patching Drywall Like a Pro
Got unsightly holes or dents in your walls? Don’t worry – patching drywall is a skill you can master with the right approach and a few basic tools. Start by gathering your materials: spackle or joint compound, a putty knife, sandpaper, and a damp cloth. For holes smaller than a quarter, you can usually get away with just applying spackle directly.
For medium-sized holes (up to 6 inches), you’ll need a patch kit or a piece of self-adhesive mesh tape. Clean the damaged area first, removing any loose debris. Apply your compound in thin layers – this is crucial because thick applications can lead to cracking. Use your putty knife to spread the compound about 2-3 inches beyond the damaged area, feathering the edges for a smooth transition.
Let each layer dry completely (usually 24 hours) before applying the next. Two to three thin layers typically do the trick. Once dry, sand the area gently with fine-grit sandpaper until it’s level with the surrounding wall. Wipe away dust with your damp cloth, and you’re ready to prime and paint.
Pro tip: For the smoothest finish, sand in a circular motion and use a work light held at an angle to spot any imperfections. Remember, patience is key – rushing the drying process will only lead to more work later.
Unclogging Drains Without Chemicals
Say goodbye to harsh chemicals and hello to natural, eco-friendly maintenance solutions for your clogged drains. Start with the classic combination of baking soda and vinegar: pour half a cup of baking soda down the drain, followed by half a cup of white vinegar. Cover the drain and let the mixture fizz for 15 minutes, then flush with hot water.
For regular maintenance, try this weekly ritual: pour boiling water down your drains to dissolve accumulated grease and soap residue. A plumber’s snake or a plastic drain cleaning tool can help remove hair and debris without damaging your pipes. For kitchen sinks, mix salt with hot water to break down grease buildup.
Here’s a prevention tip that really works: place mesh strainers over all your drains to catch hair and food particles before they cause problems. For shower drains, try this DIY solution: mix 1/4 cup of table salt with 1/4 cup of borax and pour it down the drain, followed by hot water.
Remember to be patient with natural solutions – they may take longer to work than chemical alternatives, but they’re safer for your pipes and the environment. If you’re dealing with a stubborn clog, try repeating the baking soda and vinegar treatment twice before calling a professional.
Money-Saving Maintenance Skills
HVAC Filter Changes and Maintenance
Your HVAC system is the heart of your home’s comfort, and maintaining it doesn’t have to be complicated. One of the most important DIY maintenance tasks is regularly changing your air filters – it’s simple yet crucial for optimal performance and air quality.
Start by checking your filter size, which is typically printed on the side of your existing filter. Most residential filters need to be changed every 60-90 days, but check monthly if you have pets or allergies. When installing a new filter, look for the airflow direction arrows printed on the frame and make sure they point toward the unit.
Beyond filter changes, you can maintain your HVAC system by:
– Cleaning return air vents and registers with a vacuum attachment
– Keeping the outdoor unit clear of debris and vegetation
– Checking and cleaning condensate drain lines
– Testing your thermostat regularly
– Listening for unusual noises that might indicate problems
For optimal performance, clean the area around your outdoor unit and maintain at least two feet of clearance. During summer, gently spray the unit with water to remove dirt buildup, but always turn off power first.
Remember to keep a maintenance schedule – set phone reminders for filter changes and seasonal checks. While these DIY tasks are important, still schedule professional maintenance annually to catch potential issues early and extend your system’s lifespan.
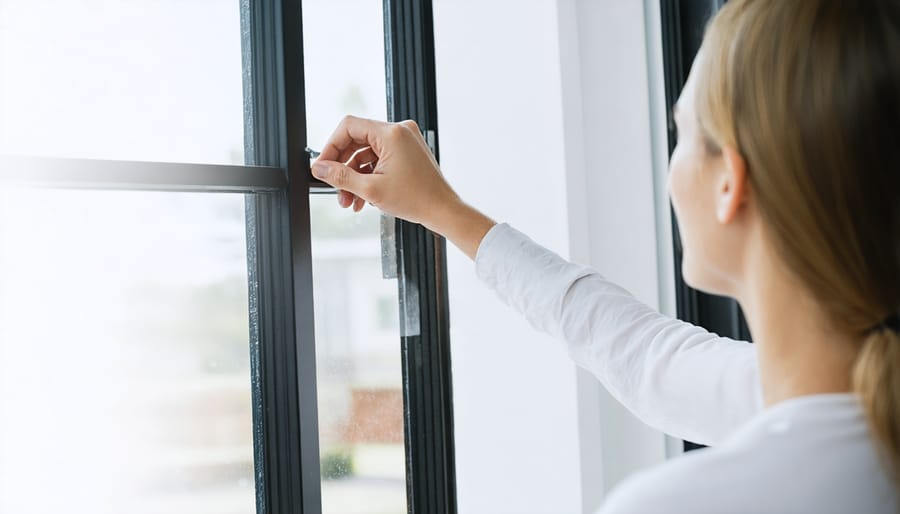
Sealing Windows and Doors
One of the most effective ways to improve energy efficiency in your home is by properly sealing windows and doors. This simple yet impactful project can significantly reduce drafts and lower your energy bills.
Start by inspecting all your windows and doors for gaps or cracks. Run your hand along the edges to feel for air leaks, or use a lit candle – the flame will flicker where there’s airflow. For windows, remove any old, cracking caulk with a putty knife and clean the surface thoroughly. Apply new weatherproof caulk in a smooth, continuous bead along the entire frame where it meets the wall.
For doors, focus on the weatherstripping. If you see daylight around the door frame or feel air coming through, it’s time for replacement. Self-adhesive foam tape is perfect for beginners – just measure, cut, and stick it along the door frame. Don’t forget the door sweep at the bottom; it’s often overlooked but crucial for preventing drafts.
For extra protection, consider installing door draft stoppers or thermal curtains. These additions are easy to implement and provide an extra layer of insulation. Remember to check your work during different weather conditions, as materials can expand and contract with temperature changes.
Preventing Water Damage
Water damage can be one of the most costly home repairs, but with regular inspection and maintenance, you can catch issues before they become major problems. Start by checking your roof regularly, especially after storms, looking for missing shingles or signs of wear. Don’t forget to clean your gutters at least twice a year – clogged gutters can cause water to back up and damage your roof or foundation.
Inside your home, keep an eye out for water stains on ceilings or walls, which often indicate a leak above. Check under sinks and around toilets for any signs of moisture, and inspect the caulking around tubs, showers, and windows. If you spot any gaps or cracks, re-caulk these areas immediately to prevent water infiltration.
Your home’s foundation deserves special attention. Ensure your yard slopes away from the house, maintaining a grade of at least 6 inches over 10 feet. Install downspout extensions to direct water at least 3 feet away from your foundation. In basements, look for efflorescence (white, powdery deposits) on walls, which suggests water seepage.
Consider installing water leak detectors near washing machines, water heaters, and under sinks. These affordable devices can alert you to leaks before they cause significant damage. Remember, addressing water issues promptly not only saves money but also prevents mold growth and structural damage to your home.
When to Call a Professional
Safety-Critical Repairs
While DIY projects can be rewarding, it’s crucial to recognize when a repair goes beyond your skill level and could pose serious risks. Electrical work, particularly involving main power lines or circuit breakers, should typically be left to licensed electricians. The same goes for major plumbing repairs, especially those involving gas lines or main water lines, where mistakes could lead to flooding or dangerous gas leaks.
Structural modifications are another area where caution is paramount. Any repairs involving load-bearing walls, roof supports, or foundation work should be evaluated by professionals. These elements are critical to your home’s stability, and improper modifications could compromise the entire structure.
HVAC systems also require special attention. While changing filters and basic maintenance are fine for DIY, repairs involving refrigerants, gas connections, or complex electrical components should be handled by certified technicians.
Watch for these red flags that signal it’s time to call a pro:
– Repairs requiring permits or inspections
– Issues involving asbestos or lead paint
– Mold infestations larger than 10 square feet
– Signs of serious water damage or pest infestation
– Any repair where you feel uncertain about safety protocols
Remember, there’s no shame in recognizing your limitations. The true mark of a wise DIY enthusiast is knowing when to step back and seek professional help to ensure your family’s safety and your home’s integrity.
Code-Regulated Projects
While DIY projects can be incredibly rewarding, it’s crucial to understand that some home improvements require proper permits or licensed professionals. Electrical work, plumbing modifications, structural changes, and HVAC installations typically fall under code-regulated projects that need official oversight.
For electrical work, most jurisdictions require permits for new wiring, circuit additions, or panel upgrades. These projects can pose serious safety risks and must meet specific electrical codes. Similarly, plumbing projects that involve modifying supply lines, installing new fixtures, or altering drainage systems usually require permits and professional installation.
Structural modifications, such as removing walls, adding windows, or building additions, almost always need permits and professional engineering approval. These projects affect your home’s integrity and must comply with local building codes. HVAC work, including installing new systems or modifying existing ones, requires licensed professionals due to complex safety and efficiency regulations.
Before starting any major home improvement project, contact your local building department to understand permit requirements. Working without required permits can result in fines, forced removal of improvements, and complications when selling your home. Remember, these regulations exist to ensure your safety and protect your investment. When in doubt, consult with licensed professionals who can guide you through the proper channels and help maintain your home’s compliance with local codes.
Embarking on your DIY home improvement journey is an exciting and rewarding adventure that can transform both your living space and your confidence. As we’ve explored throughout this guide, starting with the basics – understanding essential tools, safety protocols, and fundamental skills – creates a solid foundation for tackling increasingly complex projects.
Remember, every experienced DIYer started exactly where you are now. The key is to begin with small, manageable projects and gradually work your way up to more challenging tasks. Don’t be afraid to make mistakes; they’re valuable learning opportunities that will help you develop your skills and judgment.
Keep your safety gear handy, maintain your tools properly, and always take the time to plan your projects thoroughly. When in doubt, consult reliable resources, watch tutorial videos, or reach out to experienced DIYers in online communities. The DIY community is incredibly supportive and always willing to share knowledge and tips.
As you progress, document your projects and celebrate your successes, no matter how small. Each completed task adds to your expertise and builds the confidence needed for future endeavors. Consider creating a project journal to track your progress and lessons learned along the way.
Most importantly, enjoy the process! There’s nothing quite like the satisfaction of stepping back and admiring a project you’ve completed with your own hands. Whether you’re fixing a leaky faucet or renovating an entire room, your DIY skills will save you money, increase your home’s value, and give you a sense of accomplishment that’s truly priceless.
Now, pick up those tools and start your first project. Your DIY adventure begins today!