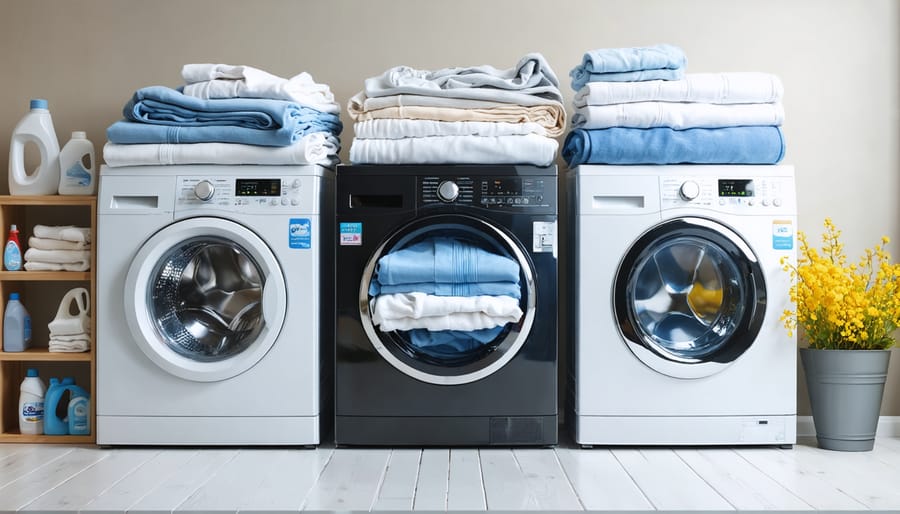
Transform your laundry routine from chaotic to confident with these essential laundry basics for beginners. Master the art of proper clothing care through simple yet effective techniques that protect your garments and maximize their lifespan. Sort clothes by color and fabric type, decode care labels before washing, and select the right water temperature to prevent damage. Whether you’re tackling your first load or seeking to refine your laundry skills, this comprehensive guide delivers expert-backed methods for achieving professional-quality results at home. From preventing color bleeding to preserving delicate fabrics, learn time-tested strategies that turn laundry day from a dreaded chore into a satisfying accomplishment. Our step-by-step approach ensures you’ll handle everything from everyday basics to specialty items with confidence, helping you avoid common pitfalls while saving time and money on clothing care.
Sorting Your Laundry Like a Pro
Color Sorting Essentials
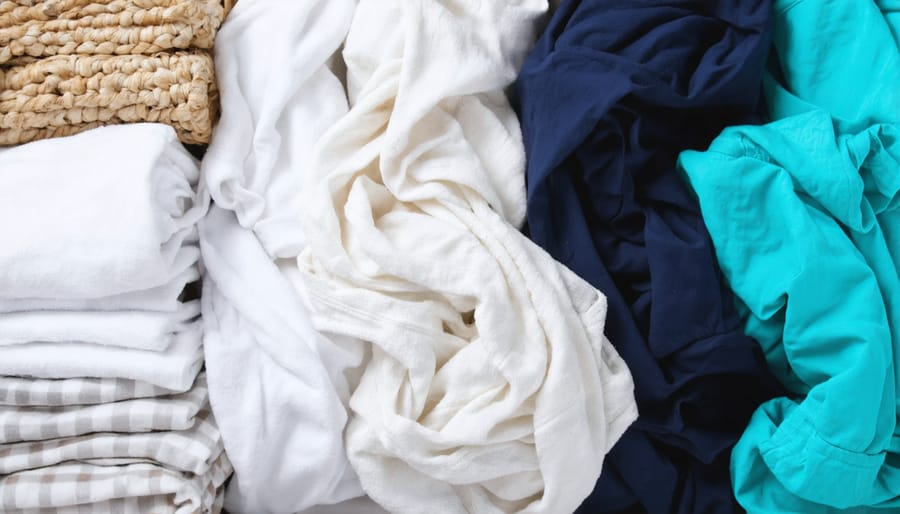
Proper color sorting is your first defense against laundry disasters. Start by separating your laundry into three main categories: whites, darks, and colors. Whites should include pure white items like undershirts, socks, and sheets. Keep in mind that even slightly off-white or cream-colored items should go with colors to prevent dulling your bright whites.
For darks, group black, navy, dark gray, and brown items together. These pieces tend to bleed dye in their first few washes, so keeping them separate protects your lighter clothes from discoloration. Dark jeans especially need their own wash cycles for the first few times.
The colors pile should include everything else: pastels, brights, and medium-toned items. If you have very bright or new colored items, consider washing them separately for the first couple of cycles. Red clothing is particularly notorious for bleeding, so give these items extra attention.
For the best results, turn all garments inside out before washing. This not only protects the visible side of your clothes but also targets the areas that need the most cleaning – where fabric meets skin.
Fabric Type Grouping
Properly grouping your fabrics before washing is essential for keeping your clothes in great condition. Start by separating your laundry into three main color categories: whites, lights, and darks. This prevents color bleeding and keeps your whites crisp and bright.
Next, sort each color pile by fabric type. Group heavyweight items like jeans, towels, and sweatshirts together, as these require more agitation and can be rough on delicate items. Create a separate pile for lightweight cottons and everyday wear. Dedicate a special group for delicates like silk, lace, and wool items, which need gentle washing to maintain their shape and texture.
Athletic wear and synthetic materials should be washed together, as they often require similar water temperatures and special care. Always check care labels, but generally, similar fabrics should stick together. For example, wash all your cotton t-shirts in one load and your synthetic workout gear in another.
Remember to separate items with zippers, hooks, or rough embellishments from knits and delicate fabrics to prevent snags and tears during washing.
Dirt Level Classification
Sort your laundry by dirt level to prevent transferring grime between clothes during washing. Create three main categories: lightly soiled (worn once with no visible dirt), moderately soiled (regular daily wear), and heavily soiled (visible stains, sweat, or dirt). Keep heavily soiled items separate from lighter loads to prevent dirt from redepositing onto cleaner clothes.
For heavily soiled items, consider pre-treating stains and running them through a pre-wash cycle. Sports uniforms, work clothes, and children’s play clothes often fall into this category. These items might need extra detergent or a longer wash cycle to get fully clean.
Bonus tip: Keep a separate hamper for heavily soiled items to make sorting easier on laundry day. This simple organization trick will save you time and ensure better cleaning results.
Understanding Laundry Symbols
Those mysterious symbols on your clothing tags don’t have to feel like hieroglyphics! Let’s decode these essential laundry care symbols together, so you can keep your clothes looking their best.
For washing instructions, look for the washtub symbol. A plain washtub means machine washing is fine, while a hand in the tub indicates hand washing only. The number inside represents the maximum water temperature in Celsius. One dot means cold (30°C), two dots indicate warm (40°C), and three dots signal hot (50°C or higher).
When it comes to bleaching, a triangle is your guide. An empty triangle means any bleach is fine, while diagonal lines through it mean no bleach at all. A triangle with two diagonal lines indicates only non-chlorine bleach is safe to use.
Drying symbols use a square with a circle inside. Dots again indicate temperature levels – one for low heat, two for medium, and three for high heat. A crossed-out square means no tumble drying, while lines inside the square suggest line drying or drip drying.
For ironing, look for the iron symbol. Just like with washing and drying, the dots indicate temperature: one dot for low, two for medium, and three for high. A crossed-out iron means no ironing allowed – perfect for those of us who’d rather not deal with an ironing board!
Professional cleaning symbols use a circle. “P” inside means dry clean only, while “F” indicates dry clean with special solvents. A crossed-out circle? Skip the dry cleaner altogether.
Pro tip: Take a photo of garments’ care labels when you buy them. That way, you’ll always have the care instructions handy, even if the tag becomes illegible over time.
Remember, following these symbols carefully helps extend your clothes’ lifespan and keeps them looking fresh wash after wash.
Choosing the Right Water Temperature
Selecting the right water temperature is crucial for effective laundry care and can significantly impact both the cleanliness of your clothes and their longevity. Your local water quality for laundry plays a role, but temperature is equally important for optimal results.
Hot water (130°F or above) is your best choice for whites, heavily soiled items, and items that need sanitizing, like bath towels and bed linens. It’s excellent at killing bacteria and breaking down tough stains but can be harsh on fabrics and may cause shrinkage or color bleeding.
Warm water (90°F to 110°F) strikes a perfect balance between cleaning power and fabric care. It’s ideal for synthetic fabrics, colorfast items, and moderately soiled clothing. This temperature effectively removes everyday dirt while being gentle enough to preserve colors and prevent damage to most fabrics.
Cold water (60°F to 80°F) is perfect for delicate items, dark or bright colors, and clothes that might shrink. It’s also an energy-efficient option that works well with modern detergents specifically designed for cold water washing. Plus, it’s gentler on your clothes, helping them last longer.
Here’s a quick guide for specific items:
– Hot: White cotton, heavily soiled workwear, diapers
– Warm: Polyester, permanent press items, jeans
– Cold: Wool, silk, spandex, dark colors
Pro tip: When in doubt, check the care label and opt for cooler temperatures. You can always rewash an item in warmer water if needed, but you can’t undo damage from water that’s too hot. For particularly stubborn stains, pre-treat the area rather than automatically reaching for hot water.
Remember to consider energy efficiency too – using cold water for most loads can significantly reduce your energy bills while still getting your clothes clean and fresh.
Detergent Selection and Usage
Types of Detergents
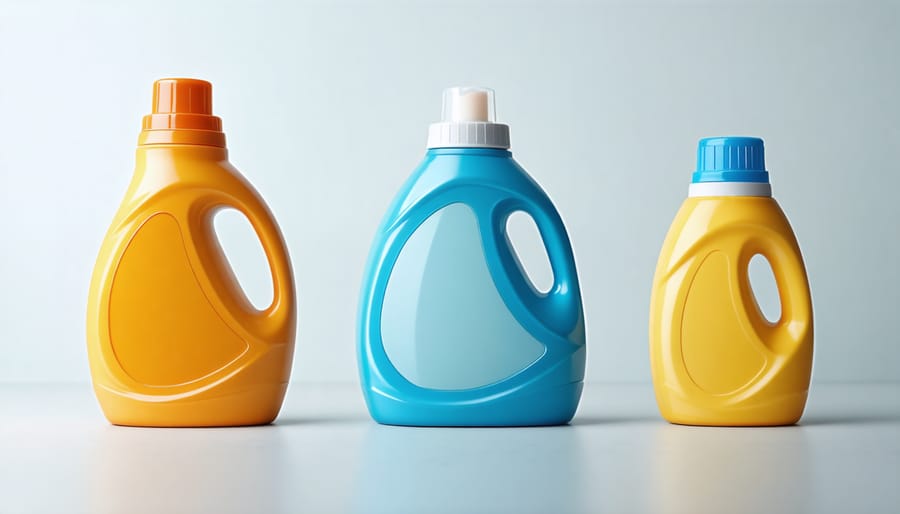
Choosing the right detergent can make a significant difference in your laundry results. Let’s explore the three main types you’ll encounter in the cleaning aisle.
Powder detergents are the traditional choice and often the most economical option. They’re particularly effective at tackling outdoor stains and work best in warm or hot water. However, they can sometimes leave residue in cold water washes, especially if they don’t dissolve completely.
Liquid detergents have become increasingly popular due to their convenience and versatility. They dissolve easily in any water temperature and work well for pretreating stains. For those interested in eco-friendly laundry solutions, many liquid detergents now come in concentrated formulas that use less packaging.
Detergent pods offer the ultimate convenience with pre-measured portions that eliminate guesswork. They combine powder and liquid components in a water-soluble packet, making them incredibly easy to use. However, they’re typically more expensive per load than other options.
If you’re environmentally conscious, consider exploring natural laundry detergents made with plant-based ingredients. These alternatives can be just as effective while being gentler on both your clothes and the environment.
Remember, regardless of which type you choose, always follow the dosage instructions on the packaging to avoid using too much or too little detergent.
Measuring for Success
Getting your detergent measurements right is crucial for clean, fresh-smelling laundry without waste or residue. Most people use too much detergent, which can leave clothes feeling stiff and dingy. For standard loads in a regular washer, start with two tablespoons of liquid detergent or two tablespoons of powder.
For high-efficiency (HE) washers, use even less – about one tablespoon should do the trick. These machines are designed to work with less water and need specially formulated HE detergents to prevent excess suds. Always check your machine’s manual for specific recommendations.
Consider these factors when measuring:
– Load size: Half loads need half the detergent
– Water hardness: Hard water requires slightly more detergent
– Soil level: Heavily soiled clothes may need an extra half-tablespoon
– Fabric type: Delicates usually need less detergent
Pro tip: Use the measuring cap that comes with your detergent instead of eyeballing it. If you see suds remaining after the rinse cycle, you’re probably using too much. For convenience, mark the correct level on your measuring cap with a permanent marker.
Remember, more detergent doesn’t mean cleaner clothes. In fact, excess detergent can trap dirt and bacteria in your clothes, leading to dull colors and unpleasant odors. When in doubt, use less – you can always run another cycle if needed.
Cycle Selection Simplified
Understanding your washing machine’s cycles doesn’t have to be complicated. Let’s break down these essential laundry techniques into simple, actionable guidance.
Normal/Regular Cycle: This is your go-to setting for everyday clothes like cotton t-shirts, jeans, and bedding. It uses warm or hot water and vigorous agitation to tackle regular soil levels effectively.
Delicate/Gentle Cycle: Perfect for your favorite silk blouses, lacey undergarments, and lightweight sweaters. This cycle uses cool water and minimal agitation to protect delicate fabrics from damage.
Heavy Duty: Reserved for heavily soiled items like work clothes, sports uniforms, or muddy towels. It employs hot water and maximum agitation to break down tough stains and dirt.
Quick Wash: Ideal for lightly soiled clothes that need a quick refresh. This cycle saves time and energy but works best with small loads and minimal dirt.
Permanent Press: Use this for wrinkle-prone items like dress shirts and pants. The cycle combines warm water wash with a cool rinse to prevent wrinkles and protect color-treated fabrics.
Bulky/Bedding: Designed specifically for large items like comforters, blankets, and pillows. It uses extra water and specialized tumbling to ensure even cleaning of bulky items.
Pro tip: When in doubt, check your garment’s care label and match it to the most appropriate cycle. It’s better to err on the gentler side if you’re unsure, as aggressive washing can damage delicate clothes.
Remember that these cycles work best when you’re not overloading the machine. A properly loaded washer allows clothes to move freely, ensuring thorough cleaning and preventing wear and tear on both your clothes and your machine.
Drying Done Right
Machine Drying Tips
Using your dryer effectively not only ensures your clothes come out perfectly dry but also helps save energy and extend the life of your garments. Start by checking and cleaning the lint filter before each load – this simple step improves drying efficiency and prevents potential fire hazards.
Group similar fabrics together when drying. Heavy items like towels and jeans should be dried separately from lightweight items like t-shirts and underwear. This ensures even drying and prevents lighter items from getting trapped in heavier ones.
Don’t overload the dryer – clothes need room to tumble freely. A good rule of thumb is to fill it about three-quarters full. Use the appropriate temperature setting for your fabrics: high heat for towels and cottons, medium for permanent press items, and low for delicates and synthetics.
Take advantage of your dryer’s moisture sensor if it has one. This feature helps prevent over-drying, which can damage fabrics and waste energy. Remove clothes promptly when the cycle ends to minimize wrinkles. For items prone to wrinkling, use the permanent press setting, which includes a cool-down period.
For energy efficiency, try running consecutive loads while the dryer is still warm. And don’t forget to periodically check and clean your dryer vent – a clogged vent reduces efficiency and can be dangerous.
Air-Drying Methods
Air-drying is a gentle and energy-efficient way to dry your clothes, especially for delicate items that might get damaged in a dryer. For best results, start by gently squeezing out excess water from your garments – never wring or twist them, as this can distort their shape.
Choose a well-ventilated area, either outdoors or inside, for drying. If drying outdoors, hang clothes in the shade to prevent color fading from direct sunlight. When using a clothesline, hang shirts from the bottom hem with clothespins placed about 6 inches apart to prevent pinch marks. For sweaters and delicate knits, lay them flat on a clean drying rack or mesh surface to maintain their shape.
For indoor drying, use a sturdy drying rack and ensure good air circulation by opening windows or using a fan. Hang dress shirts on proper hangers to maintain their shape and reduce wrinkles. For delicate items like lingerie and wool garments, use padded hangers to prevent stretching.
Remember to space items apart to allow proper airflow between garments. Most items will dry within 24 hours, depending on humidity levels and air circulation. To prevent musty odors, avoid air-drying in damp basements or poorly ventilated spaces. For faster drying, run items through an extra spin cycle in your washing machine before hanging them up.
Mastering your laundry routine doesn’t have to be overwhelming. By following the essential steps we’ve covered – from proper sorting and pretreating to choosing the right water temperature and cycle settings – you’ll be well on your way to maintaining fresh, clean clothes that last longer.
Remember that successful laundry care starts with reading care labels and organizing your items by color and fabric type. Take time to address stains promptly, and don’t skip the crucial step of checking pockets before washing. Using the right amount of detergent and selecting appropriate water temperatures will not only clean your clothes effectively but also help preserve their quality.
Make these practices part of your regular laundry routine, and you’ll notice the difference in both the cleanliness and longevity of your garments. Start implementing these techniques one load at a time – there’s no need to feel pressured to perfect everything at once. With practice, these steps will become second nature.
Keep this guide handy as you develop your laundry skills, and don’t be afraid to experiment within these guidelines to find what works best for your specific needs. Whether you’re tackling everyday loads or caring for delicate items, you now have the knowledge to handle your laundry with confidence.
Happy washing, and here’s to fresher, cleaner clothes that look and feel their best!