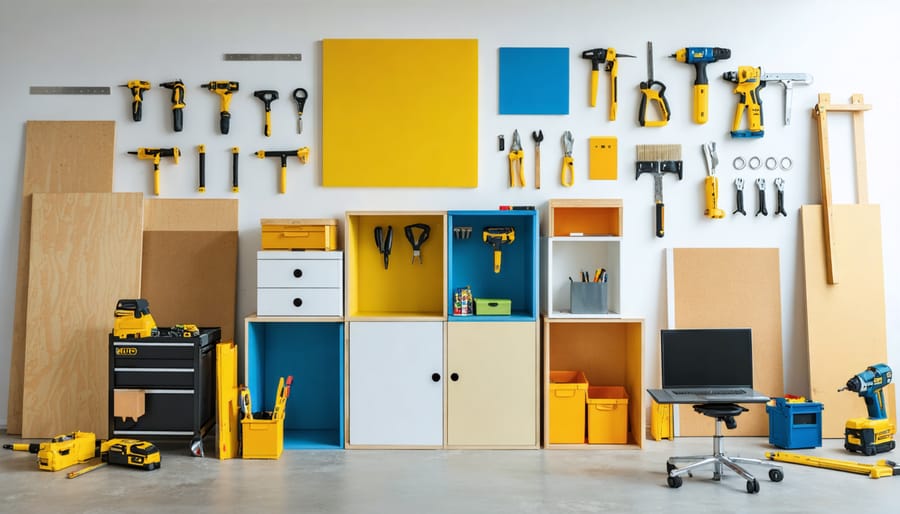
Transform your living space with modular furniture that adapts to your changing needs while saving money and expressing your creativity. Understanding the benefits of modular furniture is just the beginning – creating your own customizable pieces opens up endless possibilities for personalization and practical storage solutions.
Start with basic modular cube units using 3/4-inch plywood, connecting them with heavy-duty brackets and concealed hinges to create expandable shelving systems. Graduate to multi-functional pieces like storage ottomans with removable tops and interchangeable side panels that serve as both seating and storage. Design stackable components using French cleats and sturdy joinery techniques that allow for endless configurations while maintaining structural integrity.
Whether you’re working with limited square footage in an urban apartment or maximizing space in a growing family home, DIY modular furniture puts you in control of both form and function. This comprehensive guide will walk you through essential techniques, material selection, and step-by-step projects suited for both beginners and experienced woodworkers, helping you create versatile pieces that evolve with your lifestyle.
Essential Tools and Materials for DIY Modular Furniture
Basic Tools You’ll Need
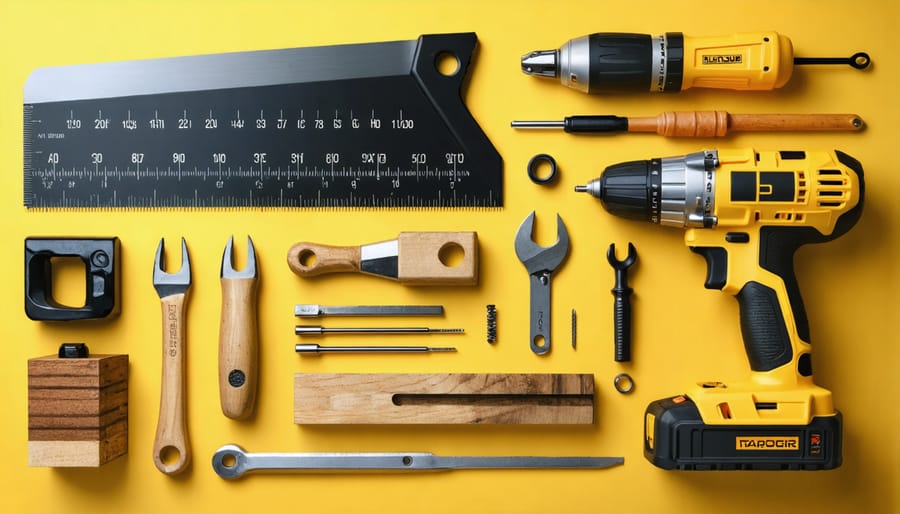
Before diving into your modular furniture project, gather these essential tools to ensure smooth sailing. You’ll need a reliable power drill with various drill bits – this will be your best friend throughout the build. A measuring tape and pencil are crucial for accurate measurements and markings, while a level helps ensure everything stays perfectly straight.
Don’t forget your trusty screwdriver set (both Phillips and flathead), as well as a quality hammer for those occasional taps. A sturdy saw is essential – a circular saw works great for straight cuts, but a handsaw can do the job if you’re just starting out. For precise corners and joints, grab a carpenter’s square and marking knife.
Safety should always come first, so make sure you have protective gear: safety glasses, work gloves, and a dust mask. Having a good work surface like a sturdy table or sawhorses will make your project much easier. Finally, keep some sandpaper (medium and fine grit) handy for smooth finishing touches.
Pro tip: Invest in clamps – at least 4-6 of various sizes. They’re incredibly useful for holding pieces together while glue dries or during assembly.
Materials and Hardware Guide
When building modular furniture, choosing the right materials is crucial for both durability and aesthetics. Plywood and MDF are popular choices for their versatility and cost-effectiveness, while solid wood offers premium durability. Consider exploring sustainable materials like bamboo or reclaimed wood for an eco-friendly approach.
Essential hardware components include connectors, brackets, and fasteners. Cam lock fasteners are perfect for creating removable joints, while heavy-duty brackets provide stability for larger pieces. Don’t forget about adjustable furniture legs, which allow for leveling on uneven surfaces and add a professional touch to your projects.
For joining pieces, you’ll need wood screws, dowels, and wood glue. T-nuts and threaded inserts are invaluable for creating strong, repeatable connections. Consider investing in quality hinges for doors and fold-down components, and drawer slides for smooth operation of storage elements.
Remember to choose materials and hardware rated for your intended weight capacity and usage. Quality matters – while premium components might cost more initially, they’ll ensure your furniture remains sturdy and functional for years to come.
Simple Modular Furniture Projects for Beginners
Stackable Storage Cubes
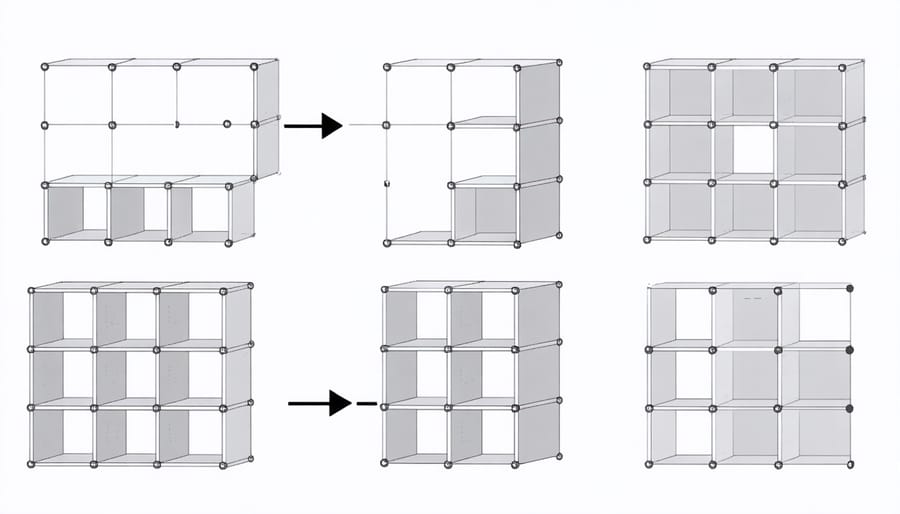
Creating your own stackable storage cubes is a fantastic way to maximize storage space while adding a personal touch to your home. Here’s how to build these versatile units:
Materials needed:
– 1/2-inch plywood or MDF
– Wood glue
– 1-inch wood screws
– Corner brackets
– Wood finish or paint
– Basic hardware for connections
Step 1: Cut your panels
For each cube, cut six identical squares measuring 12×12 inches (or your preferred size). Sand all edges smooth to prevent splinters and ensure a professional finish.
Step 2: Assembly
Begin by creating an L-shape with two panels, using wood glue and corner brackets for stability. Add the bottom panel, followed by the remaining sides. Leave the front open if you plan to add a door, or complete the cube by attaching the final panel.
Step 3: Reinforcement
Install additional corner brackets on the inside for extra stability. If you’re planning to stack multiple cubes, add connecting hardware at the top corners.
Step 4: Finishing
Sand any rough spots, then apply your chosen finish. Consider using water-resistant sealant if the cubes will be in moisture-prone areas.
Pro Tips:
– Use a template for consistent cuts
– Pre-drill screw holes to prevent splitting
– Add adjustable feet for leveling
– Consider installing push-to-open hardware for a sleek look
These cubes can be arranged horizontally or vertically, and work beautifully as building blocks for larger storage solutions.
Modular Floating Shelves
Transform your wall space into a versatile storage solution with these customizable floating shelves. Perfect for displaying books, plants, or decorative items, these modular shelves can be arranged and rearranged to suit your changing needs.
Start by gathering your materials: 1×8 lumber for the shelves, 1×2 boards for the cleats, a level, stud finder, screws, wood glue, and your choice of wood finish. For a polished look, consider using hardwood like oak or maple, though pine works well for budget-friendly projects.
Begin by cutting your 1×8 boards to your desired shelf lengths. For a modular system, try creating shelves in varying lengths like 24″, 36″, and 48″. Next, cut your 1×2 cleats about 2 inches shorter than your shelf lengths – these will be your hidden support brackets.
Mount the cleats first, ensuring they’re perfectly level and secured into wall studs. Apply wood glue to the top of each cleat, then slide your shelf piece over it, creating a seamless floating appearance. Secure the shelf to the cleat with screws from underneath.
Pro tip: Create a paper template of your desired shelf arrangement before mounting anything. This helps visualize the final look and prevents unnecessary wall holes. For added stability in longer shelves, install additional support brackets in the middle section.
Sand everything smooth and finish with your chosen stain or paint. Remember to seal properly to protect against moisture, especially in bathrooms or kitchens.
Convertible Coffee Table
Transform your living space with this ingenious convertible coffee table that doubles as a dining table. Perfect for small spaces, this project combines style with functionality and can be completed in a weekend.
Start by building a sturdy base frame using 2x4s, creating a rectangular structure measuring 48″ x 24″. Add corner braces for stability. The secret to this table’s convertibility lies in its lifting mechanism – install gas springs on both sides, similar to those used in car trunks, to make raising and lowering effortless.
For the tabletop, create two identical surfaces using ¾” plywood, with one slightly smaller to nest inside the other. Connect them using heavy-duty hinges along one edge. The bottom piece remains stationary while the top piece folds out to double your surface area. When expanded, the table reaches standard dining height at 30″.
Add a locking mechanism using barrel bolts to secure the table in both positions. For a polished look, sand all surfaces thoroughly and finish with your choice of stain or paint. Consider adding felt pads underneath to protect your floors.
Pro tip: Include storage space within the base for placemats and dining essentials. This hidden compartment maximizes functionality without compromising the table’s clean lines.
Materials needed:
– 2×4 lumber
– ¾” plywood
– Gas springs (2)
– Heavy-duty hinges
– Barrel bolts
– Wood finish
– Basic hardware
Estimated project cost: $150-200
Time required: 8-10 hours
Advanced Modular Furniture Projects
Sectional Sofa System
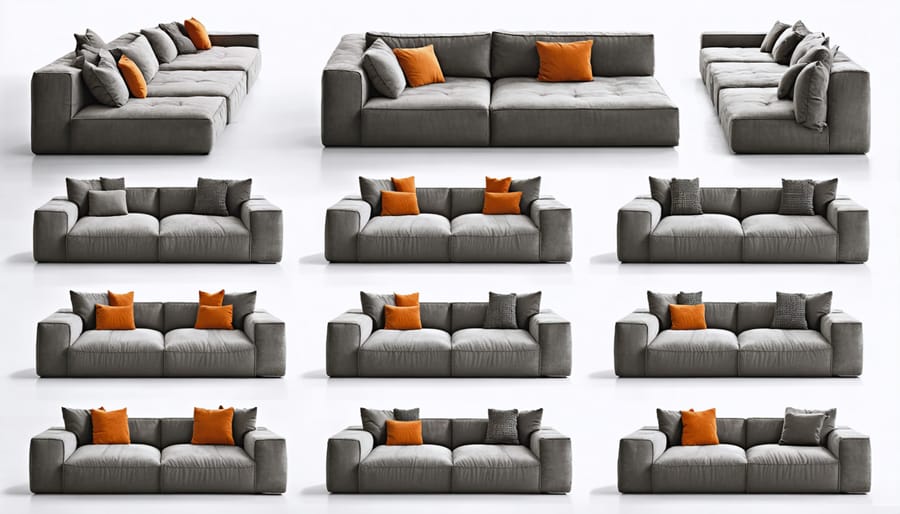
Building your own sectional sofa system is an exciting project that offers both flexibility and significant cost savings. Start by designing your ideal layout on paper, considering how many sections you’d like and their dimensions. A typical setup includes a corner piece, two to three straight sections, and perhaps a chaise lounge.
For each section, you’ll need a sturdy wooden frame made from 2x4s. Create a basic box frame with support beams every 12 inches, ensuring the height matches standard sofa dimensions (about 18 inches). Add legs or a solid base platform, depending on your preferred style. Remember to make all sections the same height for seamless connection.
The seat cushioning consists of three layers: support webbing, high-density foam, and a comfort layer. Install heavy-duty furniture webbing in a crisscross pattern across the frame, then add a sheet of 3-inch high-density foam. Top it with a 1-inch layer of memory foam or batting for extra comfort.
For the backrest, construct a separate frame that attaches securely to the base. Angle it slightly (about 100-110 degrees) for optimal comfort. Use 2-inch foam for the backrest, wrapped in batting for a professional finish.
To make your sections modular, install connecting brackets between pieces. Hardware stores offer specific sofa sectional brackets, but heavy-duty furniture connectors work well too. Position them underneath where sections meet, ensuring they’re sturdy and hidden from view.
For upholstery, choose a durable fabric with a high rub count. Plan for about 6-8 yards per section, depending on size. Work systematically: cover the foam with batting, then carefully stretch and staple your fabric, starting from the center and working outward. Pay special attention to corners and seams for a professional look.
Create removable cushion covers with zippers for easy cleaning, and consider adding storage compartments under seats for extra functionality. With careful planning and attention to detail, your custom sectional will provide years of comfortable, flexible seating that perfectly fits your space.
Multi-functional Room Divider
Transform your living space with this versatile room divider that doubles as a storage solution. This project combines style with functionality, creating a piece that’s both beautiful and practical for any home.
Materials needed:
– 4 wooden crates (24″ x 12″ x 12″)
– 8 heavy-duty metal brackets
– 16 caster wheels (optional)
– Wood screws
– Wood stain or paint
– Sandpaper (120 and 220 grit)
– Wood glue
– Basic hardware for shelving
Start by sanding each crate thoroughly, moving from coarse to fine grit for a smooth finish. Pay special attention to rough edges and splinters. Once smooth, wipe away all dust with a tack cloth.
Apply your chosen finish – either stain or paint – following the manufacturer’s instructions. Allow proper drying time between coats. This step is crucial for both aesthetics and protection.
Now for assembly: Position two crates side by side, ensuring they’re perfectly aligned. Connect them using metal brackets and screws. Repeat with the remaining two crates, creating two separate horizontal units. Stack these units carefully, securing them together with brackets at each corner.
For mobility, attach caster wheels to the bottom corners. If you prefer a stationary divider, skip this step.
Customize your divider by adding adjustable shelving, hooks, or built-in organizers. Consider installing small LED lights for ambiance, or add fabric backing for extra privacy.
Pro Tips:
– Reinforce joints with wood glue before screwing brackets
– Use a level throughout assembly to ensure stability
– Consider anchoring to the wall if using as a permanent fixture
– Rotate crates in different directions for varied storage options
– Add baskets or boxes for concealed storage
This modular design allows you to add or remove sections as needed, making it perfect for evolving spaces and storage needs. The best part? You can easily disassemble and reconfigure it when moving or redecorating.
Design Tips and Customization Ideas
Finishing Techniques
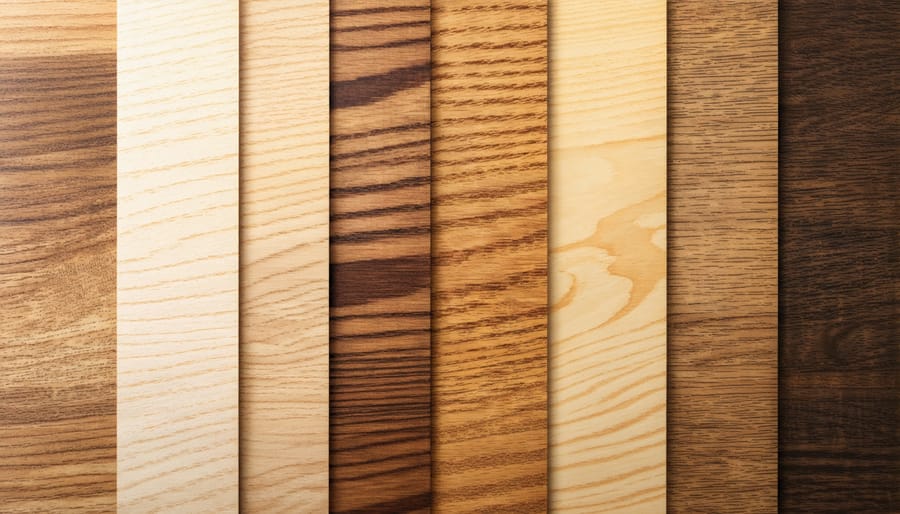
The finishing touches on your modular furniture can make all the difference between a DIY project and a professional-looking piece. Start by thoroughly sanding all surfaces with medium-grit sandpaper, followed by fine-grit for that silky-smooth feel. Remember to wipe away all dust with a tack cloth before applying any finish.
For a natural look, consider using Danish oil or tung oil, which penetrate the wood and enhance its natural grain while providing protection. These are particularly beginner-friendly as they’re forgiving and easy to apply with just a cloth. If you’re environmentally conscious, explore eco-friendly finishing options like water-based polyurethane or natural waxes.
For a more contemporary appearance, chalk paint offers excellent coverage and a modern matte finish that’s perfect for modular pieces. It requires minimal preparation and can be sealed with wax for durability. Spray paint is another option that provides even coverage and works well on both wood and metal components, though be sure to use proper primers for best results.
Don’t forget to protect your finished pieces with felt pads or rubber bumpers where components meet to prevent scratching. Allow adequate drying time between coats, and consider applying a clear protective topcoat for high-use surfaces to ensure your modular furniture stays beautiful for years to come.
Hardware Options
The hardware you choose can make or break your modular furniture project, both in terms of functionality and aesthetic appeal. Let’s explore some popular options that offer both style and practicality.
For connecting modules, heavy-duty cam lock fasteners are a go-to choice. These provide a secure, hidden connection that can be easily disassembled when needed. If you’re after a more industrial look, visible bolt connections with decorative cap nuts can add character while maintaining strength.
For adjustable shelving, consider using shelf pins or traditional keyhole tracks. These allow for easy height adjustments and can support significant weight when properly installed. For a more modern approach, try using hidden floating shelf brackets, which create a clean, minimalist appearance.
When it comes to hinges for doors and fold-down surfaces, soft-close mechanisms offer a luxurious touch while protecting your furniture from slamming. For a seamless look, concealed European-style hinges work wonderfully, while exposed barrel hinges can add a vintage charm.
Don’t overlook the importance of leveling feet or casters. Adjustable feet ensure stability on uneven floors, while quality locking casters add mobility without sacrificing security. For a sleek finish, consider using threaded inserts for your connecting hardware – they’re more durable than drilling directly into wood and allow for multiple assemblies.
Remember to choose hardware finishes that complement your overall design. Matte black, brushed nickel, and brass are popular choices that can elevate the look of your modular pieces.
Common Mistakes and Troubleshooting
When building modular furniture, even small mistakes can lead to unstable pieces or poor fit. Here’s how to avoid common pitfalls and fix them when they occur.
One of the most frequent mistakes is rushing through measurements. Always measure twice and cut once – this old carpenter’s saying can save you time and materials. If you do make a cutting error, keep the piece for smaller components or spacers rather than throwing it away.
Improper tool alignment often results in crooked joints. Before making any cuts, ensure your tools are properly calibrated and squared. If you notice misaligned joints, wood filler can help hide minor gaps, but for larger issues, it’s better to remake the piece.
Many DIYers skip the crucial step of pre-drilling holes, leading to split wood. Always pre-drill when working near edges or with hardwoods. If splitting occurs, wood glue and clamps can usually salvage the piece, but prevention is always better.
Another common issue is using the wrong type of screws or hardware. Make sure to choose appropriate fasteners for your material and intended use. If you notice loose connections, upgrade to slightly larger screws or add wood glue for reinforcement.
Finishing problems often arise from inadequate surface preparation. Sand thoroughly between coats and work in a dust-free environment. If you notice bubbles or uneven coverage, light sanding and reapplication usually solves the issue.
Embarking on your DIY modular furniture journey opens up a world of creative possibilities and practical solutions for your living space. By creating customizable pieces that adapt to your needs, you’re not just building furniture – you’re crafting a more flexible and personalized home environment. Remember that starting small with basic projects helps build confidence and skills before tackling more complex designs.
The beauty of modular furniture lies in its versatility and potential for evolution as your needs change. Whether you’ve begun with a simple storage cube or challenged yourself with a multi-functional room divider, each project contributes to your DIY expertise and home’s functionality.
Don’t be afraid to experiment with different materials, configurations, and designs. Your modular pieces can always be modified, expanded, or repurposed as needed. Keep essential tools handy, maintain a safe working environment, and take time to plan each project thoroughly.
Most importantly, enjoy the process of creating something unique and practical with your own hands. Your DIY modular furniture journey starts now – what will you build first?

