Develop your DIY confidence with these essential home repair skills:
Master plumbing basics like fixing leaky faucets, unclogging drains, and replacing worn washers or O-rings. Keep a plunger, adjustable wrench, and plumber’s tape in your toolkit.
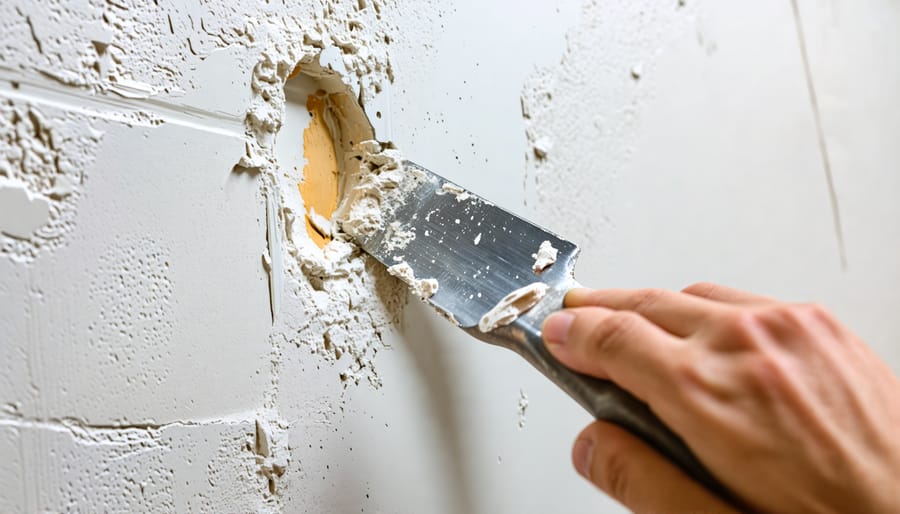
Repair drywall holes and cracks with joint compound, a putty knife, and sandpaper. For larger holes, use a drywall patch kit. Sand smooth and paint to blend the repair.
Tackle bad paint jobs by scraping off loose paint, patching imperfections with spackling paste, then sanding, priming and repainting the surface. Use painter’s tape for crisp edges.
Replace damaged or missing caulk around sinks, tubs, and backsplashes. Cut out old caulk, clean the surface, then apply fresh silicone or latex caulk using a caulking gun. Smooth with a wet finger before it dries.
With these core skills, you’ll be ready to confidently handle common home repairs, saving money and keeping your space in top shape.
Patching and Painting Walls
Gathering the Right Tools and Materials
To repair walls and paint like a pro, gather these essential supplies: spackling compound, putty knife, sandpaper, painter’s tape, drop cloths, paint brushes, paint roller and cover, paint tray, and your chosen paint. Don’t forget a screwdriver for removing outlet covers and a damp cloth for cleanup. Investing in quality tools makes the job easier and helps ensure a flawless finish. Check for any missing items before starting your project to avoid time-consuming trips to the hardware store later on. With the right tools on hand, you’ll be ready to tackle wall repair and painting with confidence.
Prepping the Area
Before you start repairing, take time to properly prep the damaged wall area and the room. Clear the room of furniture and cover the floor with drop cloths or plastic sheeting. Remove any loose paint, drywall, or debris from the damaged area using a putty knife or sandpaper. If there are cracks, widen them slightly with the knife so the joint compound can adhere better. Brush away dust and wipe the area clean with a damp cloth. Protect trim, outlets, and switches with painter’s tape. With the area prepped, you’re ready to begin the repair process.
Techniques for a Flawless Finish
To achieve a flawless finish when repairing walls, start by using a putty knife to apply spackling compound smooth and level with the wall surface. Once dry, sand the area until it’s flush, wiping away dust with a damp cloth. For a seamless paint job, use painter’s tape to mask off edges and trim. Choose paint colors that match your existing wall, and apply with a roller for even coverage. Use a brush to “cut in” corners and edges. Apply a second coat if needed, then remove tape while the paint is still wet for sharp lines. With patience and attention to detail, your wall repairs will blend in perfectly.

Unclogging Drains

Non-Chemical Methods
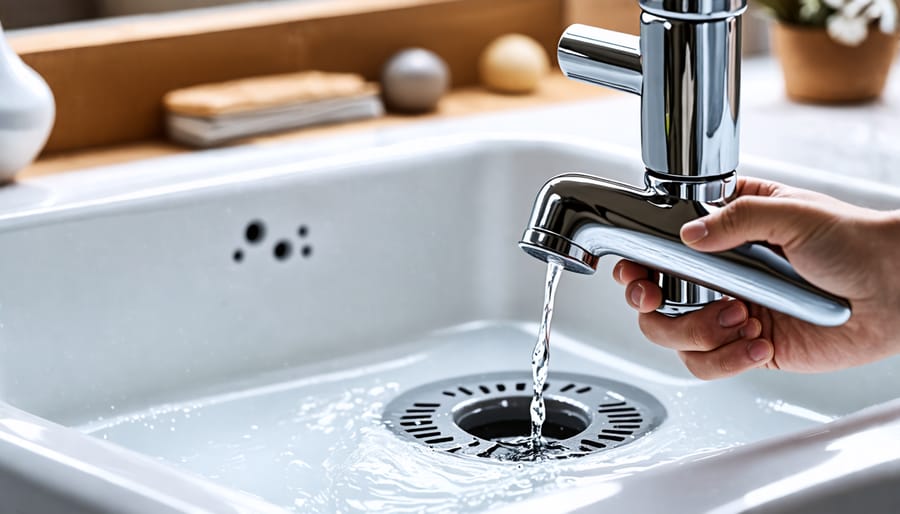
Before reaching for chemical drain cleaners, try some natural methods first. Plunging is often effective for minor clogs – make sure you have a tight seal and plunge vigorously. For tougher clogs, a plumber’s snake or auger can break through the blockage. Feed the cable into the drain until you feel resistance, then crank the handle to drive the tip through the clog.
Boiling water is another simple trick. Carefully pour a pot of boiling water directly into the drain in three stages, allowing the hot water to work for a few seconds in between each pour. You can also try a mixture of 1/3 cup baking soda and 1/3 cup vinegar. Cover with a drain plug and wait 5-10 minutes before flushing with hot water. These non-chemical methods are inexpensive, readily available, and often work well to clear simple drain clogs without harsh chemicals.
When to Call a Plumber
While many common clogs can be cleared with a plunger or drain snake, some blockages are too severe for DIY methods. If your drains remain stubbornly clogged after several attempts, emit foul odors, or cause water to back up into other fixtures, it’s time to call in professional help. Plumbers have specialized tools and expertise to quickly diagnose and resolve serious clogs without damaging your pipes. Additionally, if you suspect a clog in your main sewer line, which can affect multiple drains and toilets, it’s best to leave this complex repair to the pros to avoid costly water damage or sewage backups.
Fixing Running Toilets
A running toilet is not only annoying but can also waste a significant amount of water. Common causes include a faulty flapper, a misadjusted float, or a worn-out fill valve. To troubleshoot, first check the flapper – the rubber seal that covers the flush valve. If it’s not sealing properly, water will continue to flow into the bowl. Adjust or replace the flapper as needed. Next, inspect the float, which controls the water level in the tank. If it’s set too high, water will continually run into the overflow tube. Adjust the float until the water shuts off at the proper level. If the problem persists, the fill valve may need replacing. This is the mechanism that controls the flow of water into the tank. If you’re unsure about any of these steps, consult a professional plumber to avoid causing further damage. With a little patience and the right tools, fixing a running toilet is a manageable task for most homeowners.
Repairing Leaky Faucets
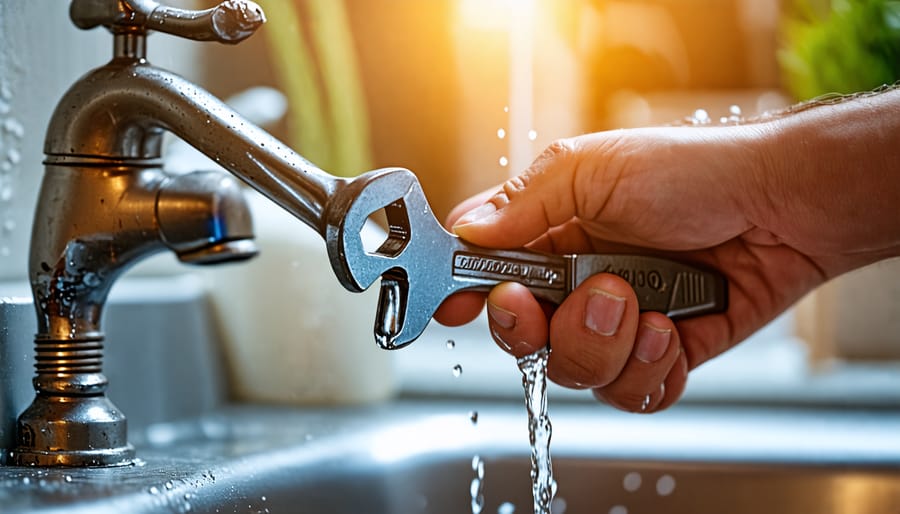
Fixing a leaky faucet can seem daunting, but with a few simple tools and a little know-how, you can repair most faucet leaks yourself. First, determine the type of faucet you have: compression, cartridge, ceramic disc, or ball type. Then, turn off the water supply and disassemble the faucet to inspect for worn or damaged parts like washers, O-rings, or seals. In many cases, replacing these inexpensive parts will solve the leak.
For compression faucets, replace the rubber washers and seat. With cartridge faucets, swap out the cartridge. Ceramic disc faucets often need a new disc cylinder, while ball type faucets typically require replacing the inlet seals and springs. Reassemble the faucet, turn the water back on, and check for leaks. If the problem persists, you may need to replace the entire faucet assembly.
Remember to have a bucket handy to catch any water, and refer to your faucet’s manual for specific instructions. With a bit of patience and the right replacement parts, you can successfully fix most leaky faucets and save water in your home. If you encounter any issues or feel unsure, don’t hesitate to consult a professional plumber for guidance.

Stopping Squeaky Door Hinges and Floorboards
Silence those annoying squeaks with a few simple tricks. For door hinges, apply a small amount of lubricant like WD-40 or petroleum jelly to the hinge pins. Open and close the door a few times to work the lubricant into the hinge and stop the squeak. Floorboard squeaks often occur when boards rub against each other or a nail has come loose. Sprinkle some baby powder, baking soda, or powdered graphite between the boards to reduce friction. For a longer-lasting fix, locate the squeak from below and drive a wood screw through the subfloor into the floorboard to secure it in place. If accessing the underside isn’t possible, hammer a thin finish nail into the squeaky board at an angle, driving it through the board into the joist. With these easy techniques, you can enjoy a squeak-free home in no time.
Replacing Furnace Filters
Replacing your furnace filter on a regular basis is one of the simplest yet most important home maintenance tasks. Not only do regular filter changes improve your indoor air quality by trapping dust, allergens, and other particles, but they also help your HVAC system operate more efficiently. This can lead to lower energy bills and a longer lifespan for your furnace.
To change your filter, first locate the filter compartment, which is typically near the bottom of your furnace. Remove the old filter, noting the size and airflow direction. If you’re unsure about the correct size or type of filter to use, consult your furnace manual or take the old filter to a hardware store for reference.
Insert the new filter, ensuring that the airflow arrows point toward the furnace. Replace the compartment cover, and you’re done! Experts recommend changing your filter every 1-3 months, depending on factors like pets, household size, and air quality. By staying on top of this simple task, you’ll breathe easier and keep your furnace running smoothly for years to come.
Testing and Changing Smoke Detector Batteries
Keeping your home safe starts with maintaining working smoke detectors. Test each alarm monthly by pressing and holding the test button until it beeps loudly. If the sound is weak or absent, it’s time to change the batteries. Most detectors use 9V batteries, easily accessible by removing the detector’s cover. If your model has a sealed 10-year lithium battery, replace the entire unit when the low battery warning chirps. When replacing batteries, also vacuum around the vents to clear dust and debris. While you’re at it, check that you have enough detectors – experts recommend one in every bedroom, outside sleeping areas, and on each level of your home, including the basement. Interconnected alarms offer the best protection, sounding all units when one is triggered. With regular testing and fresh batteries, you can sleep soundly knowing your smoke detectors are ready to alert you in an emergency.
Checking for Leaks and Resealing Gaps
Inspecting your home for air and water leaks is an important task that can save you money on energy bills and prevent costly damage. Start by checking around windows, doors, and pipes for any visible gaps, cracks, or signs of wear. Use your hand to feel for drafts or cold spots, which can indicate air leaks. For water leaks, look for stains, mold, or dampness.
Once you’ve identified any leaks, it’s time to seal them. For small gaps around windows and doors, use weatherstripping or caulk. Weatherstripping comes in various materials like foam, rubber, or metal, and can be easily pressed into place. Caulk is best for stationary cracks and should be applied with a caulking gun. Smooth it out with your finger for a neat finish.
Larger gaps may require expanding foam sealant. This spray foam expands to fill the space and hardens as it dries. It’s perfect for gaps around pipes or larger openings. Just be sure to wear gloves and protect surfaces, as the foam can be messy.
By regularly inspecting and sealing leaks, you’ll improve your home’s energy efficiency, maintain a comfortable indoor environment, and prevent potential water damage. It’s a simple but essential skill every homeowner should master.
Conclusion
By mastering these basic home repair skills, you’ll not only save money on professional services but also gain a sense of pride and accomplishment in maintaining your living space. Start small, tackling straightforward tasks like painting or caulking, and gradually build your confidence and expertise. As you grow more comfortable with DIY repairs, you can take on increasingly complex projects. Remember, even minor improvements can make a significant difference in the functionality, comfort, and aesthetic appeal of your home. Embrace the learning process, consult resources when needed, and enjoy the satisfaction of a job well done. With practice and persistence, you’ll soon reap the countless benefits of self-sufficiency in home maintenance.
