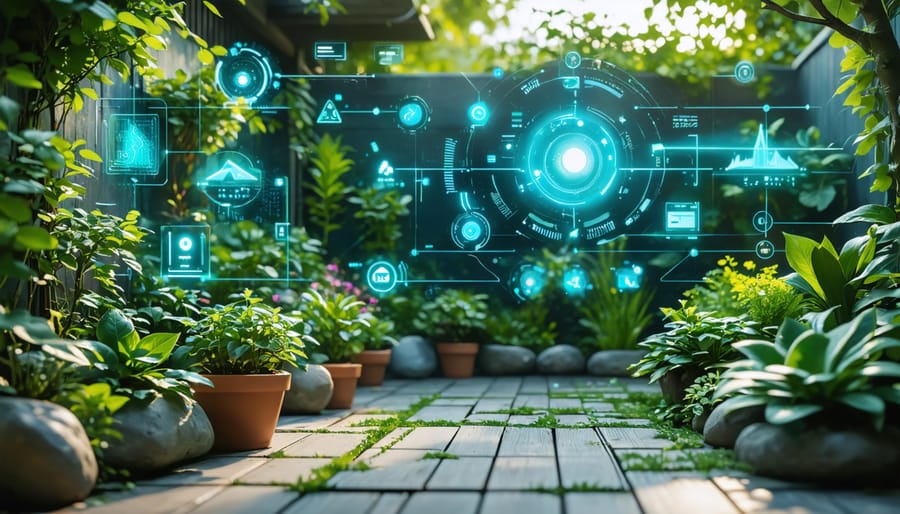
Transform your backyard into a self-maintaining oasis with a DIY smart garden that monitors soil moisture, automates watering schedules, and adjusts lighting conditions – all while cutting maintenance time in half. Modern smart garden automation combines affordable sensors, simple microcontrollers, and basic programming to create a thriving ecosystem that practically runs itself. Building your own system costs 60-70% less than pre-built solutions, requires only basic technical skills, and can be expanded gradually as your garden grows. Whether you’re a busy professional seeking fresh herbs year-round or an enthusiastic gardener looking to optimize plant care, a DIY smart garden delivers professional results without the professional price tag. This guide walks through exactly how to build, program, and maintain your automated garden system using readily available components and step-by-step instructions anyone can follow.
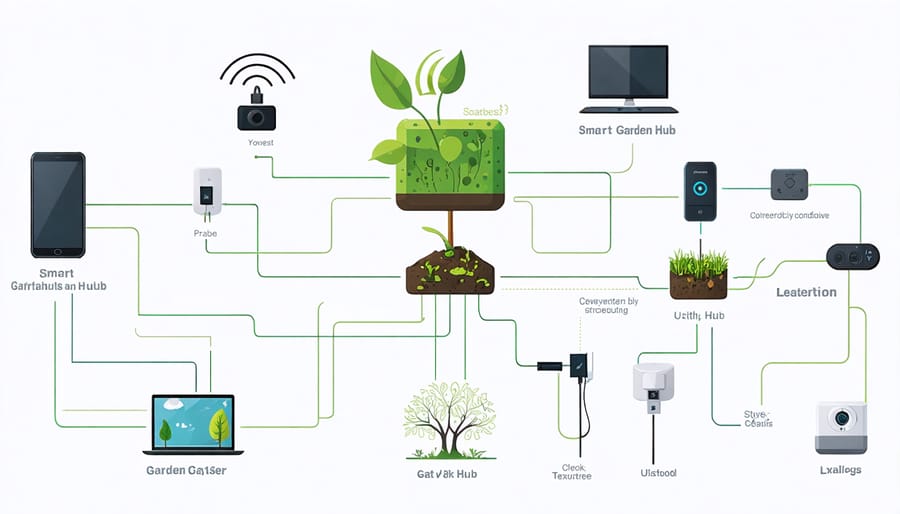
Smart Garden Fundamentals: Setting Up Your Base System
Choosing Your Smart Garden Hub
The heart of your DIY smart garden is its control hub – the central brain that coordinates all your automated systems. When choosing your hub, consider starting with user-friendly options like SmartThings or Home Assistant, which work well with various sensors and devices you might add later.
Look for a hub that offers both WiFi and Bluetooth connectivity, as this flexibility will come in handy when expanding your garden. Make sure it’s weatherproof or can be housed in a protected location near your garden. Most gardeners find success placing their hub in a covered area within 30 feet of their growing space.
Budget-conscious gardeners can start with a basic Raspberry Pi setup, which typically costs under $50 and can be expanded over time. For those preferring a plug-and-play solution, commercial smart garden hubs range from $100-$300 but offer more polished interfaces and customer support.
Key features to look for include:
– Mobile app compatibility
– Weather data integration
– Multiple sensor support
– Expandability options
– Power backup capabilities
Once you’ve selected your hub, mount it in a central location with access to power and WiFi. Consider creating a simple weatherproof enclosure if it’ll be exposed to the elements. Remember to test the connection strength throughout your garden area before finalizing the installation location.
Essential Sensors and Controls
To create a truly smart garden, you’ll need a few key sensors and controls to monitor and maintain your plants’ health. Let’s start with the essentials that won’t break the bank.
A soil moisture sensor is your first must-have item. This simple device tells you when your plants need water, preventing both under- and over-watering. Look for sensors that can connect to your smartphone or automation system for real-time updates.
Temperature and humidity sensors are next on the list. These work together to ensure your plants are growing in optimal conditions. Most sensors come in combination units, making them both cost-effective and space-efficient.
Light sensors help you track whether your plants are getting enough sunlight. These are particularly important for indoor gardens or partially shaded outdoor spaces. Many affordable options are available that can integrate with your existing smart home setup.
For basic control, you’ll need:
– A smart irrigation valve or pump for automated watering
– Smart plugs or relay switches for controlling grow lights
– A small control hub or microcontroller (like Arduino or Raspberry Pi) to manage everything
Pro tip: Start with just moisture and temperature monitoring, then gradually add more sensors as you become comfortable with the system. This approach helps you learn how each component works while keeping initial costs manageable.
Remember to choose weather-resistant options for outdoor use, and always check compatibility with your chosen control system before purchasing.
Automated Irrigation: The Heart of Your Smart Garden
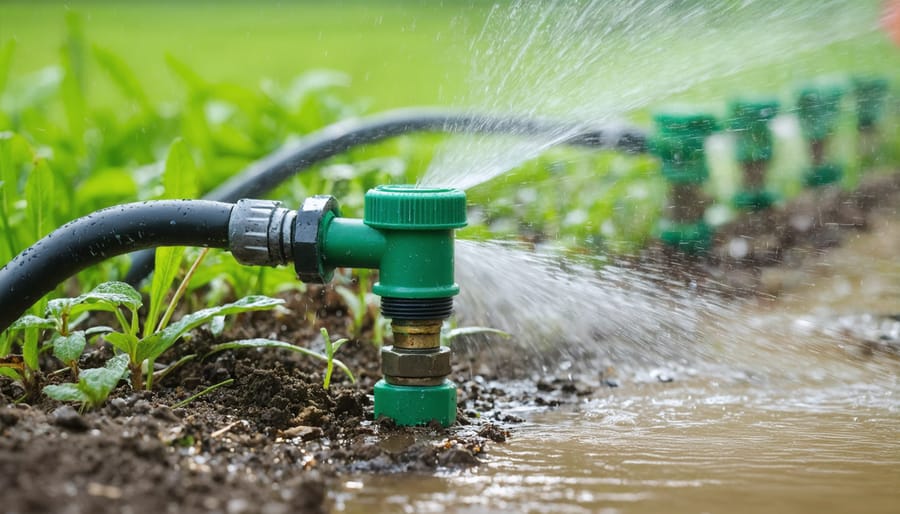
DIY Smart Irrigation Controllers
Creating your own smart irrigation controllers is easier than you might think! Let’s break down the process into manageable steps that’ll help you automate your garden’s watering system.
Start by gathering your materials: you’ll need a microcontroller (Arduino or Raspberry Pi), a moisture sensor, a relay module, solenoid valves, and basic wiring components. For beginners, Arduino is often the simpler choice.
First, connect your moisture sensor to the microcontroller. Place the sensor in your garden soil to measure moisture levels. Next, wire the relay module to your microcontroller – this will act as the switch for your watering system.
Install the solenoid valves into your existing irrigation pipes. These valves will control water flow based on the moisture sensor readings. Connect the valves to your relay module, ensuring all connections are waterproof.
Now for the programming: Upload a basic code (readily available online) to your microcontroller. This code should tell your system to activate watering when soil moisture drops below your desired level.
For enhanced control, consider adding these features:
– Weather API integration to prevent watering when rain is forecast
– Mobile app connectivity for remote monitoring
– Multiple zone control for different plant areas
– Timer functions for scheduled watering
Remember to house your electronics in a waterproof enclosure and test the system thoroughly before leaving it to run automatically. Start with a small area first, then expand as you gain confidence in your setup.
Regular maintenance is key – check connections monthly and clean sensors every few weeks to ensure accurate readings.
Moisture Sensors and Water Management
Keeping your plants properly watered is one of the biggest challenges in gardening, but with moisture sensors, you can take the guesswork out of watering. These clever devices monitor soil moisture levels and can trigger automated watering systems when your plants need a drink.
To get started, you’ll need soil moisture sensors (available for $5-15 each) and a microcontroller like an Arduino or Raspberry Pi to process the readings. Place sensors about 2-3 inches deep in the soil near your plants’ root zones. For larger gardens, install multiple sensors to monitor different areas or plants with varying water needs.
Connect your sensors to your microcontroller following the manufacturer’s wiring diagram. Most moisture sensors use simple analog readings – the higher the number, the more moisture present. You can program your controller to trigger watering when readings fall below specific thresholds.
Pro tip: Calibrate your sensors by taking readings in both very dry and well-watered soil to establish your upper and lower moisture limits. This helps create more accurate watering triggers for your specific soil type.
For automated watering, connect a water pump or solenoid valve to your controller. You can use basic irrigation tubing and drip emitters to deliver water exactly where it’s needed. Consider adding a water level sensor to your reservoir to alert you when it needs refilling.
Remember to protect any exposed electronics from water and weather by housing them in waterproof enclosures. Check your sensor readings regularly for the first few weeks to ensure they’re working correctly and adjust thresholds as needed based on your plants’ response.
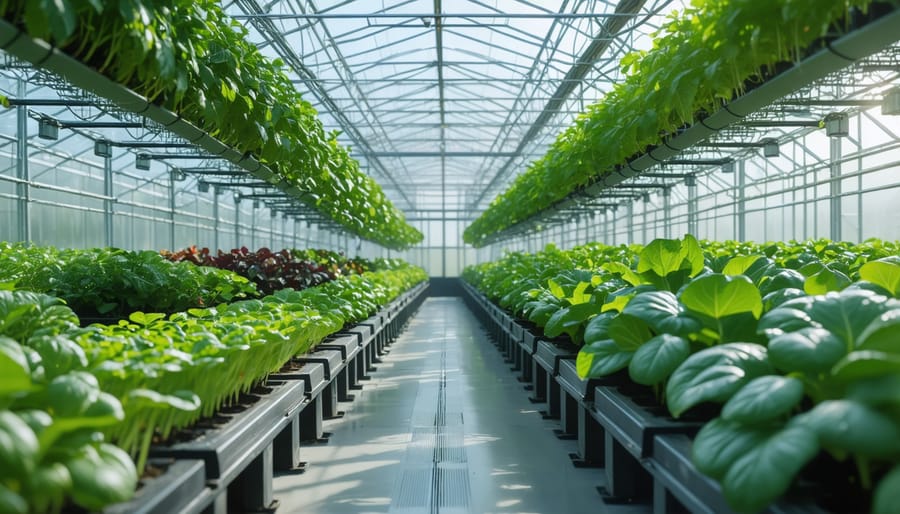
Climate Control and Plant Monitoring
Temperature and Humidity Systems
Maintaining the perfect environment for your plants just got easier with a DIY temperature and humidity control system. Start by installing a reliable digital sensor – the DHT22 or BME280 are excellent choices for beginners, offering accurate readings without breaking the bank. Position your sensor at plant level for the most accurate measurements.
Connect your sensor to a microcontroller like an Arduino or Raspberry Pi using just three wires. The setup process is straightforward: power, ground, and data. Most sensors come with detailed wiring diagrams, making this step manageable even for newcomers to electronics.
To regulate temperature, consider adding a small fan for ventilation and a heating pad for colder months. Both can be controlled automatically through your microcontroller based on sensor readings. For humidity control, a small humidifier or misting system works wonders. Set up your system to activate when humidity drops below optimal levels for your plants.
Program your controller to maintain ideal conditions: most plants thrive in temperatures between 65-75°F (18-24°C) and humidity levels of 40-60%. Create simple if-then statements in your code to trigger your environmental controls when readings fall outside these ranges.
Remember to check your sensor readings daily at first to ensure everything’s working correctly. Place a backup thermometer nearby to verify your digital readings, and adjust your system’s settings as needed based on your plants’ response.
Plant Health Monitoring
Keeping an eye on your plants’ health is crucial for a thriving smart garden, and modern plant monitoring systems make it easier than ever. Start by installing small soil moisture sensors in each pot or garden bed – these affordable devices will be your first line of defense against over or under-watering.
For comprehensive health tracking, consider adding a light meter to monitor your plants’ exposure to sunlight. Many DIY enthusiasts pair this with temperature and humidity sensors to create a complete environmental monitoring setup. You can find these components individually or as part of affordable sensor kits online.
Connect these sensors to your microcontroller (like an Arduino or Raspberry Pi) to collect and analyze the data. Most sensors come with simple libraries and code examples, making integration straightforward even for beginners. Set up alerts on your phone to notify you when conditions fall outside optimal ranges.
Take regular photos of your plants using a fixed-position camera to track growth progress over time. Some smart gardeners create time-lapse videos to visualize their garden’s development. Consider adding a basic pH meter to monitor soil conditions, especially for plants with specific soil requirements.
Remember to regularly calibrate your sensors and clean them gently to ensure accurate readings. With these monitoring tools in place, you’ll catch potential issues early and maintain a healthier garden.
Smart Garden Automation Tips
Scheduling and Alerts
One of the most exciting aspects of a smart garden is the ability to automate your maintenance schedule and receive timely alerts. Start by setting up a basic watering schedule through your smart garden hub or app. Most systems allow you to create custom schedules based on your plants’ specific needs and local weather patterns.
Consider programming different zones with varied watering frequencies – succulents might need weekly watering, while your vegetable patch requires daily attention. Many smart systems can integrate weather forecasts, automatically adjusting watering schedules when rain is expected or during particularly hot spells.
Set up notifications for crucial garden metrics like soil moisture, temperature, and nutrient levels. These alerts can help you respond quickly to potential issues before they become problems. You can even implement automated pest control systems that alert you when unusual activity is detected.
Don’t forget to schedule seasonal maintenance reminders. Program alerts for tasks like fertilizing, pruning, or protecting plants from frost. Many smart garden apps allow you to create custom to-do lists and maintenance calendars specific to your garden’s needs.
Pro tip: Start with basic scheduling and gradually add more sophisticated alerts as you become comfortable with the system. This prevents overwhelming yourself while ensuring your garden receives consistent care.
Troubleshooting Common Issues
Even the best-planned smart gardens can encounter hiccups, but don’t worry – most common issues have simple solutions. If your plants aren’t thriving, first check the moisture sensors; they sometimes need recalibration or gentle cleaning with a soft brush to remove mineral buildup. When readings seem off, try repositioning the sensors slightly deeper in the soil.
For automated watering problems, inspect your tubing for kinks or blockages. If the water flow is inconsistent, flush the system with clean water and check that all connections are secure. Smart gardens running on Wi-Fi might occasionally disconnect – try moving your router closer or installing a Wi-Fi extender to maintain a stable connection.
LED grow lights flickering or dimming? This usually indicates a power supply issue. Ensure all connections are tight and free from corrosion. If your plants are stretching toward the light, they might need more intensity or closer positioning to the light source.
For nutrient deficiencies showing up as yellowing leaves or stunted growth, double-check your feeding schedule and solution strength. Start with half-strength nutrients if you’re unsure, as it’s better to under-feed than over-feed.
Remember that most smart garden systems need regular maintenance. Clean sensors monthly, check water quality weekly, and monitor pH levels to keep your garden running smoothly. When in doubt, return to the basics: good soil, proper lighting, and appropriate watering are still the foundation of successful growing.
Smart Garden Mobile Integration
Taking your smart garden to the next level is easier than ever with mobile integration. Today’s smartphone apps and home automation systems can transform your DIY setup into a truly connected growing space that you can monitor and control from anywhere.
To get started, consider installing a garden monitoring app that connects to your sensors. Popular options include Home Assistant, Blynk, and ThingSpeak, which can display real-time data about your garden’s soil moisture, temperature, and light levels right on your phone. These apps often feature user-friendly interfaces with customizable dashboards, making it simple to check on your plants with just a quick glance.
Many smart garden systems can integrate seamlessly with existing home automation platforms like Amazon Alexa or Google Home. This allows you to control your garden’s lighting, irrigation, and ventilation systems using voice commands or automated routines. For example, you can say, “Alexa, water the herbs,” or set up a schedule that adjusts grow lights based on natural sunlight levels.
Setting up mobile notifications is another game-changer. You can receive alerts when your plants need water, when temperatures fall outside optimal ranges, or when it’s time to add nutrients. This real-time monitoring helps prevent plant stress and ensures you never miss crucial care windows.
For the data-driven gardener, many apps offer detailed analytics and tracking features. You can log your plants’ growth progress, track watering schedules, and even create custom care recipes for different plant varieties. Some apps also provide community features where you can share tips and learn from other smart gardeners.
Remember to choose apps and systems that match your technical comfort level. Start with basic monitoring capabilities and gradually add more advanced features as you become familiar with the technology. The goal is to enhance your gardening experience, not complicate it.
Creating a DIY smart garden is an exciting journey that combines the joy of gardening with the convenience of modern technology. As we’ve explored throughout this guide, you don’t need to be a tech expert or have a massive budget to create your own automated growing space. With basic tools, some affordable sensors, and a willingness to learn, you can transform any growing space into an efficient, self-monitoring garden.
Remember that your smart garden can start small and grow with you. Begin with essential components like automated watering and basic monitoring systems, then gradually add more features as you become comfortable with the technology. The beauty of a DIY approach is that you can customize everything to suit your specific needs and space.
The benefits of a smart garden extend beyond convenience. You’ll save water, reduce plant loss, and gain valuable insights into your plants’ health while developing new skills along the way. Plus, the satisfaction of harvesting fresh produce or enjoying blooming flowers from your automated garden is truly rewarding.
Don’t be afraid to experiment and make adjustments as you go. Every garden is unique, and finding the right balance of automation and hands-on care takes time. Start your smart gardening journey today, and join the growing community of tech-savvy gardeners who are revolutionizing the way we grow plants at home.