Tackle water heater installation confidently with these essential steps:
Shut off power and water: For electric heaters, cut power at the circuit breaker. For gas models, close the gas valve. Shut off the main water supply and drain the old tank completely.
Connect pipes and fittings: Solder copper fittings for a watertight seal. For easier installation, use push-fit connectors or flexible hoses. Ensure all connections are secure and properly sealed.
Wire the heater: Connect the ground wire to the green screw and the power wires to the corresponding terminals. Double-check wiring against the manual diagram for accuracy and safety.
Fill the tank and test: Open the main water valve and hot water taps to fill the tank and purge air. Check carefully for leaks at all connections. Once full, restore power or relight the pilot and set the temperature.
With preparation, attention to detail, and adherence to manufacturer instructions, installing your new water heater is an achievable DIY task that will provide reliable hot water for years to come.
Preparation and Safety
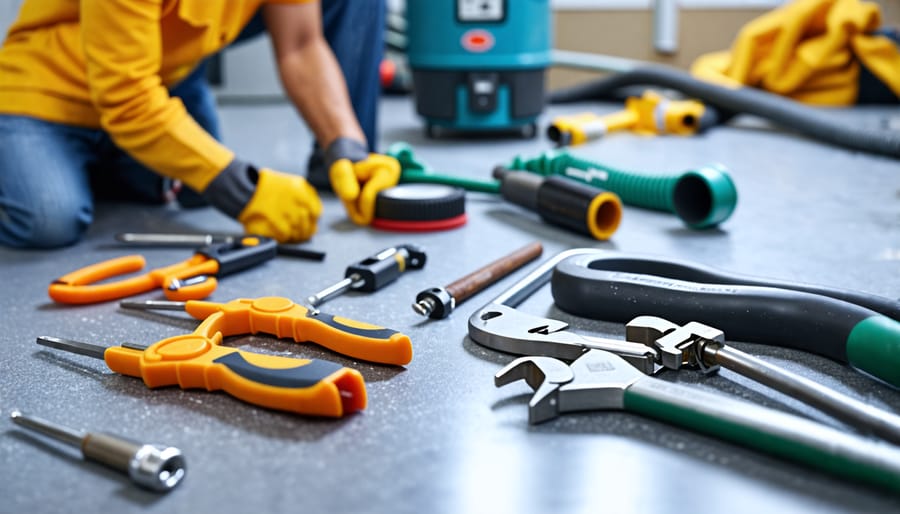
Tools and Materials Required
To successfully install a water heater, you’ll need a few essential tools and materials. Gather adjustable wrenches, slip-joint pliers, a tube cutter, and a screwdriver set for handling the connections and fittings. Don’t forget Teflon tape for sealing threaded connections and preventing leaks. You’ll also need a garden hose for filling and flushing the tank, as well as a voltage tester to ensure electrical safety. If you’re dealing with gas lines, have a gas-rated pipe wrench and joint compound on hand. Lastly, make sure you have the correct size water supply lines, shut-off valves, and pressure relief valve to match your new water heater. Having these items ready before starting will make the installation process smoother and more efficient. Remember, if you’re unsure about any aspect of the installation, consult a professional plumber to ensure the job is done safely and correctly.

Safety Considerations
Before beginning the installation process, it’s crucial to prioritize safety. Always turn off the power supply to the water heater at the main electrical panel to prevent electrical shocks. If you have a gas-powered heater, make sure to shut off the gas valve as well. Next, turn off the cold water supply to the heater. This is usually done by closing the shutoff valve located near the heater. Drain any remaining water from the heater and connecting pipes to avoid leaks and water damage. When working with electrical connections or gas lines, wear protective gloves and exercise extreme caution. If you’re unsure about any steps or encounter unfamiliar components, consult a professional plumber to ensure a safe and proper installation. Remember, taking the necessary safety precautions not only protects you during the installation process but also helps prevent potential hazards and costly repairs down the line.
Removing the Old Water Heater
Before disconnecting your old water heater, turn off the power supply. For electric models, switch off the circuit breaker at the main panel. Gas-powered units require you to close the gas valve near the heater. Next, shut off the cold water supply by turning the valve clockwise until it stops. This is usually located near the top of the tank.
Attach a garden hose to the drain valve at the bottom of the tank. Run the other end to a floor drain or outside, ensuring the destination is lower than the tank to allow gravity to do its work. Open the drain valve and any hot water faucets in your home to speed up draining and prevent a vacuum from forming.
Once empty, disconnect the water supply lines, gas line, or electrical connections. For gas models, it’s advisable to have a professional disconnect the gas line. Remove the pressure relief valve’s discharge pipe. Unscrew the water lines using channel lock pliers, being cautious of any remaining hot water.
With everything disconnected, carefully move the old water heater out of the way. You may need a dolly for heavier units. If your old heater is located in a tight space, consider draining it fully to make removal easier. Take care not to damage flooring or walls during this process.
Check the area for any debris or leaks, and clean up as necessary before installing the new unit. Disposing of your old water heater responsibly is important – many local utility companies or scrap metal yards offer recycling services for appliances. By properly removing your old water heater, you set the stage for a successful installation of the new unit.

Installing the New Water Heater
Positioning and Securing the New Unit
With the old unit removed, it’s time to position and secure your new water heater. Carefully move the replacement unit into the designated location, ensuring it sits level on the floor. If necessary, use shims to adjust for any unevenness. Once the unit is level, use a marker to outline the tank’s footprint on the floor. This will serve as a guide for securing the water heater.
To prevent the unit from moving or tipping over, it’s crucial to secure it to the wall or floor. Most water heaters come with straps or brackets for this purpose. Follow the manufacturer’s instructions for proper installation. Typically, you’ll need to drill pilot holes into the wall or floor, then use the provided hardware to anchor the straps or brackets securely.
When securing the water heater, make sure the straps or brackets are tightened snugly but not so tight that they distort the tank’s shape. Double-check that the unit remains level after securing it in place. Properly positioning and securing your new water heater is essential for safe operation and longevity, so take your time and ensure a stable installation.
Connecting the Plumbing and Gas/Electrical Lines
Now that the water heater is securely in place, it’s time to connect the plumbing and gas or electrical lines. Start by attaching the cold and hot water supply lines to the appropriate inlet and outlet connections on the water heater. Use a wrench to tighten the fittings, ensuring a snug and leak-free connection. Next, install the pressure relief valve, which is a crucial safety component. Carefully follow the manufacturer’s instructions for proper installation and ensure that the discharge pipe is directed towards a safe area, such as a floor drain or outside the building.
If you have a gas water heater, connect the gas supply line to the gas control valve using a flexible gas connector. Make sure to use a pipe joint compound or gas-rated Teflon tape on the threaded connections to prevent leaks. Once the gas line is connected, turn on the gas and check for leaks using a gas leak detector or a solution of equal parts water and dish soap. If you detect any bubbles or the smell of gas, immediately turn off the gas and double-check your connections.
For electric water heaters, you’ll need to connect the electrical supply to the water heater’s junction box. Before proceeding, make sure the power is turned off at the circuit breaker. Remove the junction box cover and connect the wires according to the manufacturer’s wiring diagram, typically matching black to black, white to white, and green (or bare copper) to the grounding screw. Secure the connections with wire nuts and replace the junction box cover.
Once all connections are made, double-check your work to ensure everything is properly tightened and secured. Turn on the water supply and check for leaks at all connection points. If you have a gas water heater, light the pilot light following the manufacturer’s instructions. For electric models, turn the power back on at the circuit breaker. Finally, allow the water heater to fill completely and reach the desired temperature before testing the hot water at a nearby faucet.
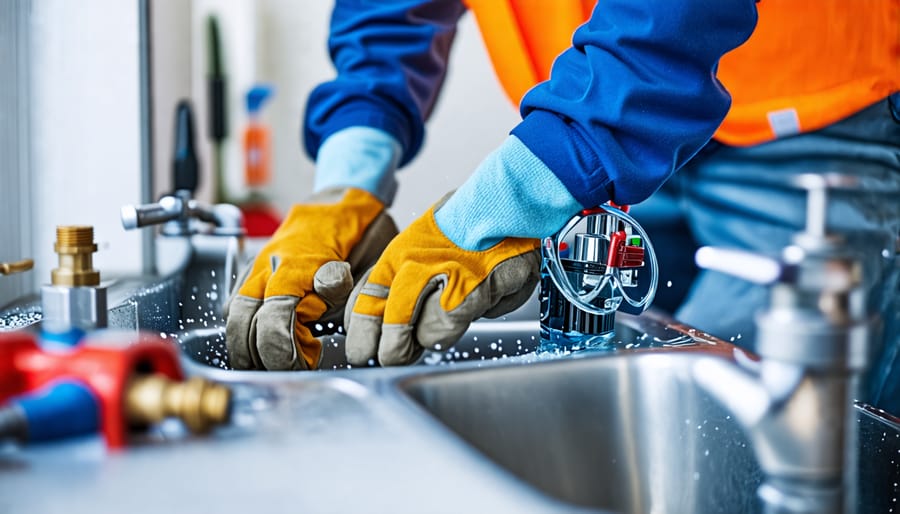
Filling the Tank and Checking for Leaks
Now that your new water heater is installed, it’s time to fill the tank and check for leaks. Start by turning on the cold water supply valve, allowing the tank to fill completely. As it fills, open the hot water faucets in your home to release any trapped air. Once the tank is full and the faucets are running smoothly, carefully inspect all connections, including the water supply lines, pressure relief valve, and drain valve. Look for any signs of dripping or moisture. If you spot a leak, tighten the connections or replace the faulty component as needed. Double-check your work to ensure a watertight seal before moving on to the final step.
Testing and Finalizing the Installation
With your new water heater connected, it’s time for the exciting part – testing it out! First, make sure all the valves are in the open position, including the main water supply and the cold water inlet. Next, turn on a hot water faucet in your home and let it run until the water flows steadily. This will help fill the tank and push out any air bubbles in the system.
Once the tank is full, turn on the power supply or relight the pilot light, depending on your model. Give the water heater some time to warm up the water. After about an hour, check the temperature at a faucet to ensure it’s heating properly. If needed, adjust the temperature setting on the heater to your desired level.
Finally, take a moment to inspect all the connections for any leaks or drips. If you spot any, gently tighten the fittings until the leaking stops. Don’t forget to properly place and secure the pressure relief valve, too.
Before calling it a day, consider installing a water softener to protect your new investment from mineral buildup. Clean up your work area, dispose of any debris properly, and pat yourself on the back for a job well done! Enjoy your hot showers and the satisfaction of tackling this project yourself.
Conclusion
In conclusion, installing a water heater can be a manageable task for the average DIY enthusiast, provided you follow the proper steps and prioritize safety. By carefully preparing the area, connecting the water lines, attaching the pressure relief valve, and installing the electrical components or gas supply, you can successfully hook up your new water heater. Remember to always refer to the manufacturer’s instructions and local building codes for specific guidance. If at any point you feel unsure or uncomfortable with the process, don’t hesitate to seek the help of a licensed professional plumber or electrician. With a properly installed water heater, you can enjoy reliable hot water and the satisfaction of tackling this essential home improvement project yourself.