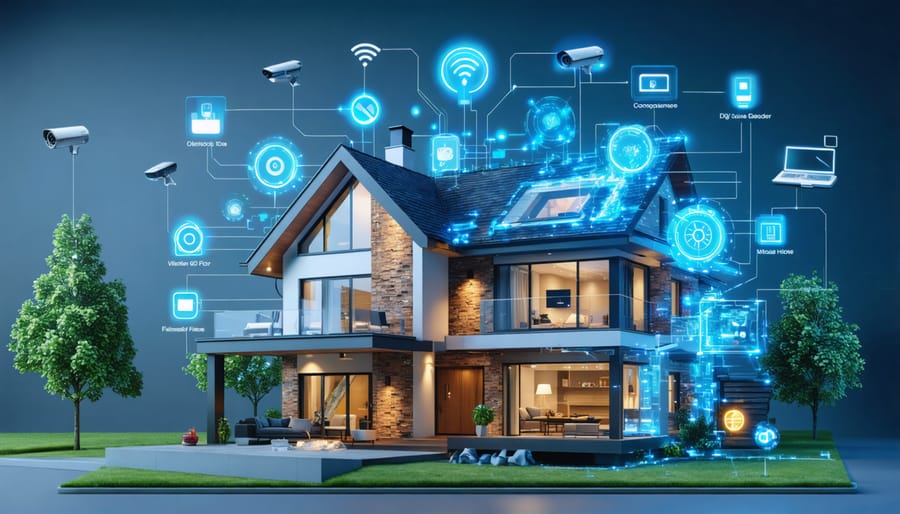
Transform your home into a secure smart fortress without breaking the bank or hiring professionals. Building your own reliable security solutions puts you in complete control while saving thousands on installation costs. Modern DIY smart security systems combine wireless sensors, HD cameras, and smartphone integration to create professional-grade protection that you can install in a single weekend.
Start with a central hub that connects to your home’s WiFi, add motion sensors at key entry points, and integrate smart cameras that offer both local and cloud storage options. The beauty of DIY installation lies in its flexibility – expand your system gradually, positioning components exactly where you need them most. Whether you’re a tech enthusiast or just starting your smart home journey, today’s plug-and-play devices make it surprisingly simple to create a comprehensive security network that rivals professional installations.
Best of all, you’ll gain invaluable hands-on experience with your security system, ensuring you can troubleshoot issues and upgrade components without relying on expensive service calls. This practical knowledge transforms you from a passive consumer into an informed home security expert, capable of adapting your system as your needs evolve.
Essential Components of a DIY Smart Security System
Smart Cameras and Video Doorbells
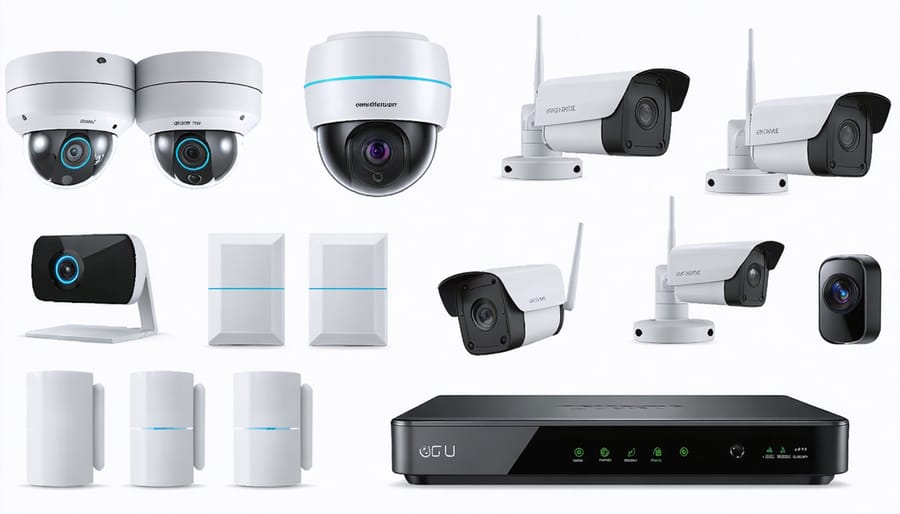
Smart cameras and video doorbells are the eyes of your DIY security system, offering both surveillance and peace of mind. For indoor use, consider compact wireless cameras with motion detection and night vision capabilities. Popular options include pan-tilt cameras for flexible viewing angles and fixed position models for focused monitoring of specific areas.
For outdoor surveillance, weather-resistant cameras with wide-angle lenses and enhanced night vision are essential. Video doorbells serve double duty by functioning as both an entryway camera and two-way communication device, allowing you to interact with visitors whether you’re home or away.
When it comes to placement, position outdoor cameras at entry points like front and back doors, first-floor windows, and driveways. Indoor cameras work best in high-traffic areas such as living rooms and hallways, while avoiding private spaces like bedrooms and bathrooms.
Most modern smart cameras connect via Wi-Fi, but some offer cellular backup for continued operation during internet outages. Look for devices that support local storage through SD cards or compatible NVR systems, providing backup options if cloud storage isn’t your preference. For the best performance, ensure your Wi-Fi signal is strong at all camera locations, using mesh networks or Wi-Fi extenders if needed.
Motion Sensors and Door/Window Contacts
Motion sensors and door/window contacts are your first line of defense in a DIY smart security system. Motion sensors work best in high-traffic areas like entryways, living rooms, and hallways – think about where an intruder would need to walk through to access valuable items. Mount them in corners at about 6-7 feet high, angling slightly downward for optimal coverage.
For door and window contacts, start with ground-floor entry points. These magnetic sensors come in two pieces: one attached to the door or window frame, and another to the moving part. When separated, they trigger an alert. Pro tip: don’t forget about less obvious entry points like garage doors and basement windows!
Consider your pets when placing motion sensors – many modern sensors have “pet-immune” settings for animals under 40 pounds. For larger pets, adjust the sensor height or stick to door/window contacts in pet-accessible areas.
For the best protection, combine both sensor types. Motion sensors can catch movement in large spaces, while contact sensors ensure every possible entry point is monitored. Remember to test each sensor thoroughly after installation to confirm proper positioning and connectivity.
Smart Hub and Control Center
The heart of your DIY security system is the smart hub – your command center for managing all connected devices. Popular options like Samsung SmartThings, Apple HomeKit, and Amazon Alexa hubs offer different levels of compatibility and features. When choosing your hub, consider which devices you plan to integrate, both now and in the future. Many homeowners opt for self-monitored security systems that work with multiple protocols like Zigbee and Z-Wave, ensuring flexibility as you expand your setup.
Look for hubs with intuitive mobile apps, reliable WiFi connectivity, and backup power options for uninterrupted protection. Some hubs even offer local processing, which means your system continues working even if the internet goes down. Remember to check if your chosen hub supports automation routines – this lets you create custom security scenarios, like automatically arming your system when you leave home or turning on lights when motion is detected.
Setting Up Your DIY Security System
Planning Your System Layout
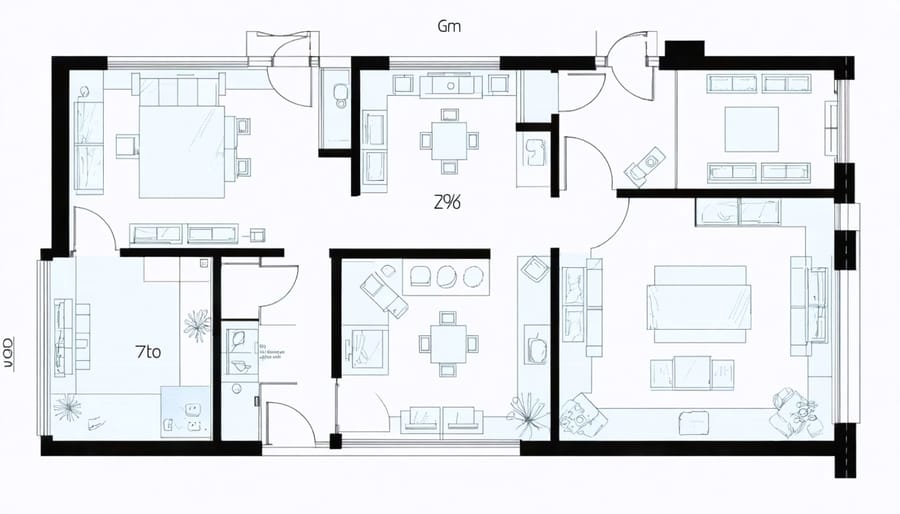
Before diving into installation, let’s create a solid plan for your smart home security system. Start by walking through your home with a notepad, marking potential entry points that need monitoring. Pay special attention to doors, windows, and less obvious access points like basement windows or garage doors.
Next, sketch a basic floor plan of your home, marking where you’ll place different components. For doorways, consider both motion sensors and contact sensors. Windows on the ground floor typically need contact sensors, while strategic placement of motion detectors can cover larger open spaces efficiently.
Think about camera placement too – focus on high-traffic areas like entryways, driveways, and backyards. Ensure cameras have a clear view and aren’t blocked by furniture or decorations. For indoor cameras, prioritize main living spaces and entry points while respecting private areas like bedrooms and bathrooms.
Don’t forget about environmental sensors! Place smoke detectors and carbon monoxide sensors on each floor, particularly near bedrooms. Water leak sensors work best in bathrooms, under sinks, and near water heaters.
Consider your Wi-Fi coverage as well. Most smart security devices need a stable connection, so you might need to add Wi-Fi extenders in certain areas. Finally, decide on a central location for your hub or control panel – somewhere easily accessible but out of sight from windows.
Remember to factor in power sources for each device and plan for backup options during outages. This careful planning will save you time and ensure optimal coverage when you begin installation.
Installation and Mounting Tips
Installing your DIY smart home security system doesn’t have to be complicated. With a simple installation process, you can have your system up and running in no time. Start by creating a detailed plan of where each component will go, ensuring optimal coverage of entry points and vulnerable areas.
For door and window sensors, clean the surfaces thoroughly with alcohol wipes before mounting. Most sensors come with strong adhesive strips, but consider using small screws for extra security on wooden frames. Position them within half an inch of each other when the door or window is closed.
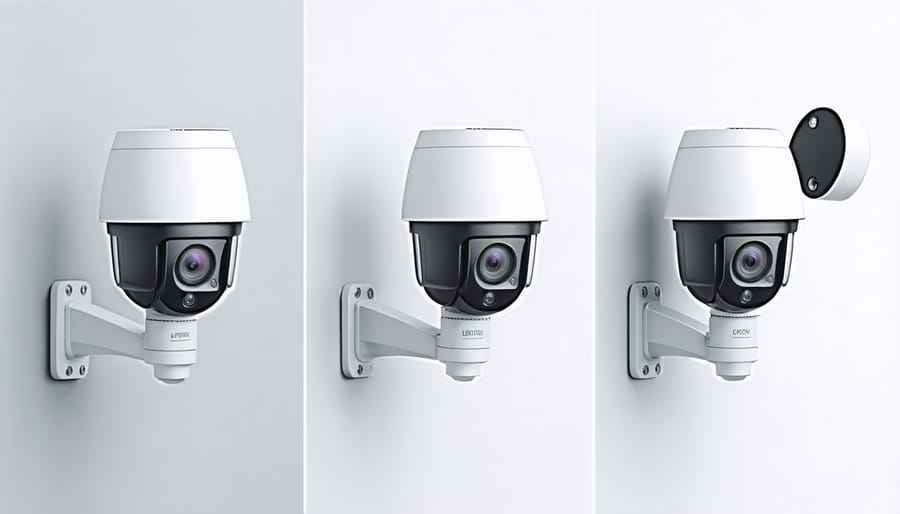
When mounting cameras, aim for corners that provide the widest view possible. Install them at least 7 feet high to prevent tampering, and ensure they’re within range of your Wi-Fi network. For outdoor cameras, choose weather-protected locations under eaves when possible.
Motion sensors work best when mounted at about 6-8 feet high, with a slight downward angle. Avoid placing them near heating vents or direct sunlight, which can trigger false alarms. For the hub or control panel, select a central location with strong Wi-Fi signal, preferably near a power outlet and ethernet connection if required.
Remember to test each component thoroughly before finalizing its position. Use the mounting templates provided with your devices, and keep your drill, level, and screwdriver handy for professional-looking results.
Network Setup and Configuration
Setting up your DIY smart home security system’s network is like building a digital fortress, and it’s simpler than you might think! Start by ensuring your home Wi-Fi network is strong and reliable – this will be the backbone of your security system. Position your router centrally in your home and consider using Wi-Fi extenders if you have dead zones.
Create a dedicated network name (SSID) and strong password specifically for your security devices. This adds an extra layer of protection and helps manage your devices more efficiently. When connecting your security components, maintain them within 30 feet of your router or extender for optimal performance.
Most smart security devices connect through your home’s Wi-Fi, but some use protocols like Z-Wave or Zigbee. If you’re mixing different protocols, make sure to get a compatible hub that can handle multiple communication standards.
Pro tip: Consider setting up a backup cellular connection for critical security components. This ensures your system stays online even if your Wi-Fi goes down. Also, regularly update your network password and keep your router’s firmware current to maintain strong security.
Test your network connections thoroughly before finalizing the installation. Walk through your property with your smartphone to verify signal strength at each device location. Remember, a reliable network connection is just as important as the security devices themselves!
Smart Integration and Automation
Mobile App Control and Notifications
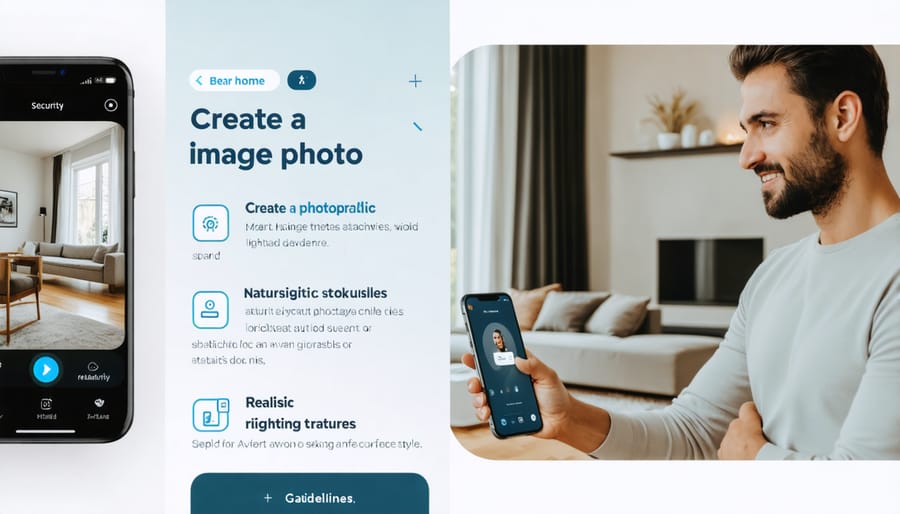
Having remote control of your security system is one of the biggest advantages of going smart, and setting it up is easier than you might think. The key is choosing a reliable mobile app that connects seamlessly with your DIY security components.
Start by downloading your system’s designated app from your device’s app store. Most modern security systems offer both iOS and Android compatibility. During setup, you’ll create an account and follow the in-app prompts to connect your various security devices to your home’s Wi-Fi network.
To maximize your app’s effectiveness, customize your notification preferences. Consider setting up different alert levels: immediate notifications for critical events like glass breaks or door openings, and daily summaries for less urgent activities like motion detections in low-risk areas.
Here are some essential features to configure:
– Real-time video streaming from your cameras
– Two-way audio communication
– Instant motion alerts
– Door and window sensor status
– Arm/disarm capabilities
– Emergency service contact options
Pro tip: Create multiple user accounts for family members, but keep administrative access limited to trusted individuals. This allows everyone to use the system while maintaining security control.
Don’t forget to test your notification system thoroughly. Try triggering various sensors at different times of day to ensure alerts come through promptly. Also, enable push notifications and email alerts as backups – you don’t want to miss important security events because your phone was on silent.
Remember to keep your app and all connected devices updated with the latest software versions to maintain optimal performance and security. Regular updates often include important security patches and new features that can enhance your system’s functionality.
Creating Smart Security Routines
One of the most powerful aspects of a DIY smart security system is the ability to create automated routines that work seamlessly with other home automation features. Let’s explore how to set up smart security routines that keep your home protected around the clock.
Start by establishing a “Good Morning” routine that disarms your system, turns on lights, and opens blinds at your usual wake-up time. For added security, create an “Away” mode that activates when everyone leaves home – this can arm all sensors, turn on random lighting patterns, and enable camera recordings.
Evening routines are equally important. Set up a “Sunset” sequence that automatically closes blinds, turns on exterior lights, and activates perimeter sensors. For nighttime, program a “Bedtime” routine that arms interior motion sensors, locks all smart locks, and dims pathway lights for safe navigation.
Don’t forget to create conditional triggers. For example, set your cameras to record when motion is detected at the front door, but only during specific hours. Or have your system send immediate notifications if a window sensor is triggered while the system is armed.
Weather-based routines can add an extra layer of protection. Program your system to close smart blinds during storms and activate flood sensors during heavy rain. You can also set vacation modes that simulate occupancy by varying light patterns and running smart devices at different times.
Remember to test your routines regularly and adjust them based on your family’s changing schedule. The key is creating automation that feels natural while maintaining robust security.
Maintenance and Troubleshooting
Regular System Checks
To keep your DIY smart home security system running smoothly, establish a regular maintenance routine. I recommend performing these essential checks at least once every month to ensure everything’s working as it should.
Start by testing all your door and window sensors. Open and close each entry point, confirming that your system registers these actions correctly. Check your mobile app notifications to verify that alerts are coming through promptly.
Next, inspect your camera feeds. Clean the lenses with a microfiber cloth and ensure they’re properly positioned. Test the night vision functionality and verify that motion detection zones are still accurately set. If you’re using battery-powered cameras, check their charge levels and replace batteries as needed.
Don’t forget to test your emergency response capabilities by running a complete system test. This includes checking your backup power supply and ensuring all emergency contacts are up to date in your system.
Review your Wi-Fi connection strength throughout your home, as a weak signal can impact system performance. Consider running a speed test near each device to identify potential dead zones.
Update your checklist quarterly to include:
– Firmware updates for all devices
– Password changes for enhanced security
– Backup battery replacements
– Sensor sensitivity adjustments
– Weather-proofing inspection for outdoor components
Keep a maintenance log to track when you’ve completed these checks and note any issues that arise. This documentation will help you spot patterns and address potential problems before they become serious concerns.
Common Problems and Solutions
Even the most well-planned DIY smart home security systems can encounter occasional hiccups. Here are some common issues and their straightforward solutions to keep your system running smoothly.
If your devices keep going offline, first check your Wi-Fi connection. Ensure your router is functioning properly and that devices aren’t too far from it. Sometimes, simply rebooting your router can resolve connectivity issues. For persistent problems, consider adding a Wi-Fi extender to boost your signal strength.
Motion sensors triggering false alarms? This usually happens when they’re placed near heating vents, windows with moving curtains, or in areas where pets roam. Try adjusting the sensor’s position or sensitivity settings. For homes with pets, look for pet-immune sensors rated for your animal’s size.
Battery-powered devices dying too quickly? Make sure you’re using high-quality batteries and check that devices aren’t placed in areas with extreme temperatures. Most smart devices will send low-battery notifications through their apps, so keep notifications enabled to stay informed.
Camera feed appears blurry or laggy? Clean the camera lens first, then check your internet speed. Most security cameras require at least 2Mbps upload speed for clear HD streaming. Adjust your camera’s video quality settings if needed, finding the right balance between clarity and performance.
If your system’s app is running slowly or crashing, try clearing the cache, updating the app, or reinstalling it. For hub-based systems that aren’t responding, a quick power cycle (turning it off for 30 seconds, then back on) often resolves the issue.
Remember, most smart security devices have helpful troubleshooting guides in their apps or on manufacturer websites. When in doubt, consult these resources or reach out to customer support for specific guidance.
Taking control of your home security doesn’t have to be complicated or expensive. By following the guidance in this article, you’re now equipped with the knowledge to create a customized smart security system that meets your specific needs and budget. Remember that starting small is perfectly fine – you can always expand your system over time as your comfort level and requirements grow.
The beauty of a DIY smart home security setup lies in its flexibility and scalability. Whether you’ve chosen to begin with basic door sensors and cameras or decided to implement a comprehensive system with motion detectors, smart locks, and professional-grade monitoring, you’re making a valuable investment in your home’s safety.
Keep in mind the key principles we’ve discussed: carefully planning your system layout, choosing compatible components, following proper installation procedures, and regularly maintaining your equipment. Don’t forget to test your system regularly and update device firmware to ensure optimal performance and security.
Most importantly, trust your instincts when designing your security solution. You know your home’s vulnerable areas and your family’s routines better than anyone else. Use this knowledge to create a system that provides both peace of mind and practical functionality.
Ready to get started? Begin by assessing your home’s security needs and gathering the necessary components. With some dedication, basic tools, and the step-by-step guidance provided, you’ll soon have a professional-grade security system that you can be proud of – and one that helps keep your loved ones and belongings safe.
Remember, the time and effort you invest in this project will pay dividends in both security and savings for years to come. Happy building!