Transform everyday waste into powerful learning tools through creative upcycling projects that teach students environmental responsibility while developing crucial STEM skills. Empty milk jugs become scientific measuring tools, cardboard boxes transform into organizational systems, and plastic bottles evolve into self-watering planters for classroom gardens. These hands-on projects not only reduce school supply costs but also demonstrate real-world applications of sustainability principles.
Students learn invaluable lessons about resource conservation and creative problem-solving while crafting their own educational materials. From designing pencil holders out of tin cans to creating art supplies from natural materials, each project combines academic learning with practical skills. The simple act of transforming waste into useful classroom tools empowers students to think critically about consumption and waste, fostering a generation of environmentally conscious innovators who see potential in everyday discards.
Best of all, these projects require minimal investment, making them accessible to schools and families across all economic backgrounds. By incorporating upcycling into the curriculum, educators cultivate resourcefulness and environmental stewardship while meeting educational objectives in an engaging, hands-on way.
Easy Classroom Organization from Everyday Items
Desk Organizers from Food Containers
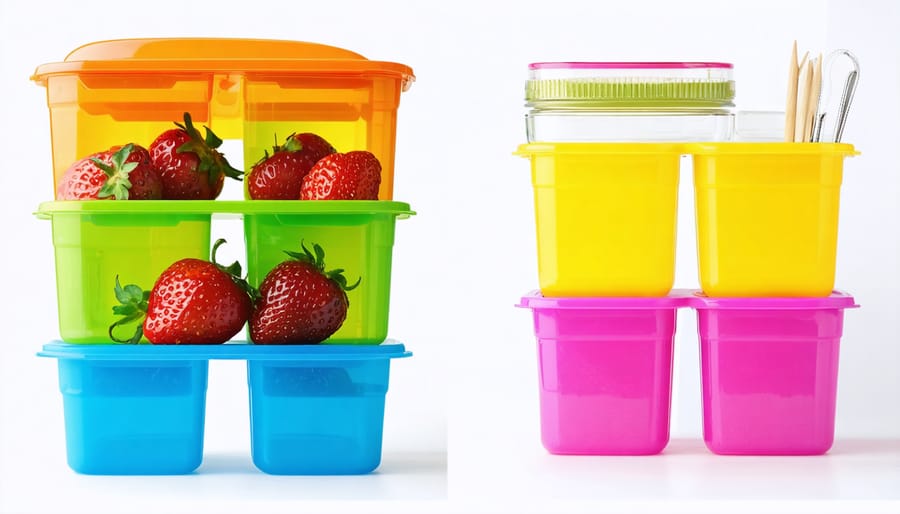
Transform everyday food containers into stylish desk organizers with these eco-friendly DIY solutions that are perfect for students on a budget. Start by collecting clean yogurt containers, cereal boxes, and other food packaging that would typically end up in the recycling bin.
For pencil holders, thoroughly wash and dry yogurt containers, then cover them with decorative paper, washi tape, or fabric. You can create a coordinated set by using complementary patterns or colors. Consider adding rubber bands around the containers before covering them to create interesting textural elements.
Transform cereal boxes into drawer organizers by cutting them at an angle to create diagonal compartments. Cover them with contact paper or paint them with acrylic paint for durability. These work perfectly for storing notebooks, loose papers, and study materials.
Pro tip: Before covering your containers, lightly sand the surface to help adhesives stick better. For extra stability, reinforce the corners of cereal box organizers with clear packing tape before decorating.
Get creative with different sizes and shapes – small containers work great for paper clips and thumb tacks, while larger ones can hold textbooks and binders. Label each container clearly to maintain organization, and consider using removable labels so you can adjust your system as needed throughout the school year.
Remember to seal paper-covered containers with clear mod podge for longevity and easy cleaning. This simple upcycling project not only helps reduce waste but also creates personalized storage solutions that add character to your study space.
Book Storage Solutions
Transform ordinary cardboard boxes and old magazines into stylish book storage solutions that are both functional and eco-friendly. Start by selecting sturdy cardboard boxes – shipping boxes or thick grocery boxes work best. Clean them thoroughly and remove any labels or tape.
For a basic book holder, cut one side of the box at a 45-degree angle, creating a magazine rack style holder. Reinforce the corners with additional cardboard strips for durability. Cover the entire surface with pages from old magazines, creating a colorful collage. Seal with clear mod podge or diluted white glue for a protective finish.
For a more sophisticated look, cover the box with fabric scraps or decorative paper before adding magazine cutouts. Create dividers inside the box using cardboard strips to organize different subjects or book sizes. Add labels using recycled paper tags.
Take your project further by stacking multiple holders to create a modular storage system. Secure them together using strong adhesive or decorative duct tape. For extra stability, reinforce the bottom with a piece of salvaged wood or thick cardboard.
Remember to sand any rough edges and reinforce stress points with additional layers of cardboard. These book holders not only help organize your study space but also serve as a creative expression of your personality while reducing waste.
Art Supply Storage and Creation
DIY Pencil Cases and Holders
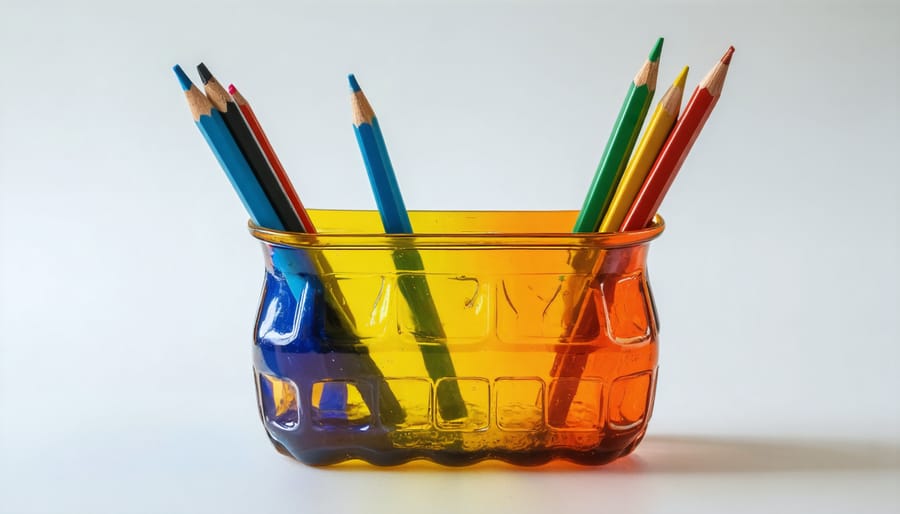
Transform everyday items into personalized pencil storage solutions with these creative upcycling ideas. Let’s start with a classic plastic bottle pencil holder – simply clean a large plastic bottle, cut it to your desired height, and sand the edges smooth. Add personality by wrapping it with colorful washi tape, yarn, or decorative paper.
For a softer touch, fabric pencil cases are perfect for using up old clothing or material scraps. You’ll need a piece of fabric roughly 9×12 inches, a zipper, and basic sewing supplies. Fold the fabric in half, sew in the zipper along one edge, then stitch the remaining sides. For extra durability, add a simple fabric lining.
Here’s a clever hack: transform empty toilet paper rolls into desk organizers. Stand them upright in a shoebox, decorate with paint or paper, and you’ve got divided compartments for pencils, markers, and other supplies. Secure the rolls together with hot glue for added stability.
Want something more structured? Use small cardboard boxes from pantry items. Cover them with fabric or decorative paper, arrange them in a larger box, and create a modular storage system. Add labels or color-code sections for better organization.
Pro tip: Before starting any project, collect all materials and plan your design. Consider waterproofing fabric cases with iron-on vinyl, and always seal painted surfaces to prevent wear. These projects not only save money but also help reduce waste while creating unique, personalized school supplies that reflect your style.
Recycled Art Supply Station
Transform a corner of your classroom or study space into an inspiring art station using recyclable materials, proving that sustainable storage solutions can be both creative and practical. Start by collecting clean food containers, such as glass jars, plastic bottles, and cardboard boxes – these will become your primary storage units.
Give these containers new life by washing them thoroughly and removing any labels. Paint the exterior of glass jars with acrylic paint or cover them with decorative paper. Plastic bottles can be cut and shaped into holders for markers, pencils, and paintbrushes. Transform cereal boxes into organizers for paper, cardstock, and artwork by covering them with fabric or recycled gift wrap.
Create a pegboard system using a recycled cardboard backing and toilet paper rolls cut to size. These makeshift hooks can hold scissors, ribbons, and other hanging supplies. Old magazine holders can be repurposed to store coloring books and sketch pads, while egg cartons make perfect paint palette stations.
Label everything clearly using cut-out pieces from old greeting cards or magazine letters. This not only adds personality to your art station but also helps students maintain organization. Consider adding a “creation station” using an old wooden crate turned on its side – it becomes the perfect shelf for displaying works in progress.
Remember to include a recycling bin nearby for paper scraps and materials that can be reused in future projects. This teaches students about sustainability while keeping the area tidy. Rotate materials seasonally to keep the space fresh and inspiring, and encourage students to contribute their own creative storage ideas.
Sustainable Study Accessories
Eco-Friendly Bookmarks
Transform old greeting cards, product packaging, and colorful magazines into charming, eco-friendly bookmarks that add personality to your reading experience. This creative project not only helps reduce waste but also gives students a chance to express their artistic side while making practical school supplies.
Start by gathering materials you’d normally recycle: birthday cards, cereal boxes, magazine covers, or sturdy packaging. Cut these materials into strips measuring approximately 2 inches wide by 6 inches long. For extra durability, consider reinforcing your bookmark by gluing two pieces together.
Decorate your bookmarks using materials you have at hand. Paint abstract patterns with leftover craft supplies, create collages from magazine cutouts, or write inspiring quotes using metallic markers. To protect your creation and make it last longer, cover both sides with clear packing tape or laminate it if you have access to a laminator.
Add a personal touch by punching a hole at the top and threading through some yarn or ribbon from old gift wrapping. You can also create tassels from leftover string or embroidery floss for an extra decorative element.
Pro tip: Save special occasion cards throughout the year to create meaningful bookmarks that remind you of happy memories while keeping your place in your favorite books. These also make thoughtful, sustainable gifts for classmates and teachers.

Recycled Paper Notebooks
Transform old papers and cardboard into unique, eco-friendly notebooks that reflect your personal style while helping the environment. This simple project not only reduces waste but also creates practical school supplies that you’ll be proud to use.
Start by collecting single-sided printed papers, old file folders, or cardboard from packaging. Sort through your materials, keeping papers that are clean and free from wrinkles. You’ll need about 50 sheets for a standard notebook.
To create the cover, cut two pieces of cardboard slightly larger than your paper size. Decorate them using paint, washi tape, fabric scraps, or old magazine cutouts. Get creative with themes that inspire you – from nature patterns to geometric designs.
Stack your paper sheets neatly, ensuring they’re all facing the same direction. Using a hole punch or awl, make 3-4 evenly spaced holes along the left side of your stack, including the covers. Thread string, ribbon, or twine through the holes in a figure-eight pattern to bind everything together.
Pro Tips:
– Press your completed notebook under heavy books overnight to keep it flat
– Use colored paper as dividers between sections
– Add pockets by gluing envelope remnants to the inside covers
– Reinforce the spine with decorative tape for durability
This project typically costs less than $2 if you’re using materials from home, making it both budget-friendly and environmentally conscious. Plus, each notebook becomes a unique expression of your creativity!
Study Timer Tools
Transform everyday recyclables into effective study timers that help you stay focused and organized. Start with a simple hourglass timer using two plastic bottles, clear tape, and colored sand or salt. Connect the bottles at their openings with tape, creating a tight seal. Fill one bottle with your timing medium, then test and adjust the amount until it takes your desired study interval to flow through.
For a more visual approach, create a water clock timer using a clear plastic container. Mark time intervals on the side and punch a small hole near the bottom. When filled with water, it’ll drain steadily, helping you track study sessions. Decorate with waterproof markers or adhesive craft paper to make it both functional and appealing.
Turn old mason jars into productivity timers by painting them with chalkboard paint. Use different colored chalk to mark time segments, perfect for the Pomodoro technique. Add motivational quotes or daily goals on the surface for extra inspiration.
For a noise-free timer, repurpose a clear glass bottle by filling it with a mixture of water and food coloring, then add oil. The separation between liquids creates a mesmerizing lava lamp effect that helps you time your breaks without disrupting your concentration. These DIY timers not only help manage study sessions but also serve as unique desk accessories that remind us to be environmentally conscious.
Project Tips and Best Practices
Before starting any upcycling project, always prioritize safety first. Ensure students have proper adult supervision and wear appropriate protective gear like safety glasses and gloves when handling tools or sharp materials. Keep a first-aid kit nearby and work in a well-ventilated area.
When preparing materials, thoroughly clean and dry all items before use. Remove any labels, adhesive residue, or sharp edges that could cause injury. For paint projects, lightly sand surfaces to help materials adhere better. If you’re working with fabric or paper, iron them flat for easier handling.
Creating budget-friendly eco projects requires proper organization. Set up dedicated work zones for different activities like cutting, painting, and assembly. Use drop cloths or old newspapers to protect surfaces, and keep cleaning supplies handy for quick spills.
To maintain your upcycled creations, apply protective finishes like clear sealant or mod podge where appropriate. Store finished items away from direct sunlight and moisture to prevent damage. For fabric items, spot clean when needed and avoid machine washing unless specifically designed for it.
Remember to document the creation process through photos or notes. This helps in recreating successful projects and learning from any challenges faced along the way. Always test materials and techniques on a small area first to ensure compatibility and desired results.
Upcycling projects offer students so much more than just creative ways to reuse materials. Through these hands-on activities, students develop problem-solving skills, environmental awareness, and a deeper appreciation for sustainability. Not only do these projects help reduce waste and save money, but they also foster creativity and innovation in young minds. By transforming everyday items into useful school supplies, students learn valuable lessons about resource conservation and responsible consumption. Making upcycling a regular part of classroom activities or home projects can inspire lifelong eco-friendly habits. Remember, every small effort to reduce, reuse, and repurpose contributes to a more sustainable future. Let’s encourage our students to think creatively about waste and empower them to become environmental stewards through the art of upcycling.