Installing a water heater yourself can save money, but it requires careful consideration of your skills, tools, and local regulations. Evaluate if you have the necessary plumbing and electrical knowledge, as improper installation can lead to safety hazards and costly repairs. Gather the right tools and materials, including a new water heater, connectors, and safety gear. Follow a step-by-step guide to properly disconnect the old unit, connect the new one, and test for leaks and proper function. If you’re unsure about any aspect of the process or encounter unexpected challenges, don’t hesitate to consult a professional plumber to ensure a safe and reliable installation.
Understanding Your Water Heater
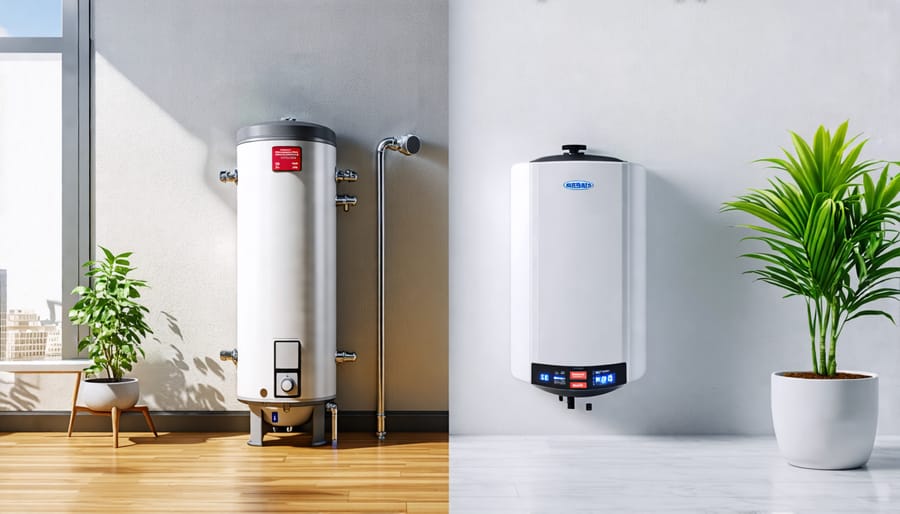
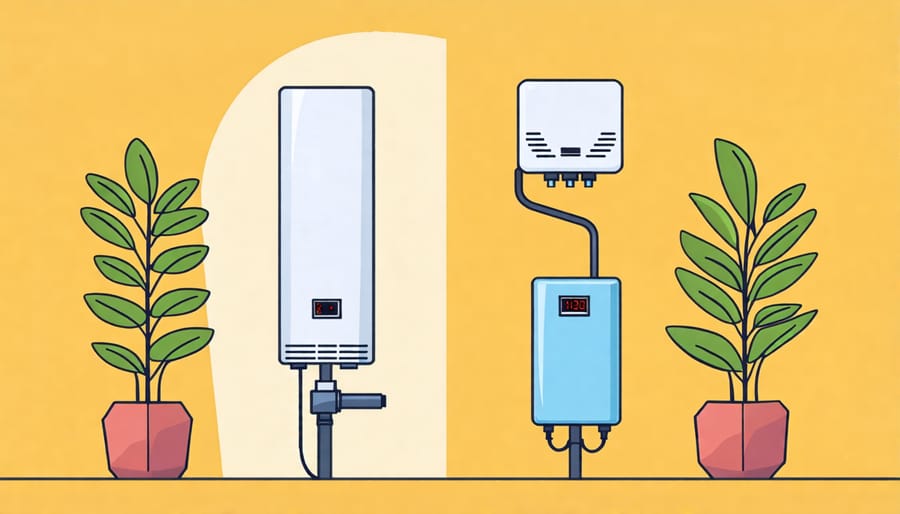
Tank vs. Tankless Water Heaters
When choosing a water heater, homeowners have two main options: tank or tankless models. Traditional tank water heaters store and preheat a fixed amount of water, typically 20 to 80 gallons, in an insulated tank. They continuously heat water to maintain the desired temperature, even when not in use, leading to standby energy loss. In contrast, tankless water heaters, also known as on-demand or instant water heaters, heat water only when needed. They use powerful burners to rapidly heat water as it flows through the unit, providing an endless supply of hot water without storage.
Tankless water heaters are more energy-efficient since they don’t have standby energy loss, but they have higher upfront costs and may require upgrades to gas lines or electrical systems. Tank water heaters are less expensive initially and easier to install, but they have higher operating costs and take up more space. When deciding between the two, consider factors such as your household size, hot water demand, available space, and budget. Tankless water heaters are ideal for households with high hot water needs or limited space, while tank water heaters are suitable for smaller households or those with lower upfront budgets.
Gas vs. Electric Water Heaters
When choosing a water heater, homeowners have two main options: gas-powered or electric. Gas water heaters rely on natural gas or propane to heat the water, while electric models use heating elements powered by electricity. Gas heaters typically have lower operating costs and can heat water faster, making them a good choice for larger households with high hot water demands. However, they require a gas line and proper ventilation, and installation can be more complex.
Electric water heaters are generally easier to install, as they only need an electrical connection and don’t require ventilation. They’re also safer, with no risk of gas leaks or carbon monoxide issues. Electric models are more efficient and have longer lifespans, but they may have higher operating costs depending on electricity rates. They also have slower recovery times, so they may struggle to keep up with high hot water demand.
Ultimately, the choice between gas and electric water heaters depends on factors like your home’s existing utilities, your household’s hot water needs, and your budget. Consider the upfront costs, operating expenses, and installation requirements when making your decision. If you’re unsure which type is best for your home, consult with a professional plumber or water heater specialist.
Assessing Your Skills and Tools
Required Skills
Installing a water heater requires a range of skills, from basic plumbing and electrical knowledge to general handyman abilities. While not overly complex, it’s important to understand the scope of the project before diving in.
Plumbing skills are essential, as you’ll need to correctly disconnect the old unit and connect the new one to the home’s water supply lines. This involves working with pipes, fittings, and valves, as well as ensuring a watertight seal to prevent leaks. Familiarity with soldering copper pipes or using compression fittings is a plus.
Electrical skills come into play when wiring the new water heater to the home’s power supply. You should be comfortable working with electrical connections, following wiring diagrams, and understanding basic electrical safety. If you’re installing an electric water heater, a solid grasp of 240-volt circuits is necessary.
General handyman skills such as lifting heavy objects, using power tools, and making accurate measurements are also important. You’ll need to safely remove the old unit, position the new one, and secure it in place. Attention to detail and problem-solving abilities will help you navigate any unexpected challenges along the way.
While these skills can be learned, it’s crucial to know your limits and call in a professional if you’re unsure about any aspect of the installation process.
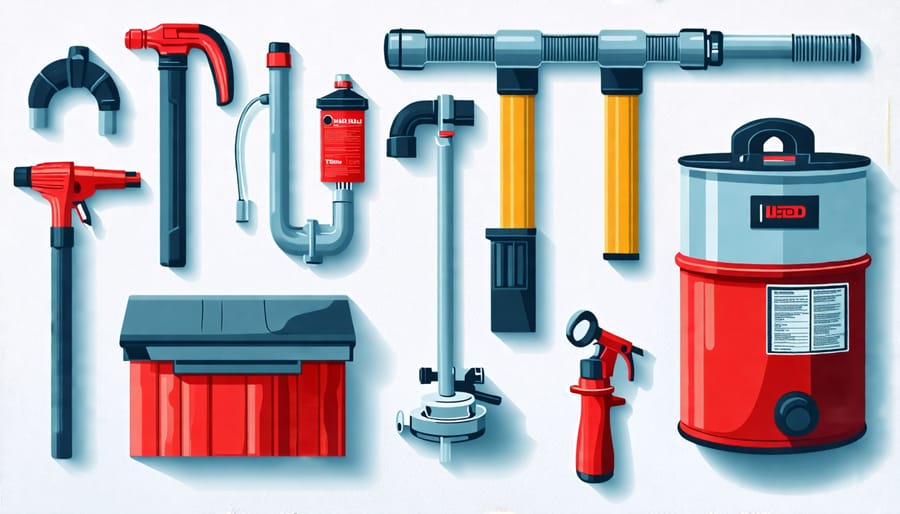
Essential Tools
Installing a water heater requires a specific set of tools to ensure a safe and successful installation. Having the right equipment on hand will make the process smoother and more efficient. Essential tools include adjustable wrenches, a pipe wrench, a tubing cutter, a soldering torch, and a voltage tester. You’ll also need Teflon tape, pipe joint compound, and flexible supply lines. A dolly or hand truck will come in handy for moving the old and new water heater units. Safety gear like gloves and safety glasses is a must. Gathering these necessary tools before starting the installation will help the project go smoothly and safely. If you don’t have all the required tools or feel uncomfortable using them, it may be best to hire a professional plumber to handle the installation.
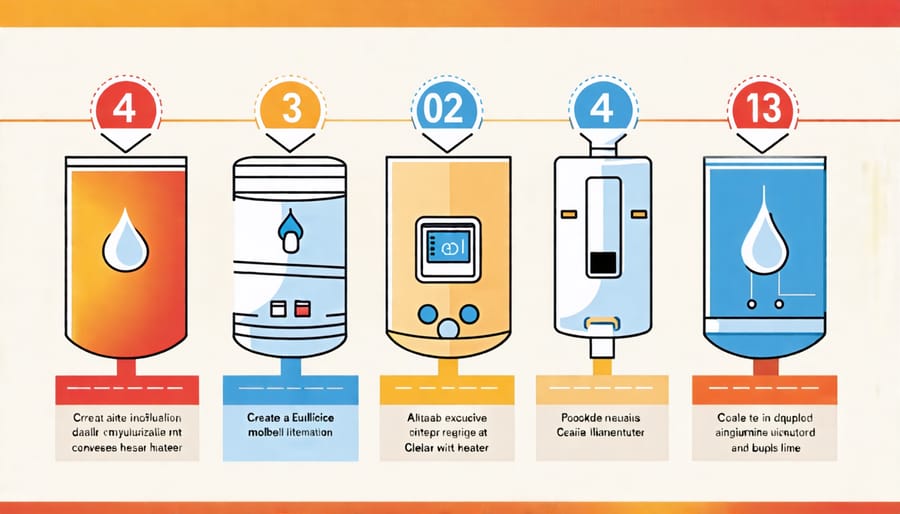
Step-by-Step Installation Guide
Preparation
Before attempting to install a water heater, it’s crucial to properly prepare for the task. Start by turning off the power or gas supply to the existing water heater. For electric models, flip the dedicated circuit breaker in your main electrical panel. If you have a gas-powered unit, locate the shut-off valve on the gas line near the heater and turn it to the “off” position.
Next, shut off the cold water supply to the tank. Look for the shut-off valve on the cold water pipe leading into the top of the heater. Turn this valve clockwise to stop water from entering the tank. Then, attach a garden hose to the drain valve near the bottom of the tank. Run the other end of the hose to a nearby floor drain or outside, ensuring it’s positioned lower than the valve to facilitate drainage.
Open the drain valve and any hot water faucets in your home to allow the tank to empty completely. For a detailed, step-by-step guide on draining the tank and removing the old heater, consult our comprehensive tutorial. Once the tank is drained and the old unit is removed, you’re ready to begin installing your new water heater.
Removal and Installation
Removing the old water heater begins with turning off the power or gas supply and draining the tank. Disconnect the electrical wires or gas line, as well as the cold water supply and hot water output pipes. If the old heater is difficult to maneuver out of its location, it may be necessary to cut the pipes and replace them during installation. Carefully remove the old unit, being mindful of its weight and any remaining water.
Before installing the new water heater, ensure the area is clean and level. Position the new unit in place, making sure it’s properly aligned. Connect the cold water supply line to the inlet and the hot water output line to the corresponding outlet. If using flexible water supply connectors, ensure they are securely fastened and free from kinks. For gas units, reattach the gas line and check for leaks using a soapy water solution. If you smell gas or notice bubbles forming, immediately shut off the gas and contact a professional. For electric models, connect the electrical wires according to the manufacturer’s wiring diagram, ensuring a secure connection.
Once all connections are made, turn on the water supply and check for leaks at each connection point. Fill the tank with water by opening a hot water faucet in the house, allowing it to run until a steady stream flows, indicating the tank is full. For electric heaters, turn on the power at the breaker box. For gas models, light the pilot light according to the manufacturer’s instructions. Set the desired temperature on the thermostat and allow the water to heat up, which typically takes a few hours.
After the water reaches the set temperature, test the pressure relief valve by lifting the lever and ensuring water flows freely through the discharge pipe. If the valve is faulty or no water flows, replace it immediately. Finally, clean up the installation area and dispose of the old water heater responsibly, following local regulations for recycling or disposal.
Final Connections and Testing
Once the new water heater is in place, it’s time for the final connections and testing. Carefully connect the cold and hot water lines to their respective ports on the water heater, ensuring a tight seal. For gas models, securely attach the gas supply line and check for leaks using a soap solution. If you have an electric water heater, connect the electrical supply according to the manufacturer’s instructions and local codes. Finally, turn on the water supply, fill the tank, and test the water heater’s performance by running hot water from a faucet. Monitor for any leaks or unusual sounds, and make adjustments as needed.
When to Call a Professional
While installing a water heater can be a rewarding DIY project, there are situations where it’s best to call a professional plumber. If you’re dealing with a complex installation, such as a tankless water heater or a system that requires significant plumbing modifications, it’s wise to seek expert help. Additionally, if you have limited DIY experience or are unsure about any aspect of the installation process, hiring a licensed plumber can save you time, stress, and potential costly mistakes.
A professional plumber has the knowledge, skills, and tools to handle any challenges that may arise during the installation. They can ensure that your new water heater is properly sized, connected, and in compliance with local building codes and regulations. Moreover, having a licensed professional install your water heater may be necessary to maintain the manufacturer’s warranty.
If you encounter issues such as gas leaks, electrical problems, or major water leaks during the installation process, do not hesitate to shut off the power and water supply and contact a professional immediately. Remember, your safety and the proper functioning of your home’s plumbing system should always be top priorities.
Conclusion
Installing a water heater can be a manageable DIY project for homeowners with basic plumbing and electrical skills, proper tools, and a willingness to follow instructions carefully. However, it’s essential to honestly assess your abilities and comfort level before taking on this task. If you’re unsure about any aspect of the installation process or lack the necessary skills, it’s best to hire a professional plumber to ensure the job is done safely and correctly.
Remember, improper installation can lead to leaks, water damage, or even electrical hazards. When in doubt, prioritize safety and seek expert assistance. By weighing the pros and cons of DIY installation and considering your individual circumstances, you can make an informed decision that balances cost savings with the assurance of a proper, reliable water heater installation.