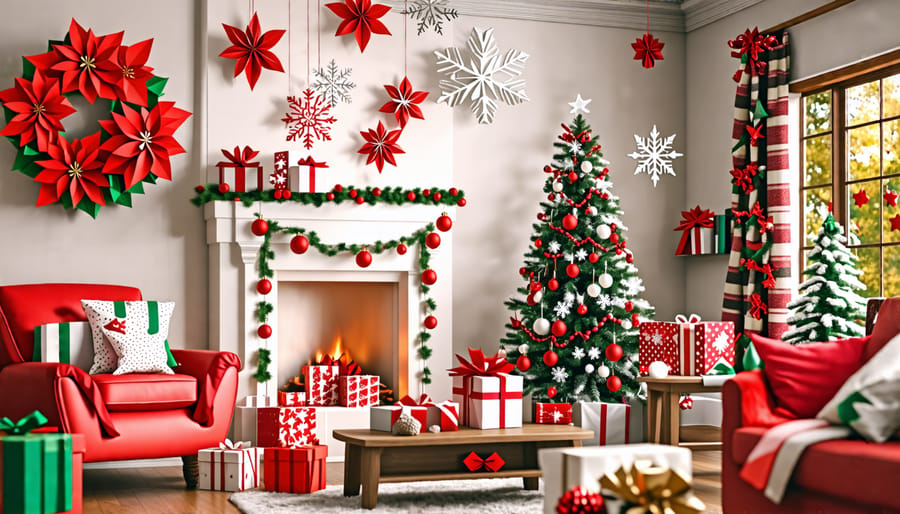
Craft festive paper snowflakes by folding white paper into quarters, cutting intricate designs, unfolding, and hanging with fishing line. Transform colorful construction paper into charming paper chain garlands by cutting strips, linking into loops, and taping together. Wow guests with an impressive paper poinsettia wreath made by making your own traced and cut petals, leaves, and a sturdy wreath base. Adorn gifts, trees, and mantels with pretty paper pinwheels in holiday hues and patterns, easily assembled with square paper, scissors, and pins.
Paper Christmas Tree Ornaments
Origami Ornaments
Creating origami ornaments is a fun and affordable way to add a personal touch to your Christmas tree. To fold a simple origami crane, start with a square sheet of paper. Fold it in half diagonally both ways, unfolding after each fold. Next, fold the paper in half vertically, unfold, and fold both sides into the center crease. Lift the top points to the center to form a smaller diamond. Fold the upper wings down, then tuck them into the body. Finally, fold the head down and the tail up. For a stunning origami star, begin with a square paper and make a pentagon shape. Fold each corner into the center, creating a smaller pentagon. Repeat until you have a small pentagonal shape, then pinch each corner and pull out gently to form a three-dimensional star. With practice, you’ll be crafting beautiful paper decorations in no time!

Cut-Out Ornaments
One delightful Christmas decoration idea is to create intricate cut-out paper ornaments. Start by choosing a sturdy paper like cardstock in festive colors such as red, green, gold, or silver. You can find free templates online featuring classic Christmas designs like snowflakes, stars, Christmas trees, and reindeer. Print the templates onto your chosen paper, then carefully cut along the lines using scissors or a craft knife. For a freehand approach, fold a square paper into quarters, sketch half of your desired shape along the folded edges, then cut it out to reveal a symmetrical design. Experiment with layering multiple cut-outs or adding glitter for extra dimension and sparkle. Thread a ribbon or string through your finished ornaments and hang them on your Christmas tree, in windows, or along a mantel for a charming, handmade touch to your holiday decor.
Paper Garlands and Streamers
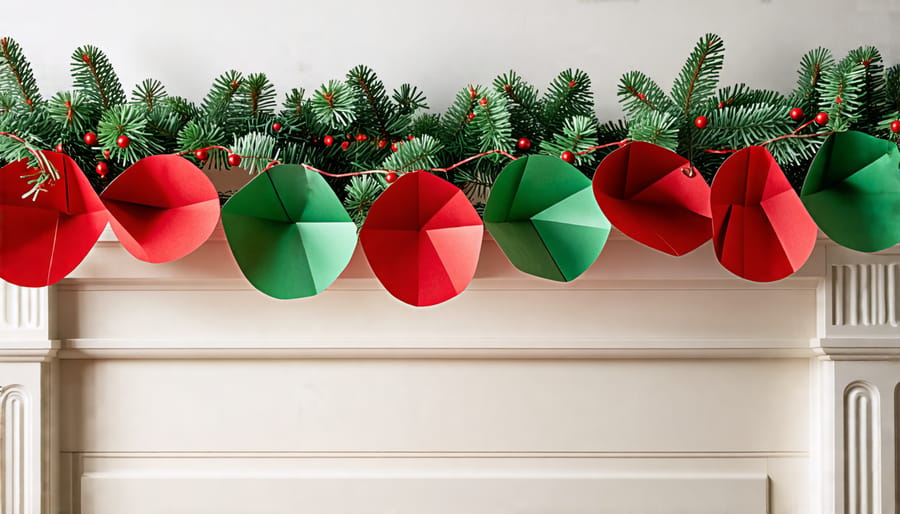
One festive and affordable way to decorate for Christmas is by making your own paper garlands and streamers. All you need is some colorful paper, scissors, and string or ribbon. Consider using a mix of solid colors and patterns like polka dots or stripes for visual interest. Shiny metallic papers in gold and silver add a touch of sparkle.
To make a basic garland, cut strips of paper about 1 inch wide and 8-10 inches long. Fold each strip in half and loop it around your string, feeding the ends through the loop to secure. Continue adding strips, alternating colors and patterns, until your garland reaches the desired length.
For a more intricate look, try making a paper chain. Cut strips as before, but loop and glue or tape them together to form interlocking circles. Experiment with different widths and lengths of paper strips to create chains of varying sizes.
Another option is twisted streamers. Cut long strips of paper, then fold and twist them tightly. Secure the ends with tape and hang vertically for a whimsical effect. Accordion-folded streamers are easy too – just fold a rectangular paper back and forth in a zigzag pattern and secure the end.
The great thing about paper decorations is how customizable they are. Choose colors to match your overall holiday scheme or go for a bold, eclectic look. Drape your garlands along mantels, railings, windows or doorways. Hang streamers from the ceiling or in doorways. With a little imagination, you can transform your space into a festive wonderland!

DIY Paper Advent Calendar
Get into the holiday spirit by crafting your own unique paper advent calendar! Start by gathering supplies like colored cardstock, scissors, glue, and any embellishments you’d like to use. Create 25 small pouches or boxes, one for each day leading up to Christmas. You can make simple envelopes, origami boxes, or even tiny gift bags – the possibilities are endless!
Decorate each pouch with festive designs, stickers, or washi tape to give them a charming, handmade look. Number the pouches from 1 to 25, using stamps, hand lettering, or printed labels. Fill each pouch with a small treat, such as candies, tea bags, or miniature ornaments. You could even include handwritten notes with holiday wishes or fun activities to enjoy together.
Once your pouches are ready, arrange them in a visually appealing way. Hang them on a string with clothespins, display them in a grid on a cork board, or attach them to a garland. Get creative with your layout and make it a reflection of your personal style.
Not only will this DIY advent calendar add a delightful, crafty touch to your holiday decor, but it also serves as a fun way to count down the days until Christmas. Involve your family in the making process for a memorable bonding experience. As you open each pouch daily, savor the anticipation and joy of the season. With a little imagination and some paper crafting skills, you can create a one-of-a-kind advent calendar that will become a cherished part of your holiday traditions.
Impressive Paper Wreaths
Crafting impressive paper wreaths is a fun and budget-friendly way to add a festive touch to your home this holiday season. Start by gathering supplies like colorful or patterned paper, scissors, glue, and a wreath base made of cardboard or a wire frame. Cut the paper into strips or shapes like leaves, holly berries, or snowflakes, depending on your design vision. Experiment with different textures by incorporating crepe paper, construction paper, or even upcycled book pages.
As you build your wreath, layer and overlap the paper elements to create a full, lush appearance. Use a hot glue gun to securely attach each piece to the base, working your way around the entire wreath. Don’t worry about achieving perfection – the beauty of handmade wreaths lies in their unique, organic charm.
For an eye-catching pop of dimension, consider adding paper flowers or rosettes to your wreath. These can be crafted by cutting spiral circles and rolling them up tightly, then securing the base. Arrange these blooms strategically around your wreath for a stunning focal point.
Once your wreath is complete, hang it proudly on your front door to greet guests or mount it above your mantel for a cozy, inviting atmosphere. You can even create mini paper wreaths to adorn individual rooms or give as heartfelt, handmade gifts to loved ones.
Remember, the joy of crafting paper wreaths lies in the creative process itself. Embrace the opportunity to slow down, connect with your artistic side, and infuse your home with personalized holiday magic.
Festive Paper Gift Wrap Ideas
Get creative with your gift wrapping this holiday season using colorful paper! One festive idea is to use plain brown kraft paper and decorate it with hand-drawn designs using markers or paint pens. Draw whimsical holiday patterns like candy canes, snowflakes, or holly leaves for a personalized touch. Another eye-catching option is to create a collage effect by cutting or tearing small pieces of wrapping paper in different colors and patterns, then gluing them onto a plain paper base in a mosaic style. For an elegant look, use solid colored paper and add accents like paper doilies, lace trim, or ribbon bows. Origami techniques can also transform simple paper into stunning embellishments for your presents, such as folded paper flowers, stars, or geometric shapes. Have fun mixing and matching different paper types like glossy, matte, metallic, or even pages from old books for an eclectic, artistic vibe. With a little imagination, you can create beautifully wrapped gifts that will delight your loved ones before they even open the package!
Expert Tips for Working with Paper
When working with paper decorations, use sharp scissors or a craft knife for clean, precise cuts. For intricate designs, try folding the paper first before cutting. Glue sticks are great for quick adhesion, while craft glue provides a stronger hold. Consider using lazy susans or turntables to keep supplies organized and easily accessible while crafting. To hang lightweight paper décor, double-sided tape or removable adhesive putty work well without damaging walls. For heavier items, use string, ribbons, or small Command hooks. To help paper decorations last longer, store them flat in a cool, dry place away from direct sunlight when not in use. If needed, gently iron creased paper on a low setting before displaying. With a little care and these expert tips, your handmade paper decorations will shine throughout the holiday season and beyond.
Conclusion
Get creative with these festive paper decorations to make your home merry and bright this holiday season! Simple materials and a little imagination are all you need to craft a cozy, chic Christmas atmosphere. From intricate paper snowflakes to charming garlands, these projects are perfect for adding a personal touch to your décor. So gather your supplies, put on some holiday tunes, and enjoy filling your space with the magic of handmade paper embellishments. Your Christmas will truly sparkle!