Transform your tablet or spare screen into a sleek, wall-mounted smart digital hub for under $200. Create a centralized command center that puts lighting, temperature, security, and entertainment controls at your fingertips—without the premium price tag of pre-built solutions. By combining off-the-shelf components with open-source software like Home Assistant or Node-RED, you’ll build a professional-grade control panel that seamlessly integrates with popular smart home ecosystems including Google Home, Amazon Alexa, and Apple HomeKit. Whether you’re automating daily routines or monitoring energy usage, this DIY approach delivers the perfect blend of functionality and customization while maintaining complete control over your home automation setup. Get ready to unleash your inner tech enthusiast and create a personalized smart home interface that rivals commercial alternatives.
Why Build Your Own Smart Home Control Panel?
Cost Benefits
Building your own smart home control panel can significantly save money with smart home projects compared to commercial alternatives. While pre-made solutions can cost anywhere from $400 to $1,000 or more, a DIY approach typically ranges between $150-$300, depending on your choice of components and features.
The biggest savings come from using affordable tablets or repurposed devices as your display. A basic Android tablet costs around $100, compared to specialized smart panels that can run upwards of $500. By following smart budgeting for home projects, you can further reduce costs by choosing open-source software and compatible smart home devices.
Additional savings come from mounting solutions and power management. While commercial options often require professional installation, DIY mounting can cost as little as $20. Plus, you’ll save on future upgrades and modifications since you’ll have complete control over the system’s components and functionality.
The real value isn’t just in initial savings – it’s in the flexibility and customization options that come with building your own solution. You can start small and expand gradually, adding features as your needs and budget allow.
Customization Freedom
One of the most exciting aspects of building your own smart home control panel is the ability to make it truly yours. Want a sleek, minimalist interface with just essential controls? You can do that. Prefer a feature-rich dashboard with weather updates, calendar events, and detailed energy monitoring? That’s possible too.
Customize the interface colors and themes to match your home’s décor, or create different profiles for family members with their preferred shortcuts and controls. Add voice control capabilities, motion sensors, or facial recognition for hands-free operation. You might include a “movie mode” that dims the lights, lowers the blinds, and turns on your entertainment system with one tap.
For the security-conscious, integrate camera feeds and door controls. Smart home enthusiasts often add energy usage graphs, HVAC scheduling, and automated routines based on time of day or occupancy. The beauty of DIY is that you can start simple and gradually add features as your needs evolve, making your control panel a living, breathing part of your smart home ecosystem.
Essential Components and Materials
Hardware Requirements
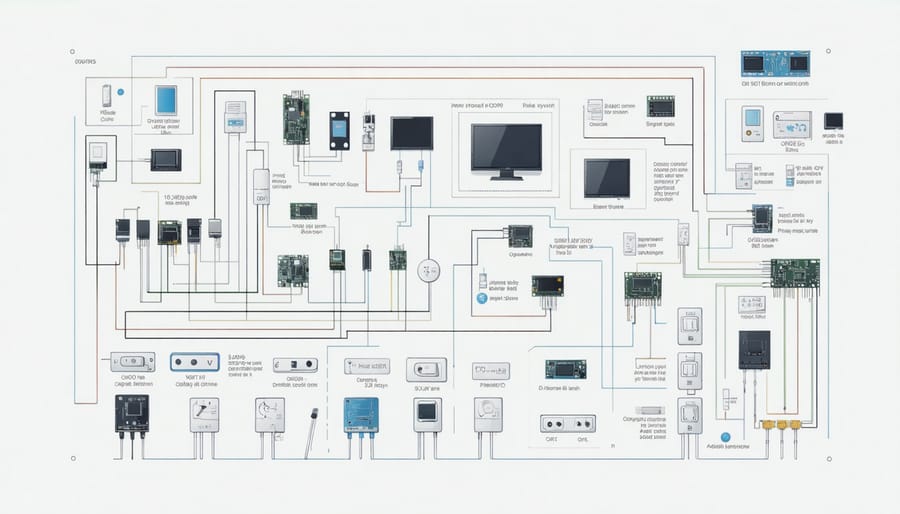
Before diving into your DIY smart home control panel project, let’s gather all the essential components you’ll need. While this might seem like a lot of parts, having everything ready will make the assembly process much smoother – just one of those essential DIY skills you’ll be glad to master.
Core Components:
– Tablet (7-10 inch) or old smartphone
– Wall mount bracket compatible with your device
– Micro-USB or USB-C power cable
– Power adapter (2.1A minimum recommended)
– Low-profile electrical box
– Cable concealment kit
Optional but Recommended:
– Anti-glare screen protector
– Decorative frame or bezel
– USB extension cable
– Wire management clips
– Surge protector
Tools Required:
– Phillips head screwdriver
– Level
– Pencil for marking
– Drill with appropriate bits
– Wire stripper/cutter
– Measuring tape
– Stud finder
Pro tip: While you might be tempted to use the most affordable components, investing in quality power supplies and mounting hardware will ensure your control panel remains secure and reliable for years to come. Consider purchasing a tablet with good build quality and screen resolution – you’ll be looking at it daily!
Remember to check your existing smart home setup’s compatibility with these components before making any purchases. This will save you time and prevent unnecessary expenses down the line.
Software and Tools
To bring your smart home control panel to life, you’ll need a combination of software and tools that work together seamlessly. Don’t worry – we’ll keep things simple and accessible!
The heart of your control panel will be a dashboard platform. Home Assistant is a popular, free, and open-source option that offers incredible flexibility. If you prefer something more straightforward, Node-RED provides a user-friendly, visual programming interface that’s perfect for beginners.
For the operating system, Raspberry Pi OS (formerly Raspbian) is your best bet if you’re using a Raspberry Pi. It’s stable, well-supported, and comes with everything you need to get started. You’ll also want to install VNC Viewer for remote access to your panel when needed.
Essential programming tools include:
– Visual Studio Code or Notepad++ for code editing
– Git for version control (if you plan to backup your configurations)
– Python (comes pre-installed with Raspberry Pi OS)
– MQTT Broker (like Mosquitto) for device communication
Don’t forget to download these helpful apps:
– PuTTY for SSH connections
– FileZilla for file transfers
– Web browser of your choice (Chrome or Firefox recommended)
For creating custom icons and interfaces, consider using:
– GIMP or Inkscape for graphic design (both free)
– Custom Card Designer for Home Assistant
– Material Design Icons for consistent styling
Remember, you don’t need to be an expert in all these tools – start with the basics and expand your knowledge as you go along!
Step-by-Step Assembly Process
Preparing the Display and Housing
Now that you’ve gathered your components, let’s create a clean and professional-looking display setup for your control panel. Start by carefully removing the tablet’s original case if it has one. Clean the tablet’s screen thoroughly with a microfiber cloth to ensure no dust or fingerprints remain.
For the housing, you’ll want to create a recessed mount that sits flush with your wall. Measure your tablet’s dimensions and add an extra half-inch on all sides to allow for proper ventilation. Using these measurements, trace and cut an opening in your mounting board or drywall. If you’re working with drywall, reinforce the edges with wooden supports to prevent sagging.
Pro tip: Consider the location of nearby power outlets when choosing your mounting spot. You’ll want easy access to power without visible cables running across your wall.
Create a frame that matches your home’s aesthetic using trim pieces or a pre-made tablet mount. Paint or finish the frame to complement your wall color. Remember to leave small gaps for ventilation and access to essential tablet buttons and ports.
Before permanent installation, test the tablet’s positioning to ensure comfortable viewing and touch interaction. The ideal height is typically at eye level when standing, around 5 feet from the floor. Make sure the screen remains visible even with changing light conditions throughout the day.
For a polished look, consider installing a cable management system behind the wall to hide power cords. If running cables through walls isn’t an option, use cable covers painted to match your wall color.
Wiring and Connections
Safety should always be your top priority when working with electrical connections for your smart home control panel. Before starting, ensure the power is completely off at the circuit breaker – not just the switch. Keep a voltage tester handy to double-check that no current is flowing through any wires you’ll be handling.
For powering your control panel, you’ll need a reliable 5V power supply, which can typically be achieved through a USB power adapter or a dedicated power supply unit. If you’re using a Raspberry Pi or similar microcontroller, ensure it receives stable power through a high-quality power cable to prevent system crashes or erratic behavior.
When connecting your display and touch screen components, pay careful attention to the ribbon cables and ensure they’re properly seated in their connectors. These connections are delicate, so handle them with care and avoid forcing anything into place. Most modern displays use HDMI or DisplayPort connections, which should be secured firmly but not overtightened.
For sensor connections and additional components, use appropriate gauge wire for your power requirements. Generally, 22-24 AWG wire works well for most low-voltage applications in smart home projects. Consider using screw terminals or proper wire connectors rather than just twisting wires together, as this provides more reliable and safer connections.
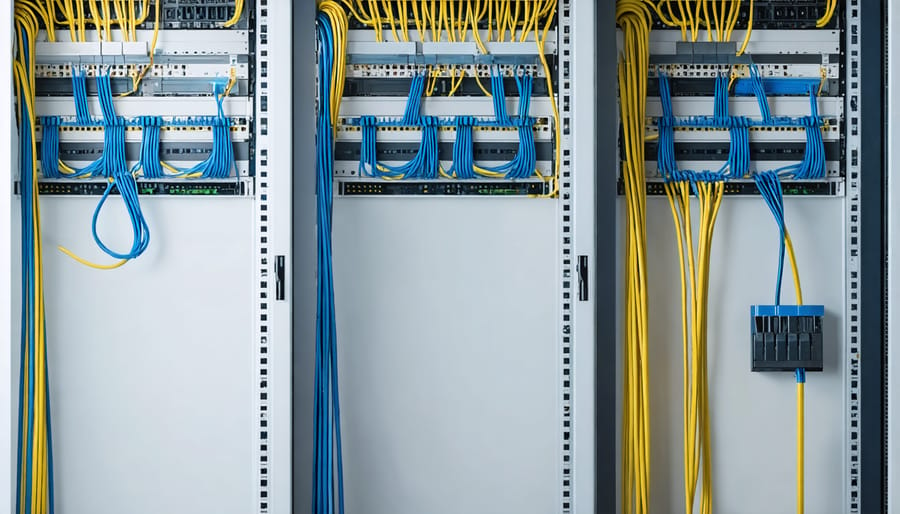
Cable management is crucial for both safety and aesthetics. Use cable ties or velcro straps to bundle wires neatly, and label each connection clearly. This will make future maintenance or troubleshooting much easier. If running cables through walls, always use properly rated cable channels or conduit, and check local building codes for any specific requirements.
Remember to leave some slack in your connections to prevent strain on the terminals, and double-check all connections before powering up your system for the first time. If you’re unsure about any electrical work, don’t hesitate to consult a qualified electrician – it’s better to be safe than sorry.
Software Setup and Configuration
Now that we have our hardware set up, let’s get the software running on your control panel. Don’t worry – while it might sound daunting, we’ll break it down into manageable steps!
Start by downloading and installing Raspberry Pi OS onto your microSD card using the Raspberry Pi Imager tool. Once installed, boot up your Pi and connect it to your Wi-Fi network. Make sure to enable SSH during the initial setup for easier remote access later.
Next, we’ll install Home Assistant, which will serve as the brain of your control panel. Open the terminal and run the following commands (one at a time):
sudo apt-get update
sudo apt-get upgrade
curl -sL “https://raw.githubusercontent.com/home-assistant/supervised-installer/master/installer.sh” | bash -s
The installation might take 15-20 minutes. Once complete, you can access the Home Assistant dashboard by typing your Pi’s IP address followed by port 8123 in your web browser (e.g., 192.168.1.100:8123).
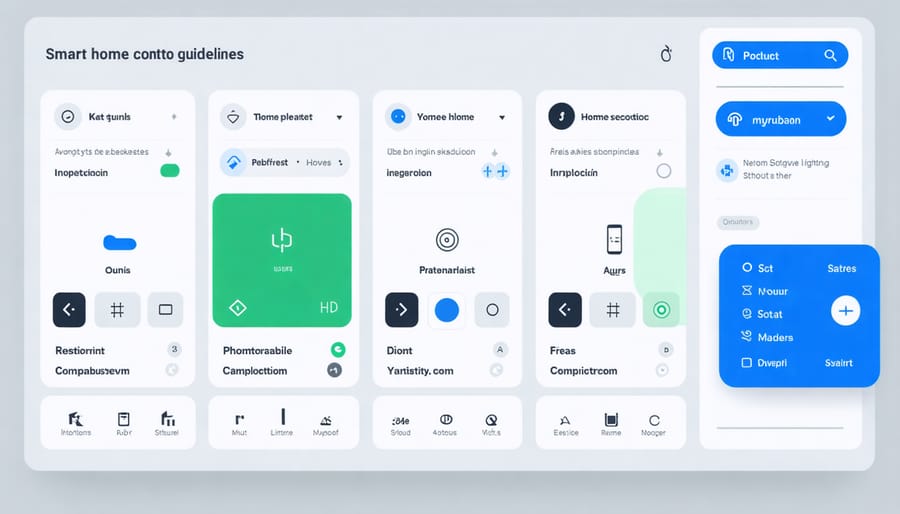
Now comes the fun part – customizing your dashboard! Through the Home Assistant interface, you can:
– Add your smart devices
– Create custom cards for different rooms
– Set up automation rules
– Design your perfect interface layout
Pro tip: Start with a simple layout and gradually add more features as you become comfortable with the system. This prevents overwhelming yourself and ensures everything works properly before expanding.
Remember to regularly back up your configuration files – they’re typically stored in the /config directory. This will save you lots of headaches if you need to reinstall or upgrade in the future.
Integration with Smart Home Devices
Compatible Devices and Protocols
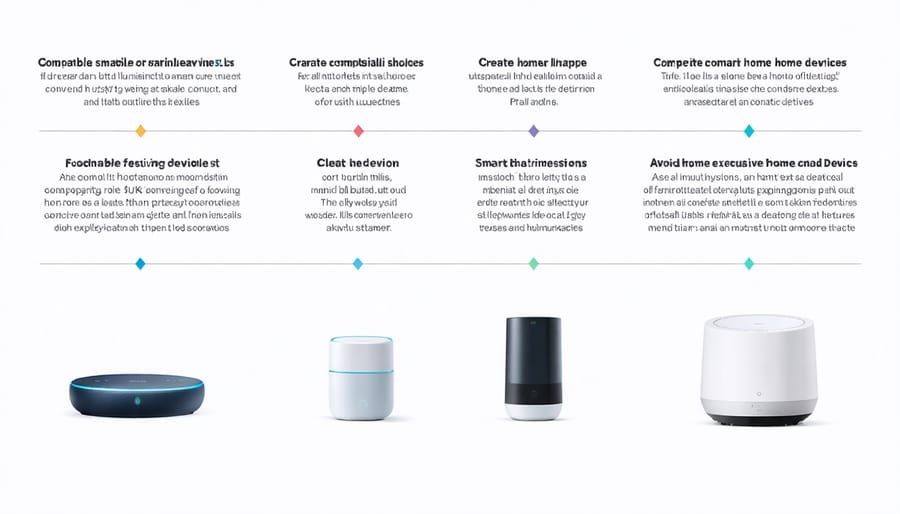
Your DIY smart home control panel can work seamlessly with a wide range of popular smart devices and protocols, making it a versatile hub for your connected home. Most modern smart home devices use Wi-Fi, Zigbee, or Z-Wave protocols, and your control panel can support all of these with the right components.
For Wi-Fi devices, you can easily connect popular brands like Philips Hue lights, Ring doorbells, Nest thermostats, and various smart plugs. These devices typically connect directly through your home network, making them straightforward to integrate.
If you’re using Zigbee devices, such as Samsung SmartThings sensors or IKEA TRÅDFRI products, you’ll need to add a Zigbee USB stick to your control panel. This small addition opens up compatibility with hundreds of affordable smart home devices from various manufacturers.
Z-Wave devices, including door locks from Schlage or light switches from GE, can be integrated by adding a Z-Wave USB controller. While Z-Wave products tend to be pricier, they’re known for their reliability and excellent range.
Voice assistants like Amazon Alexa and Google Assistant can also be incorporated into your control panel, enabling voice commands and automated routines. For Apple HomeKit users, adding a Homebridge server to your setup allows integration with HomeKit-compatible devices.
Remember that most modern security cameras, smart TVs, and media devices use standard Wi-Fi connections, making them easy to include in your control panel’s interface. The key is choosing a software platform that supports your preferred devices and protocols – popular options like Home Assistant and OpenHAB offer extensive device compatibility lists that grow regularly.
Setting Up Automations
Now that your control panel hardware is set up, it’s time to bring it to life with custom automations and scenes. The real magic of connected home automation happens when you create personalized routines that match your daily life.
Start with basic automations like “Good Morning” and “Goodnight” scenes. For your morning routine, you might want the panel to trigger gradually brightening lights, start your coffee maker, and adjust the thermostat. Evening scenes could dim lights, lock doors, and arm your security system.
Creating these automations is surprisingly straightforward:
1. Open your smart home platform’s automation section
2. Select “Create New Automation” or “Add Scene”
3. Choose your trigger (time, button press, or sensor activation)
4. Select the devices you want to control
5. Set the specific actions for each device
6. Test and adjust as needed
Pro tip: Think about your family’s daily patterns when setting up automations. What tasks do you repeatedly do at certain times? These are perfect candidates for automation.
Consider creating seasonal scenes too. “Movie Night” could dim lights and lower blinds, while “Welcome Home” might adjust temperature and turn on specific lights. Remember to keep your automations simple at first – you can always add complexity as you become more comfortable with the system.
For the best experience, label your automation buttons clearly on the control panel interface and use icons that make sense to everyone in your household. This ensures your smart home control panel becomes an intuitive command center that truly enhances your daily routines.
Troubleshooting and Maintenance
Even the best DIY smart home control panels can encounter occasional hiccups, but most issues have straightforward solutions. If your touch screen becomes unresponsive, try a simple power cycle by disconnecting the power for 30 seconds before reconnecting. For connectivity issues, ensure your Wi-Fi network is stable and check that all devices are properly connected to the same network.
Sometimes, apps may crash or freeze. In these cases, clearing the cache and updating to the latest software version usually resolves the problem. If your control panel seems sluggish, consider removing unused widgets and automations to improve performance.
To keep your control panel running smoothly, implement these maintenance tips:
– Clean the screen monthly with a slightly damp microfiber cloth
– Check and tighten mounting screws quarterly
– Update software regularly when prompted
– Back up your configuration settings every few months
– Test emergency functions and automations monthly
– Keep ventilation slots dust-free
– Monitor battery health if using a battery backup
If you notice persistent issues like screen flickering or system crashes, check your power supply’s voltage output – incorrect power delivery is often the culprit. For more complex problems, consult your component manufacturers’ support documentation or reach out to their customer service.
Remember to document any troubleshooting steps you take. This record will be invaluable if similar issues arise in the future or if you need to seek technical support.
Creating your own smart home control panel is an exciting and rewarding project that can transform how you interact with your home. By following the steps and guidelines we’ve covered, you’ll be well-equipped to build a customized solution that perfectly fits your needs and budget. Remember, you don’t need to implement everything at once – start small and expand your system as your confidence grows. The beauty of a DIY approach is the flexibility to adapt and modify your control panel over time. Whether you’re a tech enthusiast or just getting started with home automation, building your own control panel puts you in complete control of your smart home experience. So gather your materials, plan your layout, and take that first step toward creating your personalized smart home command center. Your perfect smart home awaits!


