Master the true costs of home repairs before starting any project. Whether you’re fixing a leaky faucet or renovating an entire bathroom, understanding typical repair expenses helps prevent budget surprises and ensures smart decision-making. Our comprehensive guide breaks down common repair costs, helping you develop essential home repair skills while saving money.
From minor fixes averaging $150-$350 to major structural repairs reaching $10,000+, we’ll explore real costs for materials, labor, and unexpected complications. Learn which projects make sense for DIY, when to call professionals, and how to negotiate fair contractor rates. Navigate home repairs confidently with accurate price ranges, money-saving strategies, and practical tips for maintaining your home’s value without breaking the bank.
This guide empowers you to make informed decisions about your home maintenance budget, whether you’re planning immediate repairs or preparing for future projects. Compare costs across different repair categories, understand regional price variations, and discover proven methods to reduce expenses while maintaining quality workmanship.
Common Home Repairs and Their Average Costs
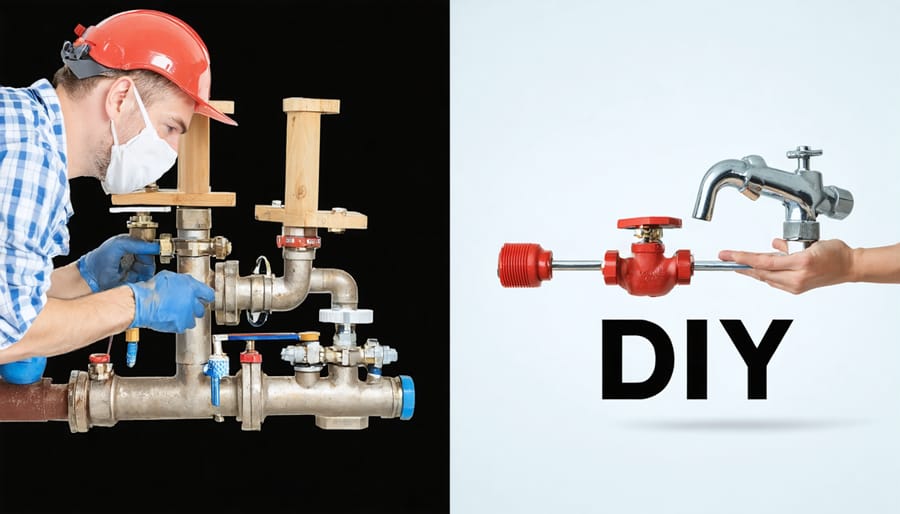
Plumbing Repairs
Plumbing issues can quickly escalate from minor inconveniences to major expenses if not addressed promptly. A simple faucet leak might cost between $150-$300 to fix, while more complex pipe repairs typically range from $350-$2,000 depending on accessibility and damage extent.
Drain clogs are among the most common plumbing problems, with professional removal services costing $100-$275. For toilet clogs, expect to pay $150-$300, though many can be resolved with a plunger and basic DIY knowledge. If you’re facing recurring clogs, camera inspection services ($250-$500) can identify underlying issues.
Fixture replacements vary significantly in cost. Installing a new faucet runs $150-$400, while toilet replacement typically costs $375-$800 including labor. For shower or tub installations, budget between $1,500-$5,000, depending on the fixtures chosen and any necessary plumbing modifications.
Money-saving tip: Many minor plumbing issues can be DIY projects. Basic tools like a plunger, pipe wrench, and plumber’s tape cost under $50 total and can handle common problems. However, always call a professional for major repairs, especially those involving main water lines or sewage systems, where costs can exceed $5,000 but are crucial for preventing extensive damage.
Emergency plumbing services typically charge 1.5-2 times the standard rate, so maintaining regular inspections ($200-$300 annually) can help avoid costly urgent repairs.
Electrical Work
Electrical work can range from simple fixes to complex rewiring projects, with costs varying significantly based on the job’s complexity and your location. For basic tasks like replacing an outlet or fixing a switch, expect to pay between $75 and $250, including labor. These minor repairs typically take 1-2 hours to complete.
More involved projects come with higher price tags. Installing new lighting fixtures usually costs $150-$400 per fixture, while ceiling fan installation ranges from $200-$500. Adding new circuits or upgrading your electrical panel can run between $500-$2,000, depending on the amperage and complexity of the installation.
Complete house rewiring is one of the most expensive electrical projects, typically costing $8,000-$15,000 for an average-sized home. This price includes opening walls, running new wires, and restoring surfaces afterward.
To save money, consider bundling multiple electrical repairs into one service call, as electricians often charge a minimum fee for visits. While DIY is tempting for simple tasks like changing light fixtures, remember that electrical work can be dangerous and often requires permits. Always hire licensed electricians for anything beyond basic repairs to ensure safety and code compliance.
Pro tip: Regular electrical maintenance, like having your system inspected every 3-5 years, can help prevent costly emergency repairs and ensure your home’s safety.
Structural and Cosmetic Repairs
Structural and cosmetic repairs often form a significant portion of home maintenance costs. Drywall repairs typically range from $250 to $800, depending on the extent of damage. Small holes or cracks might cost $50-100 for DIY fixes, while larger repairs requiring professional attention can reach $1,200 or more.
Flooring costs vary dramatically based on material choice and square footage. Carpet installation averages $2-8 per square foot, while hardwood flooring runs $6-12 per square foot installed. Luxury vinyl planks offer a middle-ground option at $4-7 per square foot.
Foundation repairs represent some of the most costly structural work, ranging from $2,000 for minor crack repairs to $15,000+ for major stabilization work. Keep an eye out for warning signs like uneven floors or sticking doors to address issues before they worsen.
Ceiling repairs typically cost $300-800 for water damage or crack repair, while complete replacement might run $1,000-2,500. For cosmetic updates, interior painting averages $2-6 per square foot, with most rooms costing $400-1,000 total.
Money-saving tip: Many structural repairs have DIY-friendly solutions for minor issues. However, always consult professionals for load-bearing walls, foundation work, or extensive water damage. Getting multiple quotes can help you secure the best price while ensuring quality workmanship.
DIY vs. Professional Costs: Where to Save
Safe DIY Projects
While many home repairs require professional expertise, there are numerous repairs you can tackle yourself to save money without compromising safety. Here’s a curated list of DIY-friendly projects:
1. Painting walls and trim
2. Replacing cabinet hardware
3. Installing new light fixtures (after turning off power)
4. Unclogging drains
5. Replacing faucet washers
6. Installing weather stripping
7. Patching small drywall holes
8. Replacing air filters
9. Caulking windows and bathtubs
10. Installing door stops and handles
These projects typically require basic tools and minimal expertise. Before starting any DIY repair, ensure you:
– Read manufacturer instructions thoroughly
– Gather all necessary tools and materials
– Watch reliable tutorial videos
– Work in well-lit conditions
– Wear appropriate safety gear
– Know when to step back if the project becomes too complex
Remember to maintain a clean workspace and keep children and pets away from project areas. While these repairs are generally safe for DIY, always trust your instincts – if you feel uncomfortable at any point, it’s wise to consult a professional. Start with smaller projects to build confidence and gradually take on more challenging tasks as your skills improve.
When to Call the Pros
While DIY projects can save money, some repairs require professional expertise for safety and quality results. Here’s how to know when it’s time to call in the experts:
Safety-Critical Repairs
Always contact professionals for repairs involving electrical systems, gas lines, or major plumbing issues. These systems can be dangerous to work with and often require proper licensing and permits. The same goes for structural repairs that affect your home’s foundation or load-bearing walls.
Complex Systems
HVAC repairs, roof replacements, and major appliance repairs typically require specialized knowledge and tools. Attempting these repairs yourself could void warranties or lead to costly mistakes. If your repair involves multiple systems or requires specialized equipment, it’s best to hire a pro.
Legal Requirements
Some repairs legally require licensed professionals. This includes tasks like asbestos removal, major electrical work, or modifications that need building permits. Check your local regulations before starting any significant home improvement project.
Time and Skill Considerations
Consider your experience level and available time. If a repair would take you several weekends to complete but a professional could finish it in a day, factor in the value of your time. Also, if you’re unsure about the root cause of a problem, professionals can diagnose issues accurately.
Cost Impact
While hiring professionals costs more upfront, DIY mistakes can be even more expensive to fix. If a repair could potentially cause water damage, structural issues, or safety hazards if done incorrectly, the investment in professional services is usually worth it.
Remember: when in doubt, at least consult with a professional before deciding to tackle a repair yourself. Many contractors offer free consultations that can help you make an informed decision.
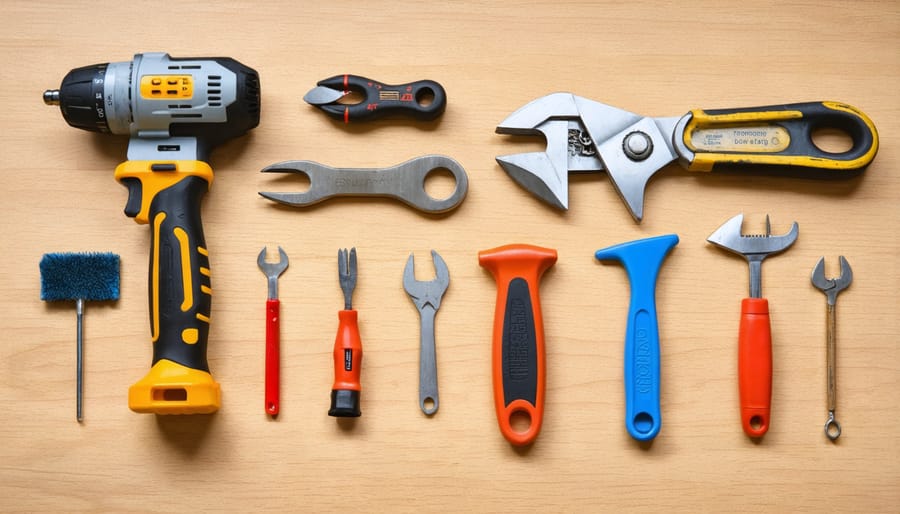
Tools and Materials: Initial Investment Guide
Getting started with DIY home repairs requires a well-stocked toolbox. While the initial investment might seem substantial, having the right tools saves money in the long run. Here’s a comprehensive breakdown of essential tools and materials you’ll need, along with their typical costs.
Basic Tool Kit Essentials ($100-150):
– Hammer ($15-25)
– Screwdriver set with multiple heads ($20-30)
– Adjustable wrench ($10-15)
– Pliers set ($20-25)
– Utility knife ($10)
– Tape measure ($5-10)
– Level ($15-20)
– Putty knife ($5)
Power Tools ($200-400):
– Cordless drill/driver ($75-150)
– Basic circular saw ($60-100)
– Power sander ($40-80)
– Shop vacuum ($50-100)
Safety Equipment ($50-75):
– Safety glasses ($10-15)
– Work gloves ($10-20)
– Dust masks ($15-25)
– Ear protection ($10-15)
Common Repair Materials ($100-150):
– Assorted screws and nails ($20)
– Wood filler ($10)
– Spackling compound ($10)
– Caulk and caulking gun ($15)
– Duct tape and painter’s tape ($15)
– WD-40 or similar lubricant ($5)
– Wood glue ($5)
– Sandpaper in various grits ($10)
Storage Solutions ($50-100):
– Basic toolbox or bag ($30-50)
– Small parts organizer ($20-30)
– Tool belt ($15-25)
Pro Tip: Start with the basics and add tools as needed for specific projects. Many home improvement stores offer tool rental services for less frequently used items, helping you save on initial costs. Consider purchasing multi-tool kits, which often provide better value than buying individual pieces. Quality matters – investing in durable tools from reputable brands can save money over time by avoiding frequent replacements.
Remember to maintain your tools properly by cleaning them after use and storing them in a dry place. This care extends their lifespan and protects your investment. For beginners, starting with a basic kit around $300-400 is reasonable, adding specialized tools as your DIY skills and project needs grow.
Cost-Saving Strategies and Tips
Preventive Maintenance
The old saying “an ounce of prevention is worth a pound of cure” couldn’t be more true when it comes to home maintenance. By investing a little time and money in regular upkeep, you can avoid costly repairs down the line. Here’s your smart guide to preventive maintenance that won’t break the bank.
Start with seasonal inspections of your home’s major systems. Check your HVAC filters monthly and replace them every 3-6 months ($10-30 per filter). Clean your gutters twice yearly ($0 if DIY, $100-200 if professional) to prevent water damage to your foundation and roof.
Seal gaps around windows and doors with weatherstripping ($5-10 per window) and caulk ($5 per tube) to prevent drafts and moisture intrusion. Consider implementing energy-efficient home upgrades that can reduce utility bills while maintaining your home’s condition.
Regular roof inspections ($0 if DIY, $200-300 if professional) can catch minor issues before they become major leaks. Keep your dryer vent clean ($0-150) to prevent fire hazards and maintain efficiency. Test smoke detectors monthly and replace batteries annually ($10-20).
Don’t forget your plumbing system. Address drips immediately (new washers cost less than $1), and pour boiling water down drains monthly to prevent clogs. Have your water heater flushed annually ($100-200) to extend its lifespan.
By following these preventive measures, you’ll not only save money but also maintain your home’s value and avoid emergency repair situations. Create a maintenance calendar to track these tasks, and set aside about $100 monthly for routine maintenance – it’s far less than what you’d spend on major repairs.
Smart Shopping Tips
Being a savvy shopper can significantly reduce your home repair costs without compromising on quality. Start by implementing these smart budgeting strategies when purchasing materials and tools.
Compare prices across multiple retailers, including big-box stores, local hardware shops, and online marketplaces. Sign up for loyalty programs at your favorite home improvement stores to earn points and receive exclusive discounts. Many stores also offer price matching, so always keep an eye out for better deals.
Consider buying materials during seasonal sales or holiday promotions. For instance, outdoor maintenance supplies often go on sale during fall, while indoor renovation materials frequently see discounts in winter. Don’t forget to check clearance sections for perfectly good items at reduced prices.
For tools you’ll only use once or twice, look into rental options instead of buying. Many hardware stores offer daily or weekly equipment rentals at reasonable rates. When purchasing tools you’ll use frequently, invest in quality brands that offer good warranties – they may cost more initially but save money in the long run.
Buy in bulk for materials you know you’ll need regularly, like air filters, caulk, or paint supplies. Consider splitting bulk purchases with neighbors or family members to share costs. For larger projects, ask about contractor discounts even if you’re DIYing – some stores offer these to anyone buying in quantity.
Don’t forget to check online marketplaces and local buy/sell groups for gently used materials and tools. Sometimes, you can find high-quality items at fraction of retail prices from others who overestimated their project needs.
As we’ve explored throughout this guide, home repairs can range from simple DIY fixes to complex professional renovations, with costs varying significantly based on numerous factors. Understanding these costs upfront helps you make informed decisions and avoid unexpected financial surprises during your home improvement journey.
Remember that while DIY projects can save money, they require careful consideration of your skills, available time, and the complexity of the repair. Sometimes, investing in professional services can actually save money in the long run by ensuring the job is done correctly the first time and preventing potential costly mistakes.
Keep these key takeaways in mind as you plan your home repairs:
– Always get multiple quotes from contractors for major repairs
– Factor in both material and labor costs when budgeting
– Consider the long-term value versus immediate savings
– Don’t skip necessary permits or inspections
– Maintain an emergency fund for unexpected repairs
– Research thoroughly before deciding between DIY and professional help
Being proactive with home maintenance can help prevent more expensive repairs down the line. Regular inspections and addressing minor issues promptly can save you thousands in the long run. Additionally, keeping detailed records of repairs, warranties, and maintenance schedules will help you track your home’s needs and plan future projects more effectively.
When planning your next home repair project, take time to research, compare options, and create a realistic budget that includes a contingency fund. Whether you choose to tackle the project yourself or hire a professional, having a clear understanding of the potential costs and requirements will help you achieve the best possible outcome while maintaining your home’s value and your peace of mind.
Remember that every home is unique, and costs can vary based on your location, the age of your home, and current market conditions. Use this guide as a starting point, but always verify current prices and requirements in your specific area before beginning any repair project.