Transform your garden into a smart, self-maintaining oasis with Raspberry Pi automation – delivering precision watering, real-time monitoring, and data-driven plant care. This innovative approach to garden automation benefits combines affordable hardware with powerful software, enabling precise control over moisture levels, temperature, and sunlight exposure. By connecting sensors, pumps, and actuators to a Raspberry Pi hub, create a responsive ecosystem that nurtures plants while reducing water waste and maintenance time by up to 70%. Whether you’re a busy professional or passionate gardener, this DIY smart garden system adapts to your plants’ needs, sending alerts to your smartphone and automatically adjusting care routines based on weather patterns and soil conditions. Get ready to elevate your gardening game with technology that makes growing thriving plants easier than ever before.
Building Your Smart Garden Hub
Core Components
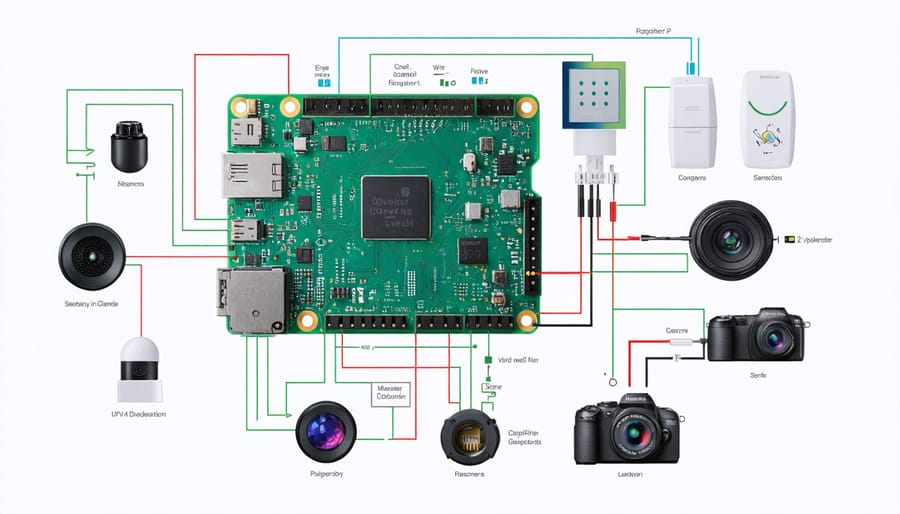
To build your automated garden system, you’ll need several key components that work together seamlessly. Let’s break down the essential hardware you’ll need to get started.
At the heart of your system, you’ll need a Raspberry Pi (Model 3B+ or newer recommended) to serve as the brain of your operation. This affordable computer will control all your automation functions. You’ll also need a microSD card (16GB minimum) to store your operating system and programs.
For monitoring your garden’s vital signs, you’ll want to include:
– Soil moisture sensors (at least one per plant zone)
– Temperature and humidity sensors
– Light intensity sensors
– A water flow sensor
The irrigation system requires:
– 12V water pump
– Solenoid valves
– Water-resistant tubing
– A relay module to control the pump and valves
For power management, you’ll need:
– 12V power supply for the pump
– 5V power supply for the Raspberry Pi
– Waterproof enclosure for electronics
Optional but recommended components include:
– Camera module for plant monitoring
– LCD display for system status
– WiFi dongle (if not using built-in WiFi)
– Backup battery system
Remember to choose weather-resistant components when possible, as they’ll be exposed to moisture and varying temperatures. Most of these items are readily available online or at local electronics stores.

Initial Setup Steps
Let’s get your Raspberry Pi garden automation system up and running! First, gather your essential components: a Raspberry Pi (model 3B+ or newer recommended), a microSD card (16GB minimum), moisture sensors, a relay module, and basic jumper wires.
Start by preparing your Raspberry Pi. Insert the microSD card loaded with Raspberry Pi OS, connect a keyboard, mouse, and display for initial setup. Power up your Pi and follow the on-screen instructions to configure basic settings like WiFi and timezone.
Next, connect your moisture sensors to the GPIO pins. Use pins 17 and 27 for your first two sensors, connecting the VCC to 3.3V, ground to GND, and the signal wire to the designated GPIO pin. Double-check these connections – proper wiring is crucial for accurate readings!
For the relay module, connect it to GPIO pin 23, along with power (5V) and ground. This will control your watering system, whether it’s a small pump or solenoid valve. Secure all connections with electrical tape to prevent any loose wires.
Install the required Python libraries by opening the terminal and typing:
sudo pip3 install RPi.GPIO
sudo pip3 install adafruit-circuitpython-ads1x15
Test each component individually before final assembly. Check sensor readings and relay activation using simple Python scripts. Once everything works separately, you’re ready to move on to programming your automation sequence!
Remember to place sensors carefully in your garden soil, keeping cables protected from moisture and direct sunlight. A small weatherproof enclosure for your Raspberry Pi is essential for outdoor setups.
AI-Powered Sensing and Analysis
Sensor Integration
Selecting the right sensors is crucial for your automated garden’s success. Let’s explore the essential sensors you’ll need and how to connect them to your Raspberry Pi.
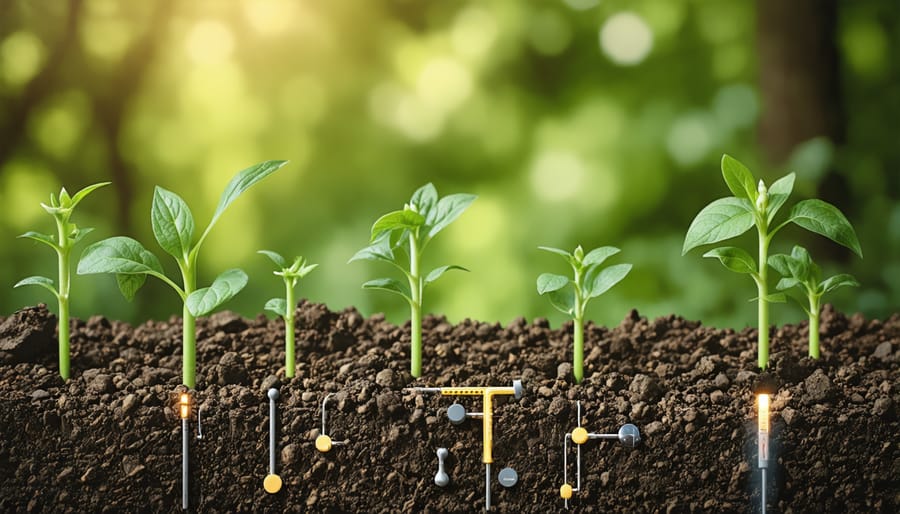
Start with a soil moisture sensor – this little device tells you when your plants need watering. Simply insert the probe into the soil near your plant’s roots and connect the sensor to your Pi’s GPIO pins. Most soil moisture sensors use analog signals, so you’ll need an analog-to-digital converter (ADC) to work with the Raspberry Pi.
Temperature and humidity sensors, like the DHT22 or BME280, help monitor your garden’s climate. These sensors typically use digital signals and connect directly to your Pi’s GPIO pins using just three wires: power, ground, and data. Mount them at plant level for the most accurate readings.
Light sensors (photoresistors) help track sunlight levels, ensuring your plants get optimal exposure. These are particularly useful for indoor gardens or greenhouse setups. Like soil moisture sensors, they’ll need an ADC for proper readings.
For a more advanced setup, consider adding:
– pH sensors for soil acidity monitoring
– Rain sensors for outdoor gardens
– Wind speed sensors for greenhouse ventilation
When installing sensors, keep these tips in mind:
– Use waterproof cases for outdoor sensors
– Keep wire connections protected from moisture
– Position sensors away from direct water spray
– Label all connections for easy maintenance
– Test each sensor individually before final installation
Remember to calibrate your sensors regularly for accurate readings, and check connections monthly to prevent corrosion or damage from the garden environment.

Data Collection and Analysis
Collecting and analyzing data from your automated garden system opens up a whole new world of possibilities for smarter plant care. Your Raspberry Pi can gather crucial information through various sensors, making AI-powered garden monitoring more accessible than ever before.
Start by connecting soil moisture sensors, temperature probes, and light meters to your Raspberry Pi. These sensors continuously collect data about your garden’s conditions, which is then stored in a simple database on your device. The real magic happens when you use Python scripts to analyze this information and identify patterns in your garden’s health.
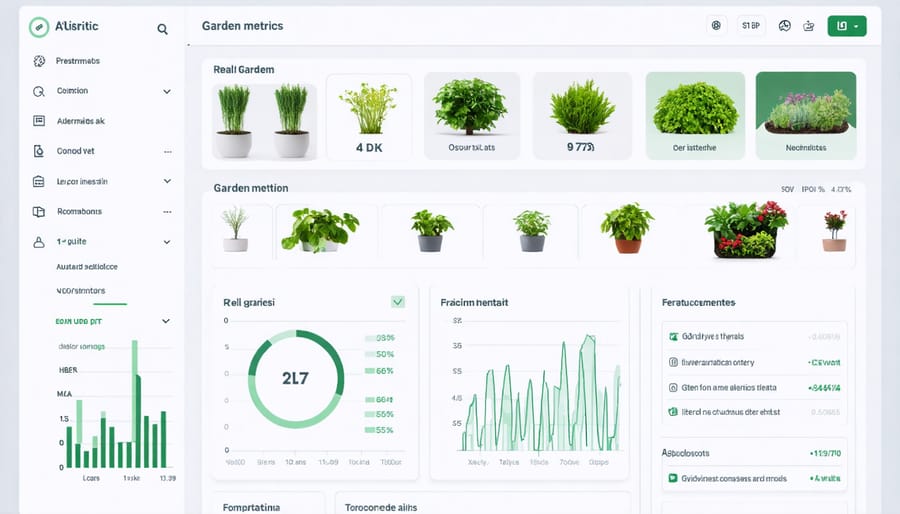
The collected data helps you understand important trends: when your plants need water, how temperature fluctuations affect growth, and whether they’re getting enough sunlight. You can set up your system to generate daily reports and even create visual graphs that make it easy to spot patterns at a glance.
For more advanced analysis, implement machine learning algorithms that can predict when your plants might need attention. These algorithms learn from historical data to anticipate watering needs based on weather patterns, season changes, and plant-specific requirements.
Remember to regularly back up your data and consider using cloud storage for easier access. You can even create a simple web interface to view your garden’s stats from anywhere using your smartphone. With time, your system becomes smarter at predicting and responding to your garden’s needs, making your gardening experience more efficient and enjoyable.
Automated Care Features
Smart Watering System
The heart of your automated garden lies in its smart irrigation system, which combines the Raspberry Pi’s processing power with AI-driven insights to water your plants perfectly. Using moisture sensors placed strategically throughout your garden, the system constantly monitors soil conditions and makes intelligent watering decisions.
To set this up, connect your moisture sensors to the Raspberry Pi’s GPIO pins and install a water pump or solenoid valve to your existing irrigation setup. The AI algorithm learns from historical data, including moisture readings, weather patterns, and plant-specific needs, to create customized watering schedules.
What makes this system truly smart is its ability to adapt. If it’s been raining, the system automatically skips scheduled watering. During heat waves, it adjusts to provide extra moisture when needed. You can even set up different zones for various plant types, ensuring that succulents don’t get as much water as your thirsty tomatoes.
The best part? You can monitor and control everything from your smartphone. The system sends you notifications about watering events and alerts you if it detects any unusual patterns. This not only saves water but also gives your plants exactly what they need to thrive, even when you’re away on vacation.
Climate Control
Creating the perfect environment for your plants is crucial, and with a Raspberry Pi-controlled climate system, you can maintain ideal growing conditions automatically. By connecting temperature and humidity sensors to your Pi, you’ll be able to monitor and adjust these vital parameters without constant manual intervention.
Start by installing a DHT22 sensor, which provides accurate readings for both temperature and humidity. Connect it to your Pi’s GPIO pins and use Python scripts to collect real-time data. You can set up threshold values for different plants – for example, keeping temperatures between 65-80°F (18-27°C) and humidity levels around 50-70% for most common garden plants.
When conditions fall outside your specified range, your Pi can trigger various actions. For temperature control, you might activate fans for cooling or heat lamps for warming. Humidity can be managed through automated misting systems or dehumidifiers, depending on your needs.
Consider creating different climate zones if you’re growing various plants with different requirements. You can achieve this by setting up multiple sensor points and controlling individual areas separately. The Pi can log all climate data over time, helping you analyze patterns and optimize your growing conditions.
For added convenience, set up alert notifications on your phone when conditions need attention, ensuring your garden stays healthy even when you’re away.
Plant Health Monitoring
One of the most exciting features of a Raspberry Pi garden automation system is its ability to monitor and respond to plant health issues using artificial intelligence. By combining a high-resolution camera with machine learning algorithms, your system can detect early signs of plant stress, disease, or nutrient deficiencies before they become serious problems.
The camera captures regular images of your plants, which are then analyzed by AI software running on your Raspberry Pi. This system can identify yellowing leaves, spots, wilting, and other visual indicators of plant distress. When issues are detected, the system can automatically adjust watering schedules, activate supplemental lighting, or send notifications to your smartphone.
Setting up automated plant health management is surprisingly straightforward. Start by positioning your camera to capture clear images of your plants, then install open-source plant recognition software on your Raspberry Pi. Popular options include PlantCV and OpenCV, which can be customized to recognize specific issues common to your garden.
The system learns and improves over time, building a database of your plants’ typical appearance and growth patterns. This allows it to distinguish between normal seasonal changes and genuine health problems, reducing false alarms while ensuring you never miss important warning signs. You can even program automated responses for common issues, creating a truly self-maintaining garden that thrives with minimal human intervention.

Maintenance and Troubleshooting
Even the most well-designed garden automation system can encounter occasional hiccups. Here are some common issues you might face and their straightforward solutions:
If your sensors stop reporting data, first check the physical connections. Loose wires are often the culprit, especially after rain or wind. Give them a gentle push to ensure they’re properly seated. Also, inspect your sensors for dirt buildup – a quick cleaning with a soft brush usually does the trick.
When your watering system isn’t activating on schedule, verify your Raspberry Pi’s time settings. Sometimes after power outages, the system clock can drift. Additionally, check your irrigation tubes for clogs from mineral deposits or debris. A simple flush with white vinegar can clear most blockages.
For unreliable moisture readings, calibrate your sensors by testing them in both dry and wet soil. Remember to position sensors away from direct sunlight and water streams to get accurate readings. If your Pi becomes unresponsive, try a proper shutdown and restart before assuming the worst.
Keep a maintenance schedule: clean sensors monthly, check connections quarterly, and update your software regularly. Back up your configuration files to avoid losing your carefully tuned settings. For peace of mind, consider setting up email alerts for critical system events – they’ll help you catch issues before they affect your garden.
As we’ve explored, Raspberry Pi garden automation represents an exciting fusion of technology and nature, making gardening more accessible and efficient than ever before. The combination of smart sensors, automated watering systems, and AI-powered analytics not only saves time and resources but also helps create healthier, more productive gardens. Looking ahead, the possibilities are endless – from advanced plant disease detection to climate-responsive care routines and even automated harvesting systems. Whether you’re a busy professional or simply looking to optimize your garden care, this affordable and customizable solution puts the power of smart gardening right at your fingertips. As technology continues to evolve, your automated garden system can grow with you, incorporating new features and capabilities to create an even more intelligent and sustainable growing environment.
