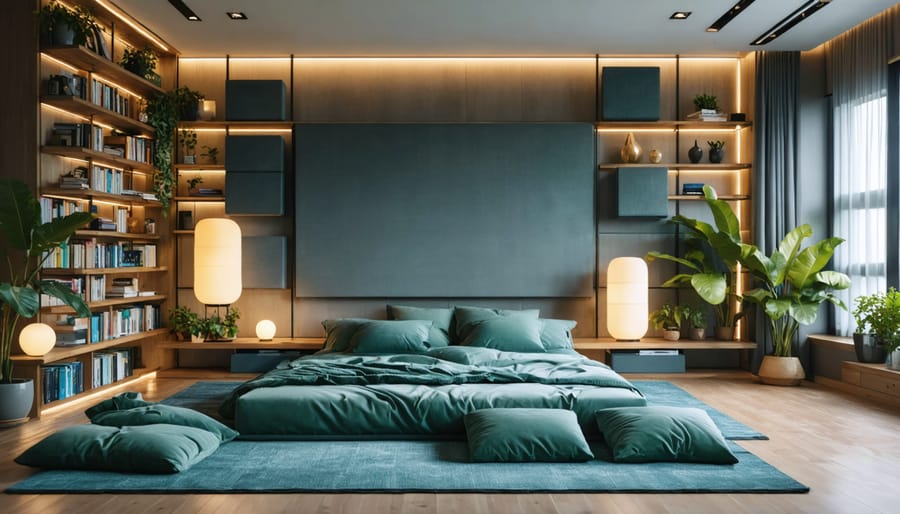
Transform your room into a sound sanctuary without breaking the bank using readily available materials and basic tools. Strategic placement of thick blankets, moving bookshelves against problematic walls, and installing mass-loaded vinyl behind drywall dramatically reduce sound reflection and unwanted noise. Build custom acoustic panels using wooden frames, rigid fiberglass, and fabric for professional-grade sound absorption at one-third the retail cost. Position these DIY treatments at first reflection points—where walls meet the ceiling and corners—to maximize their effectiveness. Bass traps constructed from mineral wool and placed in room corners tame low-frequency resonance that muddles audio clarity. The science behind acoustic treatment might seem complex, but the execution is surprisingly straightforward: identify problem areas, choose appropriate materials, and follow proven placement techniques. Whether you’re creating a home theater, recording space, or simply seeking a quieter living environment, DIY acoustic treatment offers an accessible path to superior sound quality.
Understanding Room Acoustics Basics

Common Sound Problems in Homes
Living in a space with poor acoustics can significantly impact your daily comfort and ability to enjoy calming soundscapes. Three common sound issues often plague our homes: echo, reverberation, and unwanted noise transmission. Echo occurs when sound waves bounce off hard surfaces, creating distinct repeated sounds that can make conversations difficult to understand. This is particularly noticeable in large rooms with bare walls and minimal furnishings.
Reverberation, while similar to echo, is characterized by a continuous blend of reflected sounds that create a persistent buzzing or humming effect. This is often experienced in bathrooms or empty hallways, where sound seems to linger longer than it should. The third major issue, noise transmission, happens when unwanted sounds travel between rooms or from outside, disrupting your peace and privacy.
These problems are typically more pronounced in modern homes with their open floor plans and hard surfaces like wooden floors, large windows, and minimal soft furnishings. Understanding these common issues is the first step toward creating effective DIY acoustic solutions that will transform your space into a more comfortable environment.
Identifying Problem Areas
Before diving into your DIY acoustic treatment project, you’ll need to identify the specific problem areas in your room. Start by standing in different spots and clapping your hands loudly – listen carefully to how the sound behaves. Pay attention to any echo, flutter (rapid bouncing of sound), or areas where sound seems muddy or unclear.
Common problem spots include corners, where bass frequencies tend to build up, and parallel walls that create standing waves. Large, bare walls and hard surfaces like windows are usually prime culprits for unwanted reflections. Also, notice if sound seems to bounce excessively between your floor and ceiling.
To get a more accurate assessment, try this simple test: play some music you’re familiar with through your regular speakers. Walk around the room and note where the sound changes dramatically. If certain frequencies seem too prominent in some spots or missing in others, mark these locations – they’ll need attention.
Take photos and make notes of these trouble spots. This documentation will help you plan your acoustic treatment strategy and ensure you’re addressing the real issues, not just guessing where panels should go.
Essential Materials for DIY Acoustic Treatment
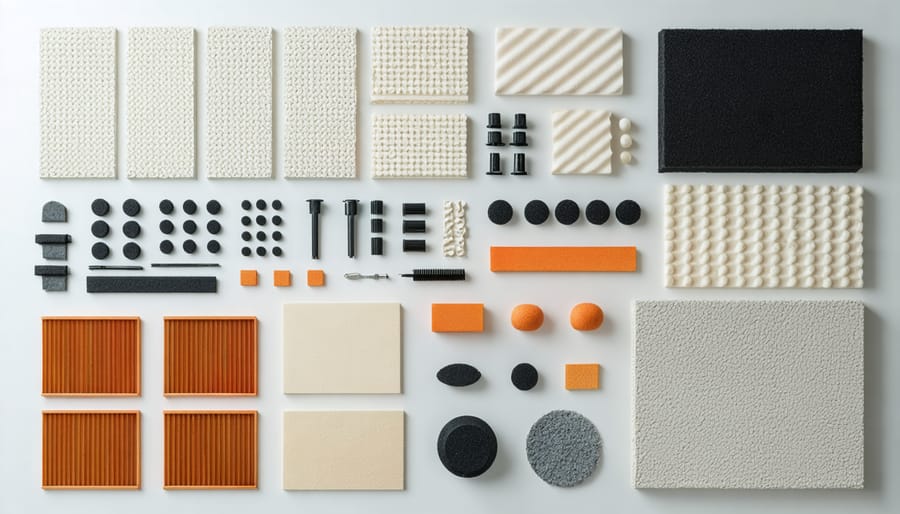
Budget-Friendly Sound Absorption Materials
Creating effective acoustic treatment doesn’t have to break the bank. There are several budget-friendly materials that can deliver impressive sound absorption results when used correctly. Let’s explore some affordable options that work well for DIY projects.
Acoustic foam is perhaps the most popular choice, offering a good balance of performance and cost. While professional acoustic foam can be expensive, there are many affordable alternatives available online. Look for egg crate-style or wedge-pattern foam panels, which typically run between $15-30 for a pack of six 12×12-inch pieces.
Mineral wool (also known as Rockwool or stone wool) is another excellent option that provides superior sound absorption at a reasonable price. It’s dense, fire-resistant, and particularly effective at absorbing low frequencies. You can find mineral wool batts for around $40-60 per pack, which can cover a significant area.
Don’t overlook recycled materials! Moving blankets can be repurposed as effective sound absorbers, costing around $10-20 each. Heavy curtains, especially those with pleats, can also help reduce echo. For truly budget-conscious projects, consider using old towels, blankets, or even egg cartons as temporary solutions.
Remember that strategic placement matters more than quantity. Start with treating the most critical areas of your room, like first reflection points and corners, and expand your coverage as your budget allows.
Tools and Safety Equipment
Before diving into your acoustic treatment project, gathering the right tools and prioritizing safety is essential. Here’s what you’ll need:
Essential Tools:
– Measuring tape and level
– Pencil and straightedge
– Utility knife or scissors
– Drill with various bits
– Staple gun and staples
– Screwdriver set
– Work gloves
– Safety glasses
– Dust mask or respirator
– Step ladder or sturdy platform
Optional but Helpful:
– Laser level for precise alignment
– Electric saw (if cutting wooden frames)
– Stud finder
– T-square for perfect corners
– Fabric scissors (for clean cuts)
Safety Equipment and Precautions:
– Always wear eye protection when cutting materials
– Use a dust mask when handling insulation or fabric fibers
– Work in a well-ventilated area
– Keep a first-aid kit nearby
– Use proper lifting techniques for heavy materials
– Ensure your ladder is stable and positioned correctly
– Keep your workspace clean and organized
Pro Tip: Before starting, lay out all your tools and materials in an organized manner. This not only makes the work more efficient but also helps prevent accidents. When working with power tools, always follow manufacturer safety guidelines and never rush through cuts or installations.
Simple DIY Acoustic Panel Projects
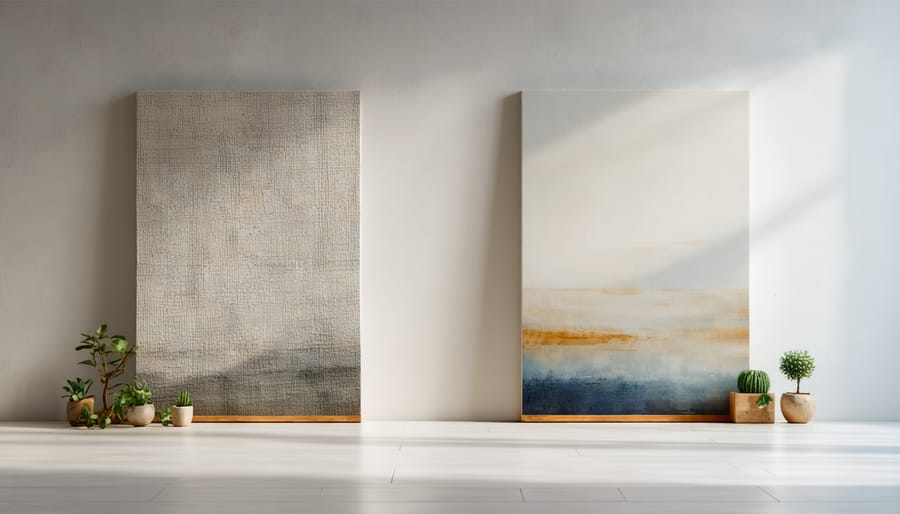
Basic Wall Panels
Creating basic wall panels is one of the most effective and budget-friendly ways to improve your room’s acoustics. These panels not only help reduce echo and control sound reflections but can also serve as attractive decorative elements in your space.
Materials needed:
– 1″ or 2″ thick mineral wool or fiberglass insulation
– Wood for frames (1×4 lumber)
– Fabric (breathable material like burlap or speaker cloth)
– Staple gun and staples
– Wood glue and screws
– Basic tools (saw, drill, measuring tape)
Step-by-step construction:
1. Build your frame by cutting the lumber to size. For beginners, we recommend 24″ x 48″ panels, as this size is manageable and effective.
2. Assemble the frame using wood glue and screws at the corners. Add a center support beam if your panel exceeds 24″ in width.
3. Cut your insulation material to fit snugly inside the frame. Wear protective gear, as insulation can irritate skin and airways.
4. Lay your fabric face-down on a clean surface, place the frame (with insulation) face-down on top, leaving enough fabric around the edges to wrap around the frame.
5. Starting from the middle of one side, pull the fabric taut and staple it to the back of the frame. Work your way outward, alternating sides to maintain even tension.
6. Fold the corners neatly, like wrapping a present, and secure with staples.
Pro tips:
– Choose fabric colors that complement your room’s decor
– Space panels roughly 2-3 feet apart for optimal coverage
– Consider mounting panels at ear level where sound reflection is most noticeable
– Use proper wall anchors to ensure secure installation
– Add a layer of thin plastic between the insulation and fabric to prevent fibers from migrating
These panels typically cost $30-50 each to make, compared to $100+ for store-bought versions, making them an excellent value for your acoustic treatment project.
Corner Bass Traps
Corner bass traps are essential for taming those troublesome low frequencies that tend to build up in room corners. Building your own can save you money while delivering professional-grade results. Here’s how to create effective corner bass traps for your space.
Start by gathering your materials: you’ll need rigid fiberglass or mineral wool insulation (4-inch thick panels work best), wooden boards for framing, fabric for covering (breathable materials like burlap or speaker cloth), and basic tools including a saw, staple gun, and measuring tape.
First, create triangular frames that will fit snugly into your room corners. Cut your wooden boards to form right triangles with equal sides of about 24 inches. Make several of these frames and space them about 16 inches apart vertically. Connect them using additional boards to create a solid frame structure.
Next, cut your insulation material to fit inside the frames. Handle the insulation carefully and always wear protective gear including gloves and a mask. Stack multiple layers of insulation within the frame – the more depth, the better the bass absorption.
Wrap your frame and insulation assembly with fabric, ensuring it’s pulled tight and smooth. Secure the fabric using a staple gun, being careful to maintain even tension throughout. The fabric should be tight enough to prevent sagging but not so tight that it compresses the insulation.
For optimal performance, install your bass traps floor-to-ceiling in room corners. You can also add a thin wooden cap at the top for a finished look. Remember that bass traps work best when used as part of a complete acoustic treatment strategy, including wall panels and diffusers.
Pro tip: Consider leaving an air gap between the wall and the insulation to improve low-frequency absorption.
Ceiling Cloud Installation
Creating ceiling clouds is one of the most effective ways to control room acoustics, especially in spaces with high ceilings. These suspended acoustic panels not only look stylish but also help reduce echo and improve sound clarity.
To build your ceiling cloud, start by gathering materials: 2-inch thick acoustic insulation, fabric (ensure it’s acoustically transparent), a wooden frame made from 1x4s, eye hooks, wire rope, and mounting hardware. Choose light-colored materials to maintain room brightness.
Begin by building a rectangular frame that’s slightly smaller than your acoustic insulation. Join the corners using wood glue and screws for stability. Create a grid pattern inside the frame using additional wooden strips to prevent sagging. Wrap your acoustic insulation in thin plastic to prevent fibers from falling through.
Next, cover the entire assembly with your chosen fabric. Pull it tight and secure it to the back of the frame using a staple gun. Work from the center outward to avoid wrinkles. Install eye hooks at each corner of the frame.
For mounting, locate ceiling joists using a stud finder and install mounting brackets. Attach wire rope to the eye hooks and adjust the length to achieve your desired hanging height. Most ceiling clouds work best when suspended 8-12 inches from the ceiling.
Pro tip: Consider installing LED strip lighting around the frame’s perimeter for added ambiance. Also, stagger multiple panels at different heights to create visual interest while maximizing acoustic benefits.
Remember to always work with a partner when mounting ceiling panels, and ensure all hardware is rated for the weight you’re hanging.
Strategic Placement for Maximum Effect
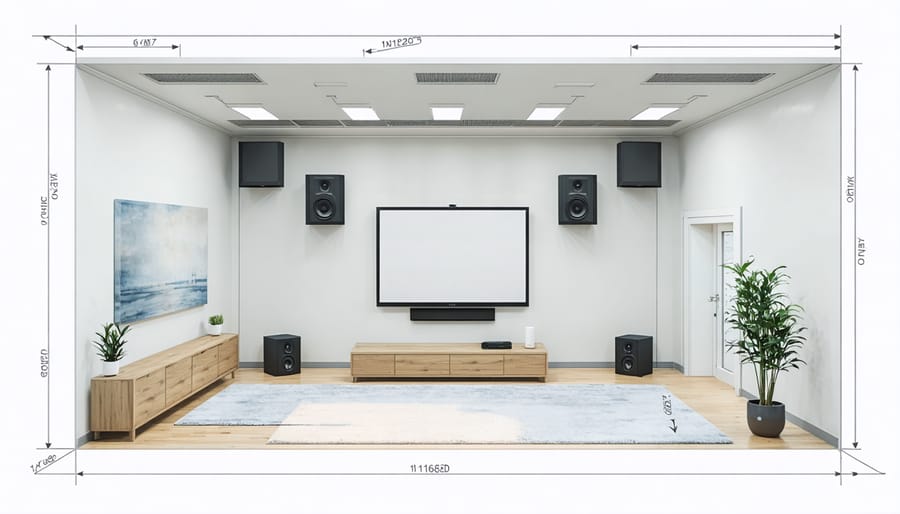
Room Analysis and Planning
Before diving into your acoustic treatment project, taking time to analyze your room is crucial for creating an effective personal wellness sanctuary. Start by identifying the main sources of sound issues in your space. Stand in different corners of the room and clap your hands – if you hear flutter echoes or a lingering ring, those areas need attention.
Pay special attention to corners and walls directly opposite each other, as these are common problem areas. The classic spots for acoustic treatment are:
– First reflection points: About halfway between your listening position and speakers
– Corners: Where walls meet the ceiling or floor
– Behind your listening position
– Ceiling area above where you sit
To find first reflection points, have someone hold a mirror against the wall while you sit in your usual spot. Where you can see your speakers in the mirror marks your treatment locations.
Consider the room’s purpose too. A home theater needs different treatment than a music room or home office. For general purposes, aim to treat about 15-20% of your wall space. Remember that an over-treated room can sound unnaturally “dead,” so balance is key.
Take measurements and photos of your space before starting. This will help you plan material quantities and create a layout that both performs well and looks cohesive with your room’s design.
Installation Tips and Tricks
When installing your acoustic treatments, start by marking your wall positions with a pencil and level to ensure everything aligns perfectly. For panels and diffusers, use appropriate wall anchors rated for the weight of your materials – plastic anchors work well for lightweight foam, while heavier treatments need sturdy toggle bolts.
Pro tip: Create paper templates of your panels and test different arrangements before making permanent holes. This approach, similar to planning an ergonomic workspace design, helps you visualize the final layout and avoid mistakes.
For ceiling installations, always work with a partner and use a sturdy ladder. Consider using industrial-strength Velcro strips for lightweight panels – they’re removable and won’t damage your walls or ceiling. When mounting corner bass traps, ensure they’re snug against both walls for maximum effectiveness.
Keep panels about 2-4 inches away from walls using spacer blocks or furring strips – this air gap significantly improves their acoustic performance. For rooms with windows, install treatments on adjustable brackets so you can move them aside when needed.
Remember to check your local building codes before installation, especially in rental properties. If you’re hesitant about making permanent changes, consider free-standing panels or movable screens as alternatives. They’re just as effective and offer more flexibility in placement.
Maintenance and Care
Keeping your DIY acoustic treatments in top condition doesn’t require extensive effort, but regular maintenance will significantly extend their lifespan and effectiveness. Start with a monthly dust removal routine using a vacuum cleaner with a brush attachment or a microfiber duster. For fabric-covered panels, gently pat them with a slightly damp cloth to remove stubborn dust, being careful not to oversaturate the material.
Inspect your acoustic treatments every six months for signs of wear, sagging, or detachment from walls. If you notice any panels beginning to sag, reinforce the mounting hardware or add additional support points. For corner bass traps, check that they remain securely wedged in place and haven’t shifted due to vibrations or temperature changes.
Fabric-covered panels may occasionally need spot cleaning. Use a mild soap solution and test it on a small, hidden area first. Blot stains gently rather than rubbing, which could damage the fabric or underlying material. Allow panels to air dry completely before reinstalling them.
In rooms with high humidity, consider using a dehumidifier to prevent moisture damage to your acoustic treatments. Keep panels away from direct sunlight to prevent fading and deterioration of materials. With proper care, your DIY acoustic treatments should maintain their effectiveness for 5-7 years, though some materials may last even longer.
Now that you’re equipped with the knowledge and techniques for DIY acoustic treatment, it’s time to transform your space into a more comfortable and healthier living space. Remember, acoustic treatment doesn’t have to be complicated or expensive. Start small with basic absorbers in problem areas, then gradually expand your treatment as needed.
Whether you’re creating a home office, media room, or just want to improve your living room’s acoustics, the key is to maintain a balance between absorption and diffusion. Don’t be afraid to experiment with different materials and placements to find what works best for your space.
Most importantly, take pride in knowing that you’re creating a customized solution that not only looks great but also significantly improves your room’s sound quality. The skills you’ve learned here will serve you well in future projects, and the results will be something you can enjoy every day.
Ready to get started? Gather your materials, plan your design, and take that first step toward better acoustics. Your ears – and your neighbors – will thank you!