Transform your living space this weekend with budget-friendly decor projects that require minimal tools and zero expertise. Create stunning wall art by arranging washi tape in geometric patterns, or frame pressed flowers from your garden between two glass panes. Revitalize old furniture with chalk paint and stencils for a personalized touch that rivals expensive boutique pieces. Turn mason jars into elegant hanging lights using battery-operated LED strings and twine – perfect for rental-friendly ambient lighting. These simple yet impactful projects blend creative expression with practical functionality, proving that beautiful home decor doesn’t require a significant investment or professional skills. Whether you’re refreshing a bedroom, living room, or home office, these accessible DIY techniques deliver professional-looking results while staying within your budget and skill level.
Wall Art That Wows (Without Breaking the Bank)
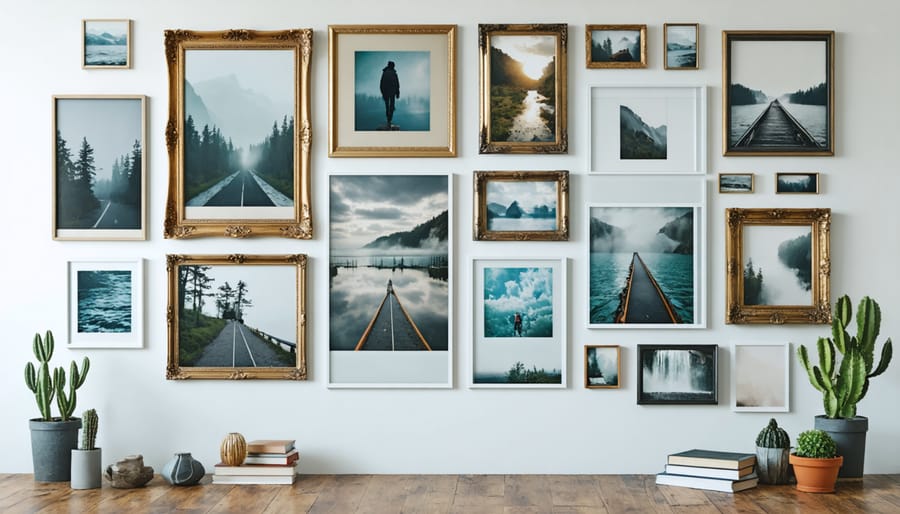
Photo Gallery Magic
Transform your walls into a captivating visual story with a personalized photo gallery. Beyond traditional frames, there are countless creative ways to display your cherished memories and custom wall art ideas that’ll make your space uniquely yours.
Start by creating a cohesive collection using wooden clothespins and twine for a rustic-chic display. Simply string the twine horizontally across your wall and clip your favorite photos for an easily updateable gallery. For a modern twist, try geometric washi tape frames – they’re damage-free and add a pop of color around your pictures.
Want something more substantial? Transform old window frames into multi-photo displays by securing pictures behind each pane. Or create a stunning hexagon pattern using cardboard frames covered in fabric that matches your room’s color scheme.
Here’s a clever hack: Use empty vintage picture frames in varying sizes, painted in coordinating colors, and arrange them in a cluster without any photos inside. This creates an artistic architectural element that doubles as wall decor.
For a three-dimensional effect, try a photo ledge gallery wall. Install floating shelves at different heights, then layer framed photos, small art pieces, and decorative objects for depth and visual interest. Mix in fairy lights or small potted plants to add warmth and life to your display.
Textile Wall Art
Transform your walls into stunning focal points with the beauty of textile art. Fabric-based decor offers a perfect blend of texture, color, and personality while being surprisingly simple to create. One of the easiest approaches is to stretch vibrant fabric across a canvas frame, instantly creating a custom piece that matches your room’s aesthetic.
For a more bohemian touch, try your hand at macramé wall hangings. Start with basic knots using cotton cord to create simple geometric patterns. As you gain confidence, experiment with more complex designs incorporating wooden beads or driftwood for added interest. The beauty of macramé lies in its forgiving nature – even imperfect knots can contribute to a uniquely artistic piece.
Woven wall art offers another creative avenue. Using a simple cardboard loom, weave different yarns, ribbons, and even fabric strips to create stunning tapestries. Mix textures and colors to add depth and visual interest. For a quick alternative, try the cloth hoop art technique: simply place your favorite fabric pattern in an embroidery hoop and trim the edges for an instant artwork.
Consider creating a fabric wall collage by mounting different textile pieces in complementary colors and patterns. Use lightweight fabrics like cotton or linen, and secure them to foam board for a professional finish without the weight of traditional frames.
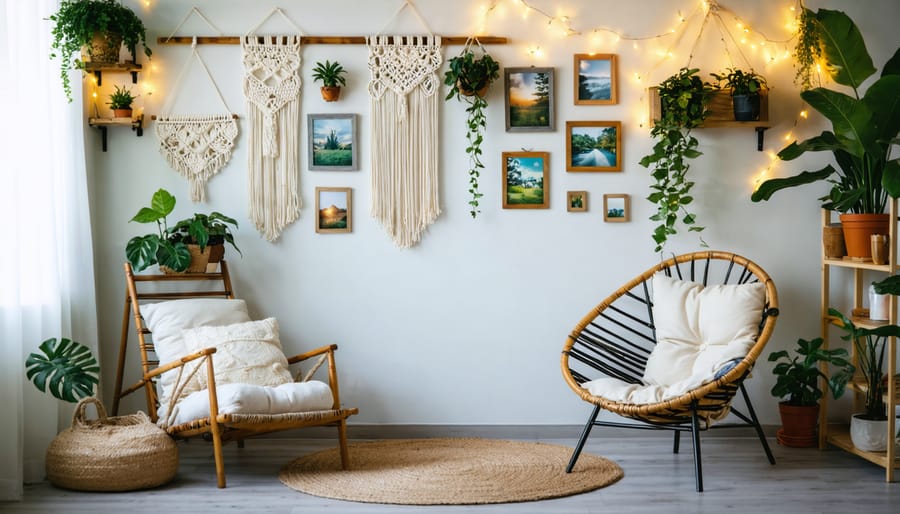
Cozy Corner Creations
Plant Paradise
Transform your living space into a lush oasis with these delightful DIY plant stands and hanging planters. Creating creative plant displays doesn’t require expensive materials or advanced crafting skills.
Start with a simple wooden plant stand using scrap lumber and basic tools. Sand down the edges, apply your favorite stain or paint, and arrange it in tiers for a professional look. For a modern twist, try copper pipe stands – they’re surprisingly easy to assemble with pre-cut pieces and elbow joints from your local hardware store.
Hanging planters offer endless possibilities. Transform mason jars into suspended gardens using sturdy rope or macramé cord. For a bohemian touch, craft macramé plant hangers using basic knots – perfect for displaying trailing plants like pothos or string of pearls.
Don’t overlook upcycling opportunities! Old wooden ladders make excellent plant stands when sanded and sealed. Wine crates can be mounted on walls for unique vertical gardens, while vintage teacups become charming succulent holders when attached to a decorative board.
Remember to consider your plants’ needs when positioning your DIY displays. Ensure adequate light exposure and easy access for watering. With these creative solutions, you’ll bring the outdoors in while adding personality to your space.
Reading Nook Revival
Transform any corner of your room into a cozy reading sanctuary with these simple DIY touches. Start by selecting a comfortable chair or floor cushion as your base. Create an inviting atmosphere by crafting a no-sew floor pillow using two pieces of soft fabric and polyester filling – perfect for extra seating or foot support.
Add warmth with a handmade chunky knit blanket using arm-knitting techniques and thick yarn. You’ll need about 6-8 skeins of chunky yarn to create a generously sized throw that adds both comfort and visual interest to your space.
Illuminate your reading spot with a mason jar lamp. Simply drill a hole in the lid for the cord, insert a lamp kit, and add vintage-style LED bulbs for a warm glow. For storage, repurpose wooden crates into floating shelves by sanding, staining, and mounting them on the wall.
Complete your nook with personal touches like pressed flower bookmarks (using flowers from your garden) and a DIY tassel bookmark using embroidery floss. Create ambiance with flameless candles wrapped in decorative paper, providing safe, cozy lighting for evening reading sessions.
Remember to position your nook near natural light when possible, and incorporate plants to add life to your reading space. A small succulent in a hand-painted pot makes for an easy-care green companion.
Upcycled Storage Solutions
From Trash to Treasure
Looking for creative storage solutions while smart decorating on a budget? Your home is probably full of items that can be transformed into stylish storage pieces with just a little imagination and effort.
Empty glass jars from pasta sauce or pickles can become beautiful bathroom organizers for cotton balls and makeup brushes – just clean thoroughly and decorate with paint, twine, or decorative tape. Those sturdy cardboard boxes from online shopping? Cover them with fabric or decorative paper to create chic storage containers for shelves and closets.
Old wooden crates or wine boxes can be mounted on walls as unique floating shelves, while tin cans can be transformed into modern desk organizers with a coat of spray paint and some creative positioning. Even empty paper towel rolls can become excellent cord organizers when decorated and mounted inside a drawer.
For larger storage needs, consider giving new life to old dresser drawers by adding wheels underneath – they make perfect under-bed storage solutions. Paint them in coordinating colors with your room’s theme for a cohesive look. Empty coffee tins can become planters for herbs or small succulents, adding both storage and greenery to your space.
Remember, the key to successful upcycling is seeing the potential in everyday items and finishing them with care for a polished look.
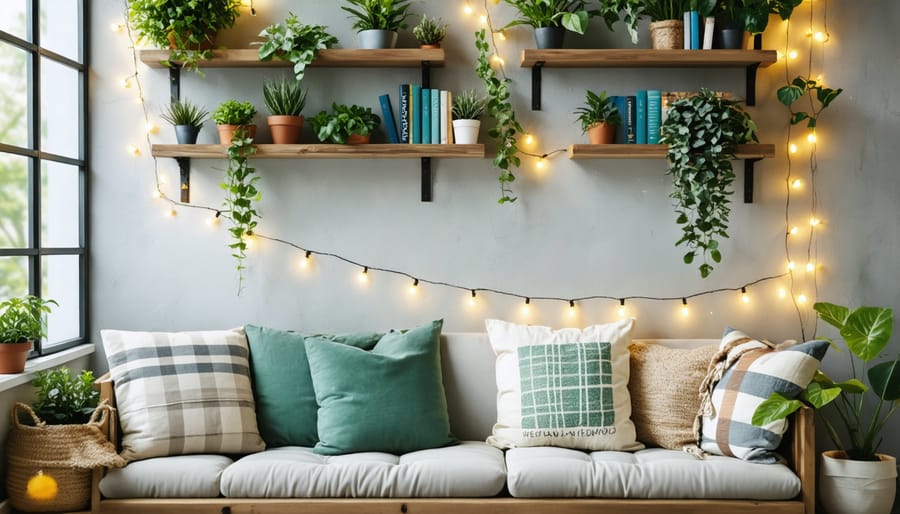
Floating Shelf Secrets
Transform your empty walls into stunning displays with floating shelves – the perfect blend of function and style. These sleek additions create visual interest while providing practical storage space for your favorite decor pieces, books, and personal treasures.
To create your own floating shelf, you’ll need a wooden board (choose the length and depth that suits your space), heavy-duty wall brackets, a level, and basic tools. Start by marking your desired shelf location with a pencil, using a level to ensure straight lines. Install the brackets securely into wall studs for maximum support, then attach your pre-finished or painted board.
For a professional look, consider these styling tips:
– Create visual balance by varying heights and depths of displayed items
– Group objects in odd numbers (three or five pieces work well)
– Mix textures and materials for interest
– Include both horizontal and vertical elements
– Leave some breathing room between items
Pro tip: Before mounting, lay out your decor pieces on the floor to experiment with different arrangements. This helps you visualize the final look and ensures everything fits perfectly.
For added personality, try these creative display ideas:
– Layer smaller frames against larger ones
– Incorporate small potted plants or trailing vines
– Mix vintage finds with modern pieces
– Use books as risers for smaller objects
– Add battery-operated LED strips underneath for ambient lighting
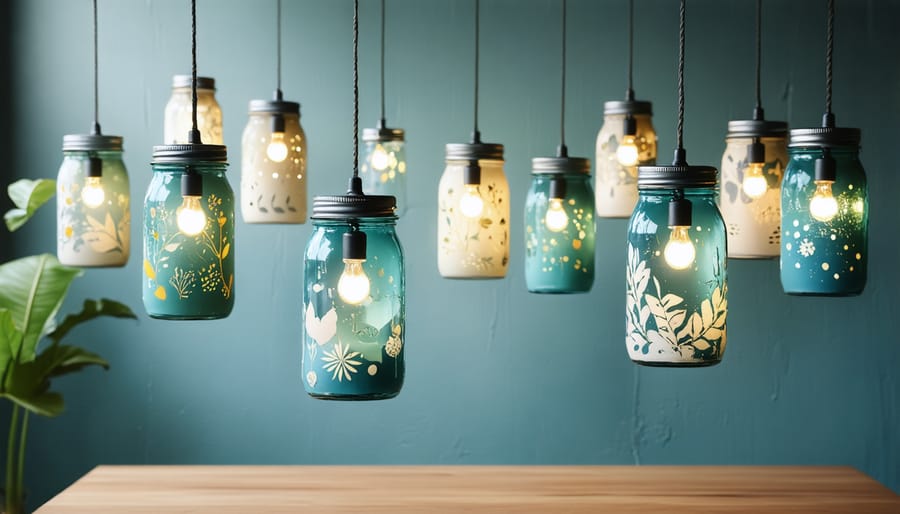
Lighting Magic
String Light Projects
String lights aren’t just for holidays anymore – they’ve become a versatile and enchanting way to add warmth and personality to any room. One of the simplest yet most impactful projects is creating a dreamy bed canopy by draping string lights from a ceiling-mounted hook down to the corners of your headboard. For a cozy reading nook, try wrapping warm white lights around a ladder shelf or weaving them through a macramé wall hanging.
Get creative with mason jars by placing battery-operated fairy lights inside to create ethereal table lamps or hanging lanterns. For a magical window display, arrange curtain lights in a cascading pattern, letting them frame your view while providing gentle ambient lighting. Plant lovers can intertwine delicate copper wire lights among their potted plants or terrariums for an enchanted garden effect.
Transform plain wall art by outlining canvas frames or photo collages with tiny LED lights. For a modern twist, create geometric patterns on your wall using command hooks and string lights – think constellations, abstract shapes, or even your favorite quote. Remember to use clear command hooks or small, clear thumbtacks to keep the focus on the lights rather than the mounting hardware.
Pro tip: Choose LED lights that are UL-listed for safety, and opt for warm white bulbs for a cozy atmosphere or color-changing ones if you want to switch up your room’s mood. Most of these projects take less than an hour to complete and can be easily modified or removed when you’re ready for a change.
Lamp Makeovers
Transform your old, tired lamps into stunning statement pieces with these creative makeover ideas. Start with a simple paint refresh – choose chalk paint for an elegant matte finish or metallic paint for a modern, luxe look. Clean your lamp base thoroughly and apply thin, even coats for best results.
For fabric lampshades, try covering them with new material using fabric mod podge. Select patterns that complement your room’s color scheme, and carefully smooth out any wrinkles as you work. Another trendy option is creating a boho-inspired macramé lampshade using natural cotton cord and basic knot techniques.
Want something more dramatic? Consider wrapping a plain lamp base with rope for a coastal vibe, or add decorative trim and tassels to your existing lampshade for instant glamour. Glass lamp bases can be transformed using sea glass spray paint or alcohol ink for a beautiful, translucent effect.
For a truly unique look, try creating a custom shade from scratch using a lampshade ring kit. Materials like pressed flowers between translucent paper, vintage maps, or even coffee-stained music sheets can create fascinating lighting effects when illuminated.
Remember to always use heat-resistant materials and keep decorative elements away from the bulb. A well-executed lamp makeover can become a conversation piece while providing both functional lighting and artistic appeal to your space.
Textile Transformations
Transform your space with these simple fabric-based projects that add color, texture, and personality to any room. Start with no-sew fabric wall art by stretching your favorite patterned fabric over a canvas frame and securing it with a staple gun. This instant artwork can be changed seasonally or whenever you want a fresh look.
Create cozy throw pillows by repurposing old sweaters or vintage scarves. Simply cut them to size, sew the edges (or use fabric glue for a no-sew option), and stuff with pillow filling. For an even easier approach, try envelope-style pillowcases that slip right over existing pillows.
Give your windows a makeover with DIY curtain tiebacks made from braided fabric scraps or vintage belts. Or craft a unique window valance by draping and pinning fabric in gentle swags – no sewing required! For a bohemian touch, create fabric wall hangings using macramé techniques or by simply knotting strips of complementary fabrics together.
Don’t forget smaller accents like fabric-covered storage boxes. Just wrap pretty fabric around old shoe boxes or storage containers using craft glue, folding corners neatly like wrapping a present. These boxes look stylish while hiding everyday clutter.
Expert Tip: When selecting fabrics, choose materials with similar care requirements if you plan to combine them in one project. This makes maintenance much easier in the long run.
Transforming your living space doesn’t have to be complicated or expensive. With the DIY ideas we’ve explored, you can create beautiful, personalized decor that reflects your style while staying within budget. From simple wall art and macramé hangings to custom shelving and upcycled furniture, these projects prove that creativity knows no bounds. Remember to start with smaller projects to build your confidence, and don’t be afraid to put your own spin on these ideas. The most important thing is to enjoy the creative process and celebrate your achievements. Whether you’re a beginner or seasoned crafter, there’s a perfect project waiting for you. So gather your supplies, set aside some time, and let your imagination guide you toward creating a space that truly feels like home.